In WCMS 3, the former "Our people" page is now properly named "Contacts" and the URL path has changed from /people to /contacts.
When Contacts are migrated from the original site, certain fields in the Edit tab must be verified as they may be missing or contain incorrect information.
Remediate Contacts
- From the administration bar on your WCMS 3 site, select Workbench, and then select My Dashboard.
- Select the contact that you are remediating from the Content list by searching for the name of the contact.
- Select the Edit tab.
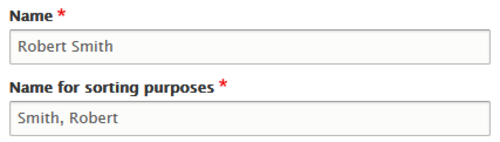
- If the Name for sorting purposes is missing or is incorrect, add/edit it using the naming convention Last Name, First Name.
Note: the Contacts listing page will be alphabetically sorted according to the Name for sorting purposes. See the Remediate the Contact order section on this page for instructions on rearranging the contacts.
- If a Listing image for that contact was present in WCMS 2 but missing in WCMS 3, remediate this by adding the correct listing image. Note: the same listing image from WCMS 2 may appear as the Image (portrait) and Associated image for each contact, therefore Reference existing can be used. For detailed instructions, refer to How to create a Contact.
- Select Add media to open the media library. Then use the Name search bar to enter the image name and select Apply filters.
- Select the correct existing image, then select Insert selected.
- If there is content in the Additional Information section of the WCMS 2 site, there may be HTML code in the content on the front end of the WCMS 3 site. To fix this, select Save from the Edit tab.
- If a profile link was present on WCMS 2, <nolink> may appear under Link to profile. Remove <nolink> in the URL field and search for the correct profile by typing the profile name and selecting the appropriate option from the automatic drop-down function.
Note: If a profile exists for the same contact, both contact and profile will have the same title. To differentiate, make note of the node number that appears beside each piece of content in brackets.
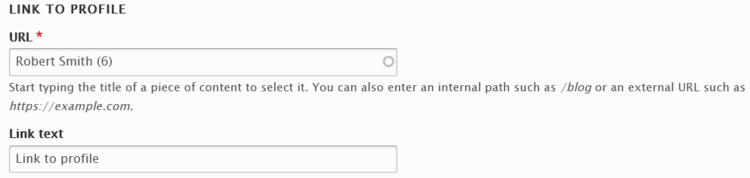
- If the profile link is found on an external site, copy-paste the correct link from the external source. Enter the contact's name in the Link text to display the link on the Contact.
- Select state from the Change to: drop-down menu.
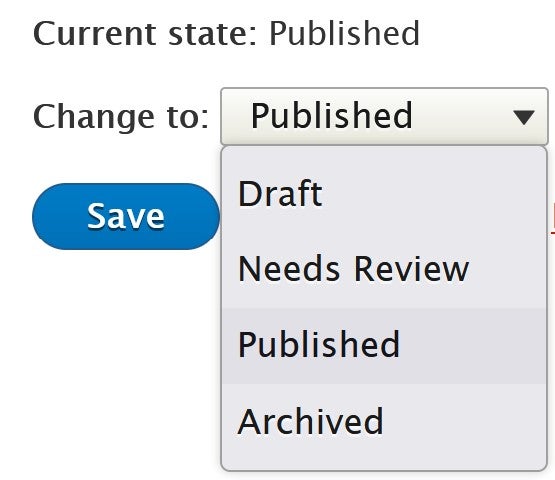
- Select Save.
Remediate the Contact order
- From the administration bar on your WCMS 2 site, select Workbench.
- Select the Create/Manage Content tab and from the content list select Contact.
- Select Rearrange contacts and you will see the WCMS 2 contact order.
- From the administration bar on your WCMS 3 site, select Workbench, then select My Dashboard.
- From Content types, select the drop-down arrow beside Contact, then select Rearrange.

- Use the cross-arrow icon beside each contact to drag and rearrange the order of contacts displayed to match the WCMS 2 site.

- Alternatively, Show row weights to enter numerical values to rearrange the order of contacts.

- Alternatively, Show row weights to enter numerical values to rearrange the order of contacts.
- Once complete, select Save order. If your site has a large number of contacts you may want to save periodically to prevent the page from timing out and losing your current progress.

Record remediation completion in the Site Migration Remediation Tracker spreadsheet for your site.
Please refer to the Known Issues web page to view a current list of known issues and their workaround.