The first step in the remediation process is to confirm that all menu items are in the exact order as they appear on the WCMS 2 site. If there are items in the incorrect placement or hidden on the WCMS 3 site menu, refer to the following steps to resolve this issue only on the WCMS 3 site.
Note: Pay additional attention to remediate menu items that are enabled as well as any children items. To properly recreate a menu link to a contact filter, filter on the contact listing page then add the menu link to the correct spot.
How to remediate Menu Order
- From the administration bar on the WCMS 2 site, select Menu, and then select Dashboard.

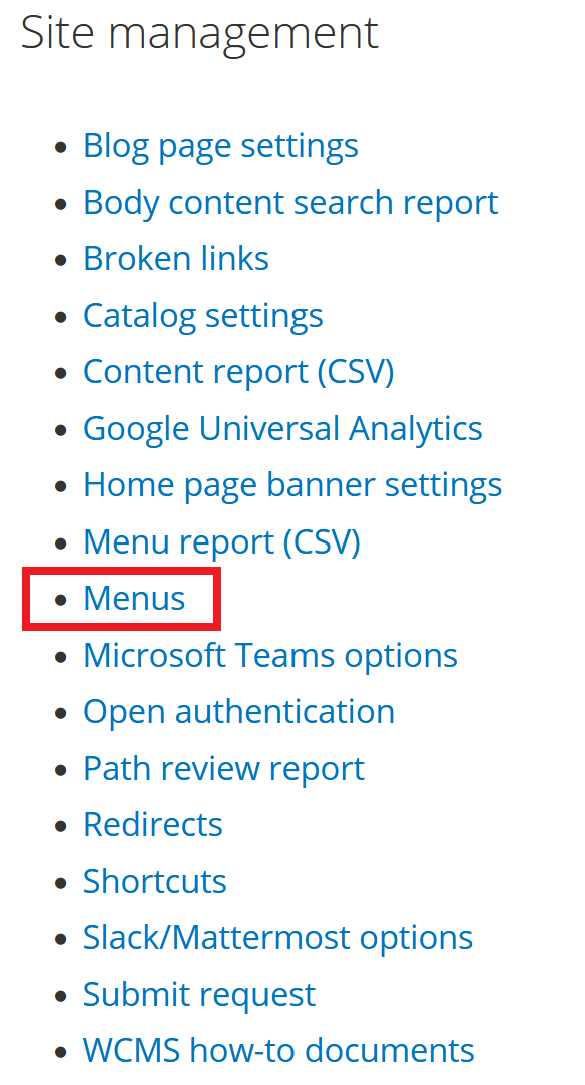
- Under Site Management, select Menus.
- Under Operations, select list links next to Main Menu. This page lists the site's menu structure with the correct order of menu items on the WCMS 2 site.
If applicable, select list links next to Information for.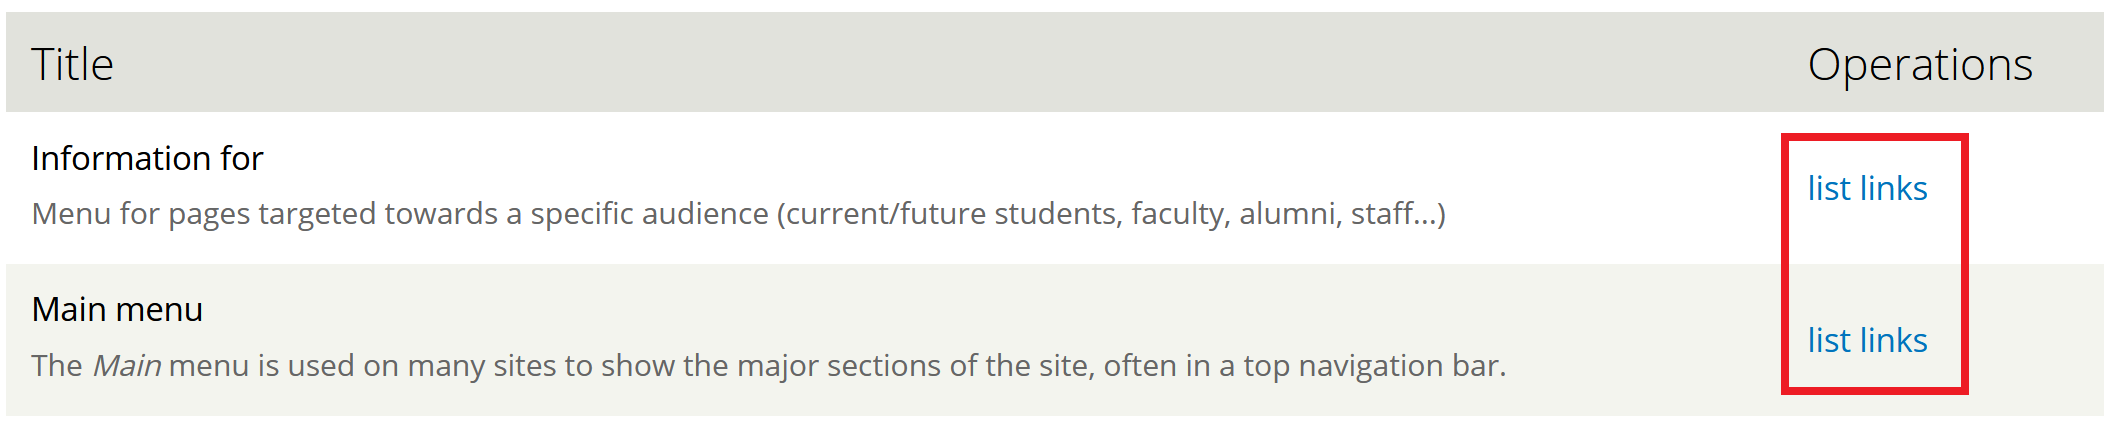
- Open a new tab and from the administration bar on the WCMS 3 site, select Workbench, and then select My Dashboard.
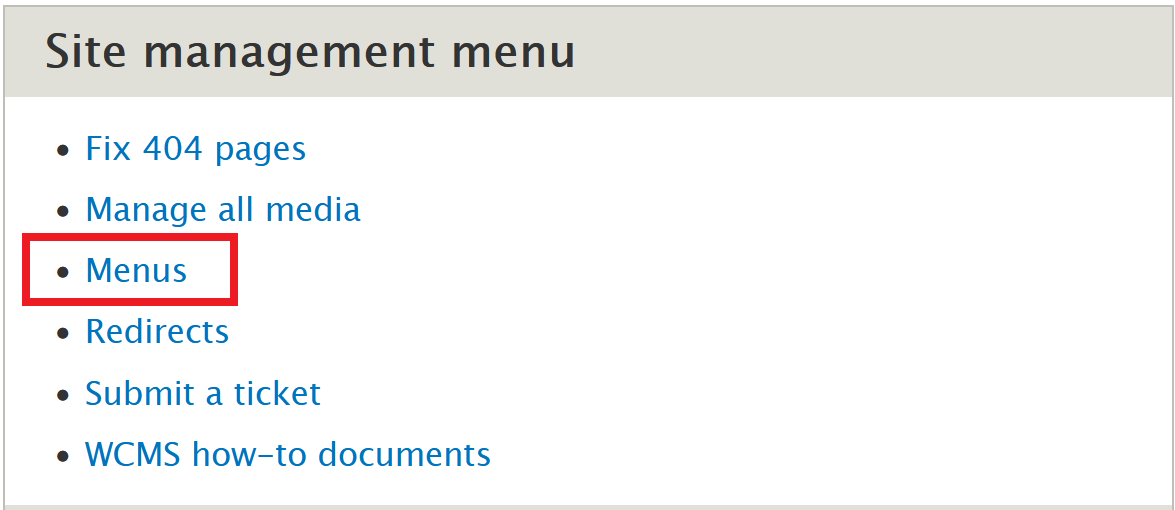
- Under Site management menu, select Menus.
- Under Operations, select List links next to Main navigation. This page contains the migrated site's menu structure.

- Compare the menu items between WCMS 2 and WCMS 3 and be sure to correct any discrepancies by using step 8 for any menu item order differences and step 9 for any enabled/disabled menu item discrepancies.
- If needed, click and drag the cross-arrow icon next to the item that needs to be moved. Place the menu item under the correct parent/child item to match the menu structure on WCMS 2.

- If needed, check/uncheck the box under the Enabled column beside menu items to show or hide them in the navigation menu. WCMS 3 migrated sites will automatically enable stock menu items such as Events, News, and Blog. If the WCMS 2 source site has not enabled these menu items, they must be disabled.

- Select Save.
Note: There is a change in naming convention between WCMS 2 and WCMS 3, as outlined in the table below:
| WCMS 2 | WCMS 3 |
|---|---|
| Our people | Contacts |
| People profiles | Profiles |
Please refer to How to remediate Our People page for more information on remediating Our People.
Note: If a WCMS 2 enabled menu item did not migrate to WCMS 3, check to see if the content was published in WCMS 2. If it was not, it can be disregarded and there are no remediation steps.
Record menu remediation completion in the Site Migration Remediation Tracker spreadsheet for your site.
Please refer to the Known Issues web page to view an updated list of known issues and their workarounds.