In WCMS 2, if your site did not have a site footer, it would display a default footer containing the name of the site. In WCMS 3, if you do not have a site footer, the site footer will not appear.
An example of a default site footer (for a site named Zoology) in WCMS 2 is shown below:

The site footer did not migrate over
If the WCMS 2 site footer did not migrate over to the WCMS 3 site, no site footer will appear. To remediate this, you will need to create a new site footer and copy over the content from the WCMS 2 site footer.
To add a site footer in WCMS 3, select Workbench from the Administration bar, then select My Dashboard, scroll down to Content types, and select Add/edit beside Site footer. For detailed instructions, refer to How to configure your Site footer.
The site footer is missing content
If the WCMS 2 site has content in the site footer that was not migrated onto the WCMS 3 site:
- From the administration bar, select My Workbench on the WCMS 2 site.
- Select the Create/Manage Content tab.

- Select Site footer.

- Select the Create/Manage Content tab.
- In another window, on the WCMS 3 staging site, navigate to the administration bar, select Workbench, and then select My Dashboard.
- Navigate to the Content types section.
- Next to Site footer, select Add/edit.

- Enter "Site footer" as the Title.

- Choose a Logo from the drop-down menu. You can choose the Faculty, Department, School or Institution logo you are affiliated with, choose your site name or the University of Waterloo logo. Ensure that your selection matches what is displayed in the WCMS 2 footer.
- If Generate automatic URL alias is checked in WCMS 2, ensure it is also checked in WCMS 3.
- Ensure that the social media handles found under Social Media in WCMS 2 and WCMS 3 are in parity, matching WCMS 3 to WCMS 2.
- Select Save.

- In the Layout tab, recreate/edit the footer as seen on the WCMS 2 site by adding sections and Copy text boxes for contact information and links. More information can be found on the What are Sections and the How to add Copy text pages.
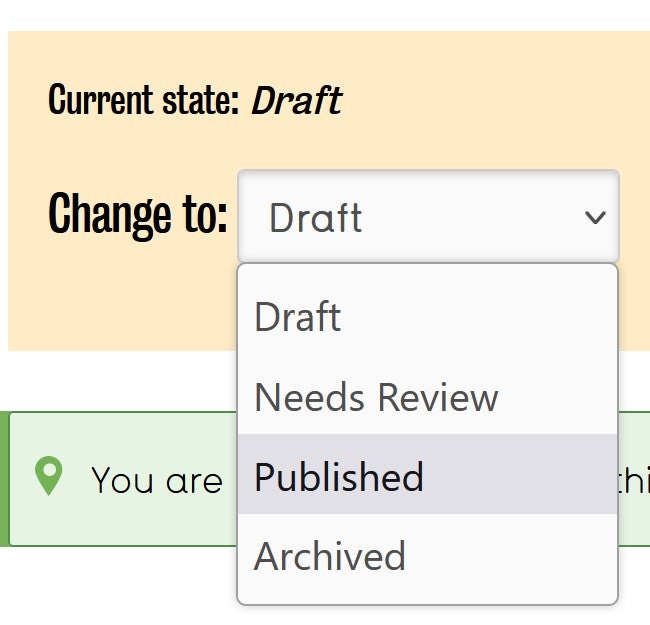
- When finished with your footer, in the Change to: drop-down menu select Published.
- Select Save layout.

- Compare the footers on the WCMS 2 site and the WCMS 3 staging site to make sure they match. Ensure that the links all work properly. If any further edits are required, retrace the above steps and make the necessary changes.
Record site footer remediation completion in the Site Migration Remediation Tracker spreadsheet for your site.
Please refer to the Known Issues webpage to view a current list of known issues and their workaround.