This user guide will help you to navigate through making changes to your benefit plans, including adding and removing dependents and/or beneficiaries.
Note: Dependents are individuals that are covered under your extended health and/or dental plan(s). Beneficiaries are individuals who will receive life insurance or pension payments in the case of your death.
To complete a benefit change, you will need to complete the following:
- Health Care Elections (extended health care and dental plan)
- Insurance Elections (life insurance options)
- Retirement Savings Elections (pension plan)
- Review and Sign (review and electronic signature page)
- Inbox tasks
- Inbox tasks specific to marital status changes
Getting started
Once you have selected a benefit event, Workday will take you to your benefits plans screen. Click manage for each plan you are updating and then Review and Sign once changes have been made. Only the plans and options you are eligible for will display.
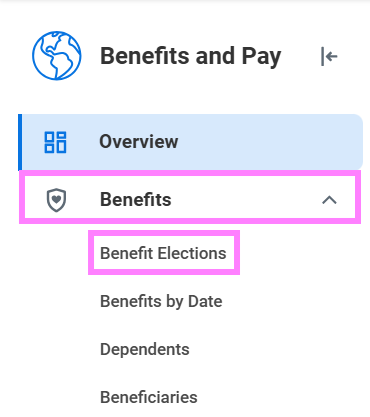
- On the Workday homepage, click View All Apps to go to Benefits and Pay under Personal OR for first time enrolment, navigate to your Workday inbox and continue from step 6.
- Click Benefit Elections under Benefits.
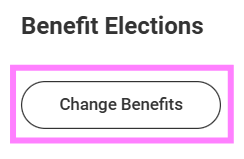
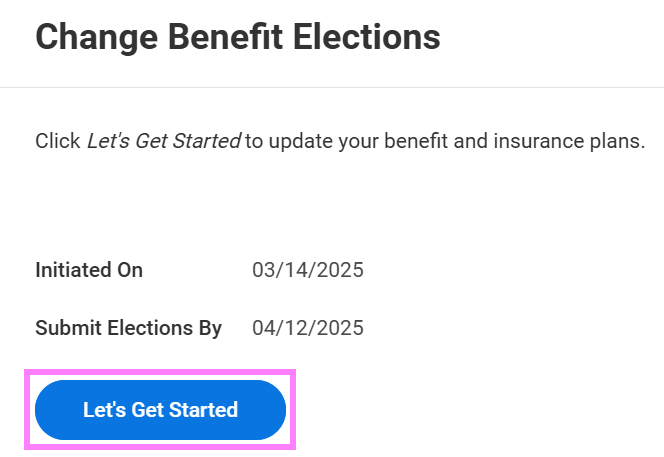
- From Benefit Elections, click the Change Benefits button.
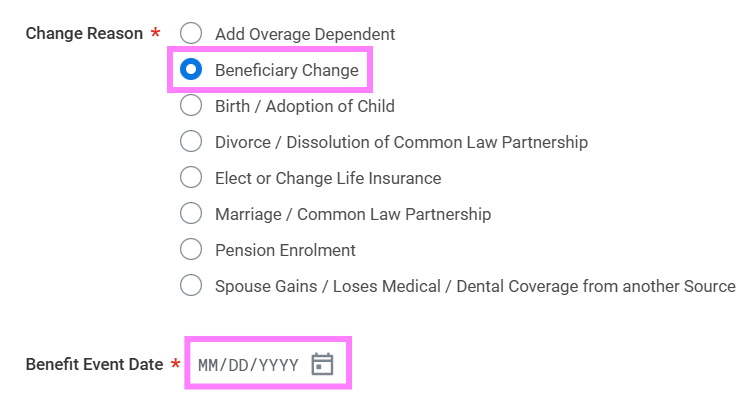
- From the Change Reason options, select the Beneficiary Change and click the Calendar icon to enter the Benefit Event Date.
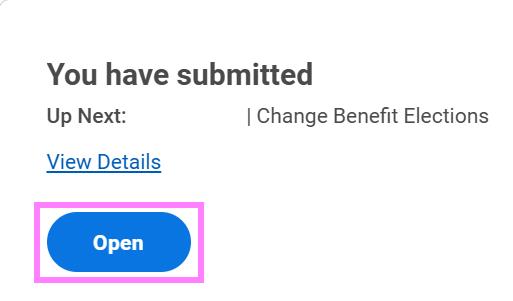
- Click Submit without attaching anything.
- Click the Open option in the pop-up window.
- Click Let's Get Started to continue on to update/view your tobacco use.
- Review your tobacco use and click Continue.
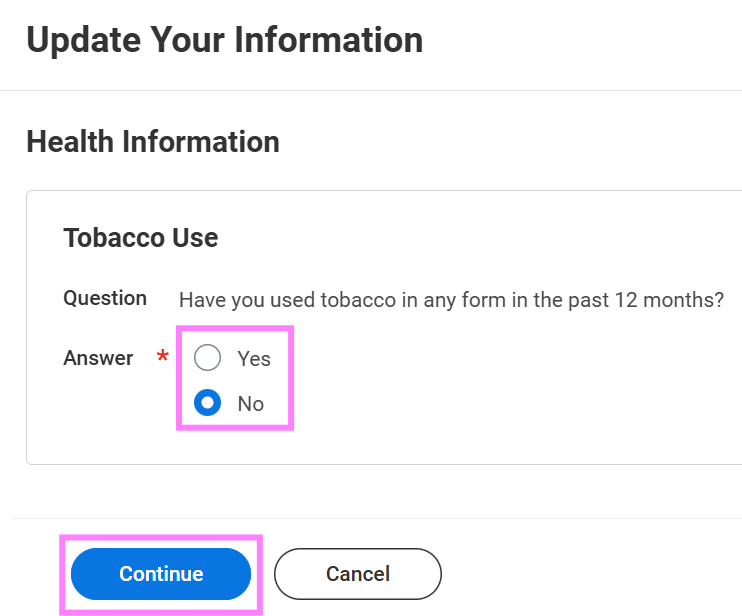
- Click Continue again to go to the benefit plans page.
Note: No changes are completed at this point. If you navigate away from this task, it will be saved in your Workday inbox for you to complete and submit from there.
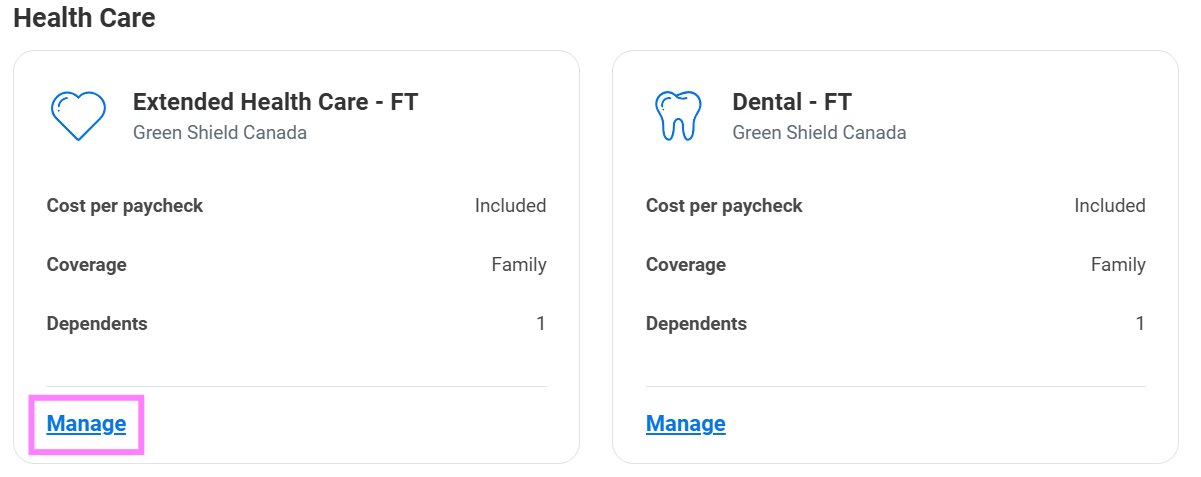
1. Health care elections
-
Click Manage under the Extended Health Care plan. NOTE: Part time employees have the option to waive Extended Health Care and Dental but must provide proof of alternate coverage
-
Click Confirm and Continue to go to the dependents screen.
-
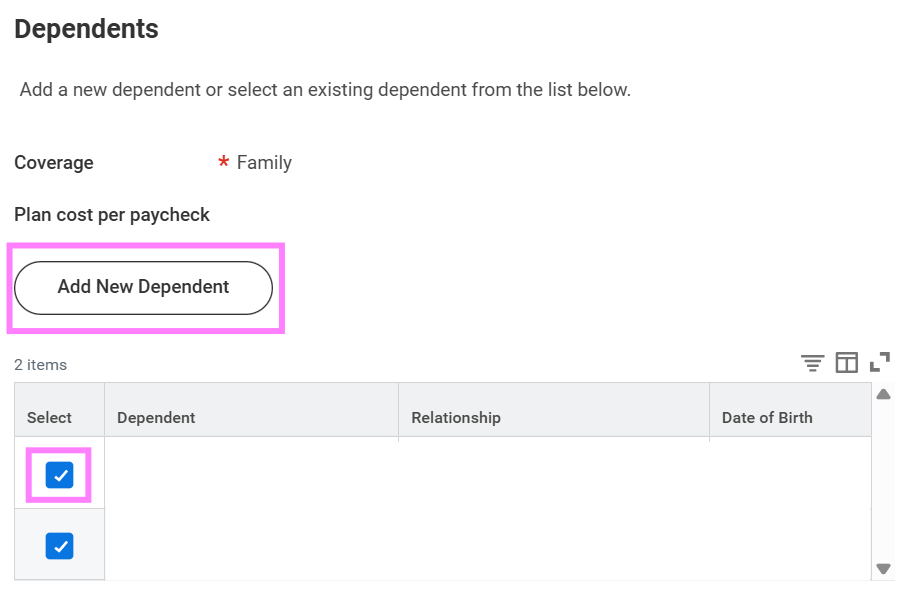
Click the check box beside each dependent's name to select/unselect them and continue to step 20. If adding a brand new dependent, click the Add New Dependent button and continue to step 12.
-
Select from the list of existing beneficiaries or emergency contacts or select Create Dependent if they are not listed.
-
Choose if your dependent will also be a beneficiary for life insurance or pension by selecting Yes or No.
-
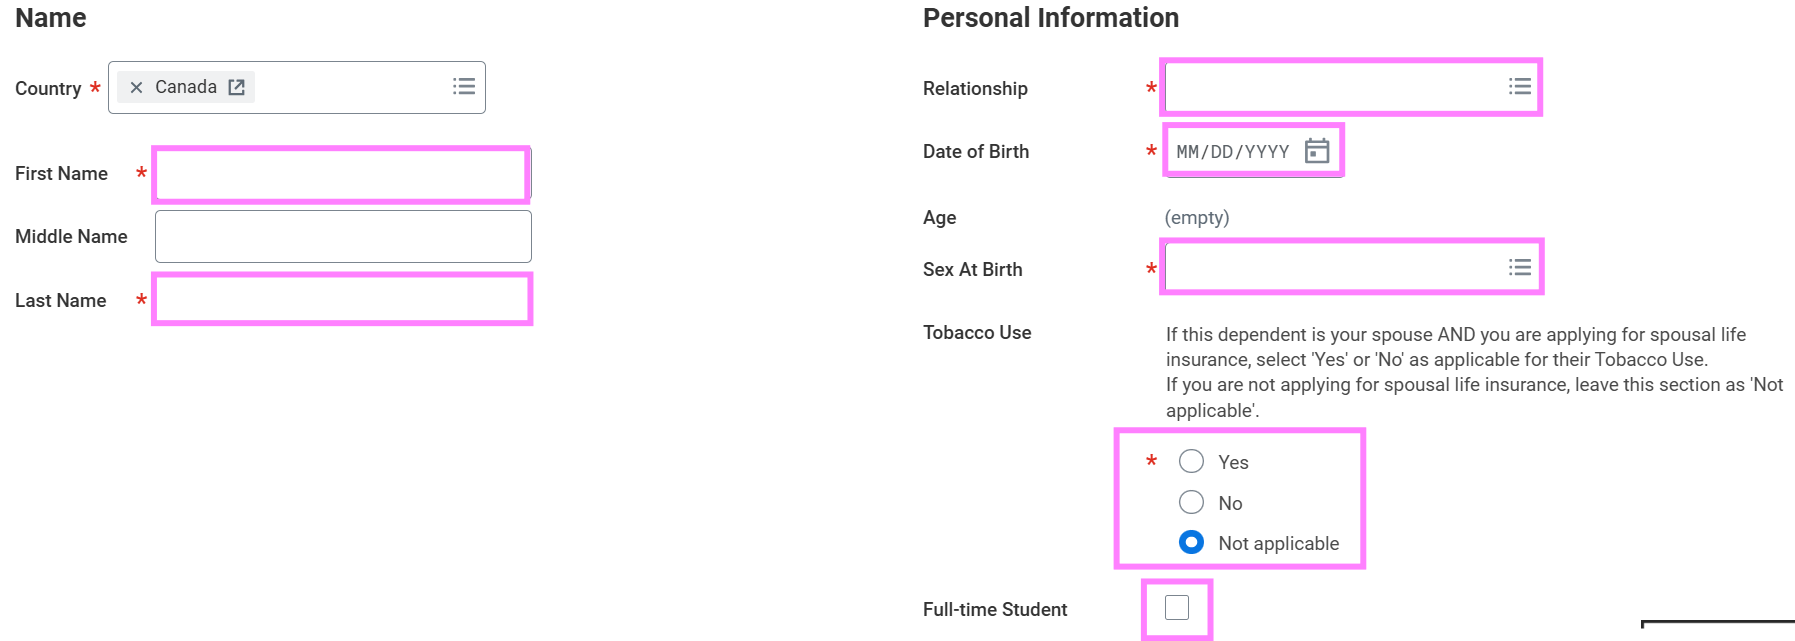
Enter their first name and last name.
-
On the right-hand side of the screen, enter their relationship to you, their birthday and sex at birth.
Note: Leave Payroll Dependent checked on and leave the Tobacco Use check box blank. This is for life insurance premium information and is not required here.
- If the dependent added is your child who is age 21-25 and is currently a full-time post-secondary student, check the Full-time Student box.
- Scroll down to enter the address and phone information. If this information is the same as yours, select Use Existing Address and Use Existing Phone to populate these fields, otherwise, enter the information in the appropriate fields.
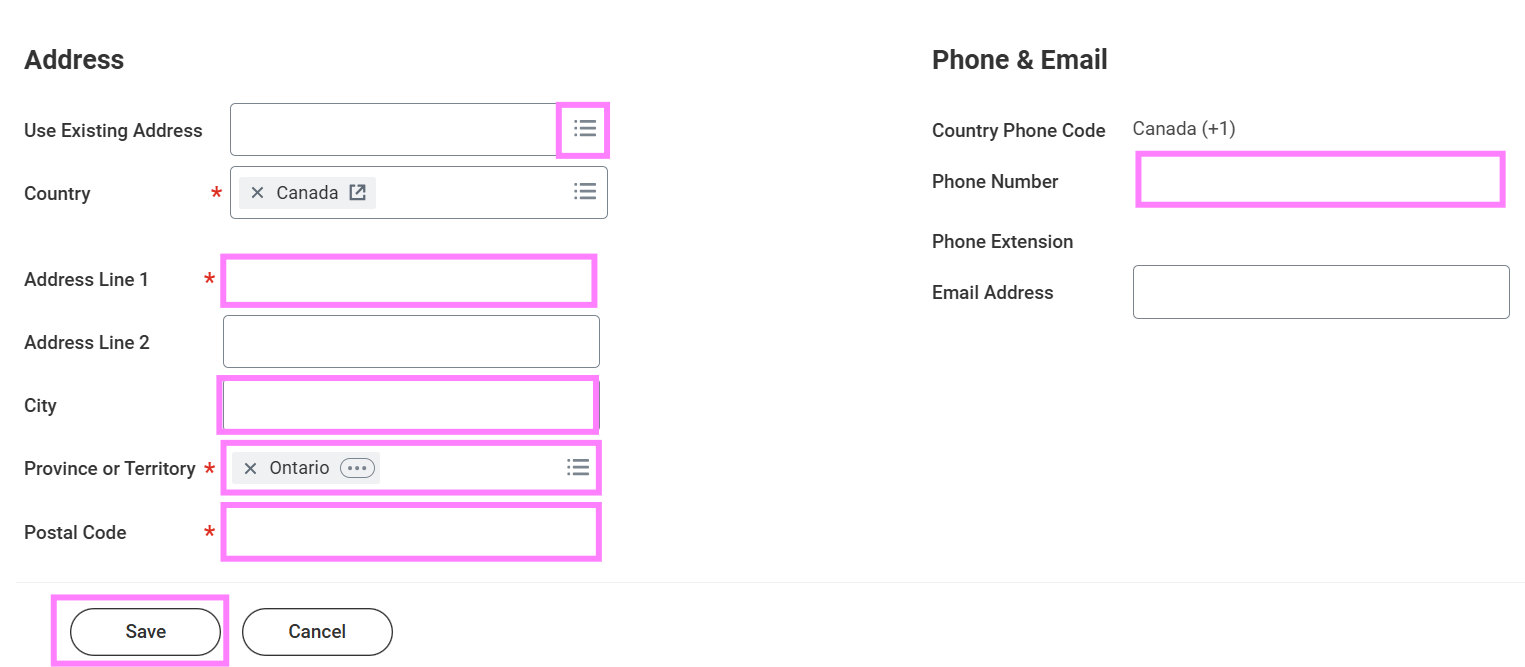
- Click OK.
- Your newly added dependent’s name will now display in the Dependent table. Repeat steps 11-18 for all additional dependents (spouse and/or children).
- Click Save when completed.
- If you also have dental coverage, dependents will default to the same as those entered in the Extended Health Care plan, unless you are a part-time employee with the option to waive.
Note: The same dependents should be listed under both health and dental plans.
2. Insurance elections
The Basic Life plan include coverage up to 3x (1x basic and 2x-3x additional) your annual salary. The Optional Life plan includes coverage from 4x-6x your annual salary. Optional Spousal provides coverage to your spouse of up to $200,000 in the event of your death.
You must have additional 3x before selecting the optional plan.
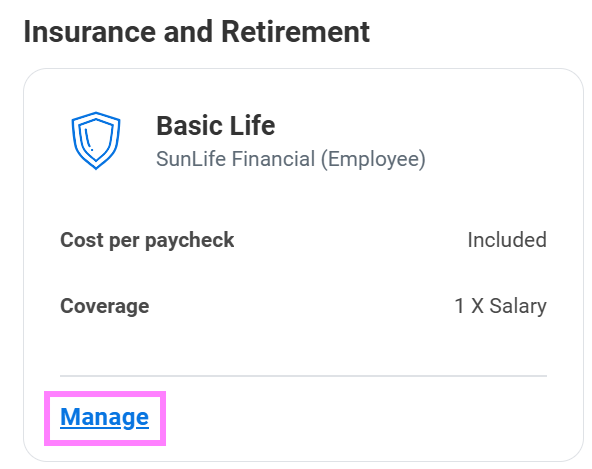
- If updating insurance elections or updating beneficiaries, click Manage under the Basic Life plan.
- Review your plan selections and click Confirm and Continue to go to the beneficiary screen.
- Click the + in the beneficiary table to add additional beneficiaries or the - to remove them.
- Click the menu prompt and select Add New Beneficiary (do not select Trust) if you have not set them up as a beneficiary yet, or Existing Beneficiary if you have already entered their information.
-
On the Add New Beneficiary screen, enter the following information:
-
Relationship
-
Name
-
Address
-
Phone number
For a Trust (i.e. minor child under 18), enter as follows:
- First Name: John Doe in trust for
- Last Name: Minor child full name
Note: All relationship/contact information should be for the adult trust. Each trust needs a separate record. If naming an Estate, First Name: Estate of; Last Name: John Doe
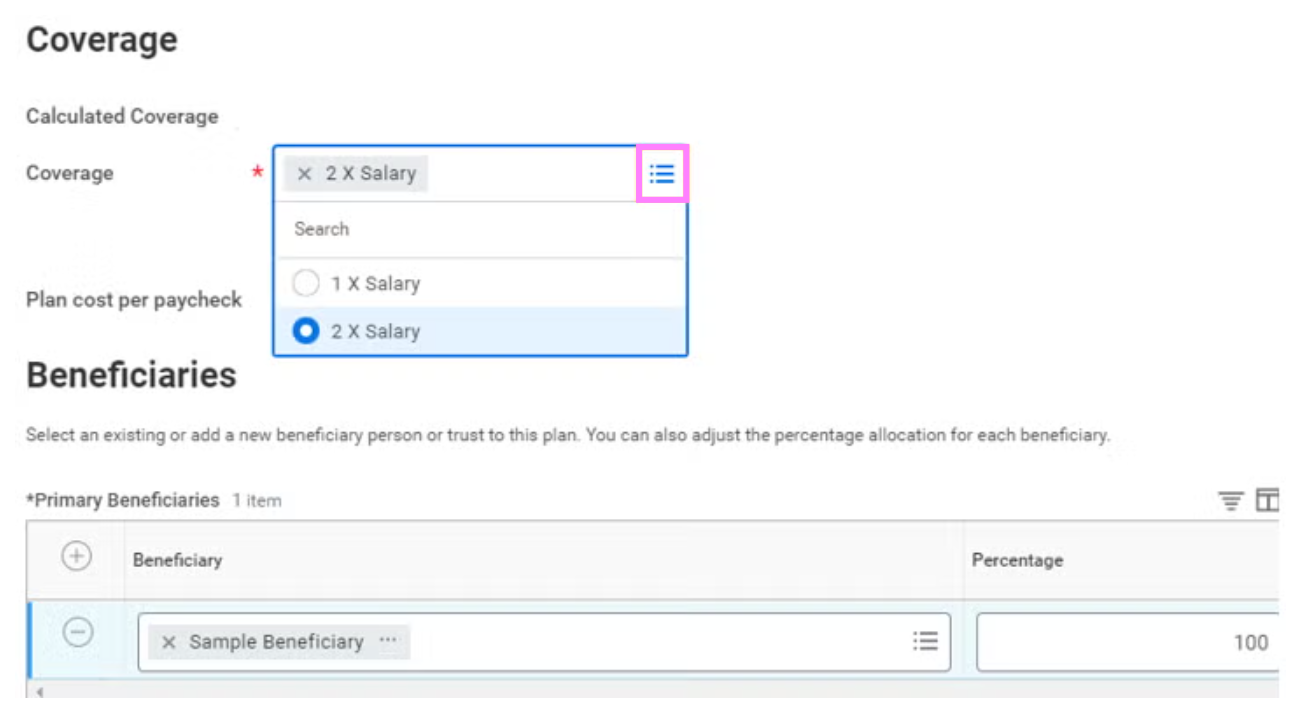
- Once your beneficiary is listed, enter the Percentage amount.
Note: Percentages must equal 100 for each plan.

- Repeat the process for any additional or secondary beneficiaries.
Note: Secondary beneficiaries are optional and can be listed as a back-up in case the primary beneficiary is deceased.
- Click Save and repeat steps 27-30 for each life insurance plan elected.
Note: Beneficiaries and percentages must be the same across all Basic Life insurance plans, i.e. if 50/50 for 1x basic life, additional basic life must be the same 50/50 split. Optional Life beneficiaries will automatically default to the Basic Life beneficiary designations.
- If you are increasing or decreasing additional insurance (more than 1x coverage), select the menu lines in the coverage field to select your preferred coverage amount.
Notes:
- You cannot waive 1X salary – it is paid 100% by UW. If you are not eligible for additional insurance, you will not see these options here. 2x and 3x life insurance premiums are partially paid by UW and partially employee paid.
- If you are electing to increase life insurance, you will need to complete an Evidence of Insurability form to be sent to Sun Life to determine eligibility. This form will come to your Workday inbox when you complete this benefit event change.
3. Retirement savings elections
- If enrolling in pension or updating beneficiaries, click Manage under the Pension plan.
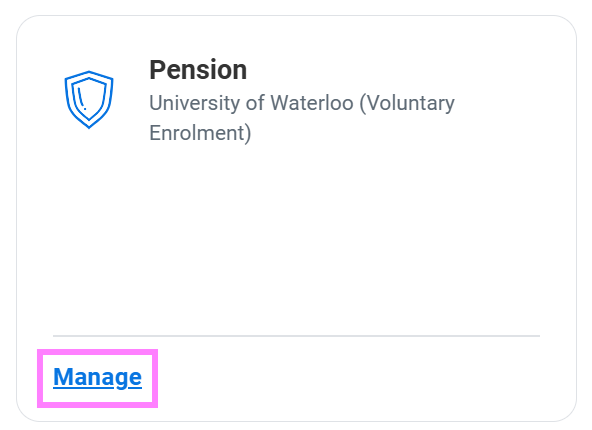
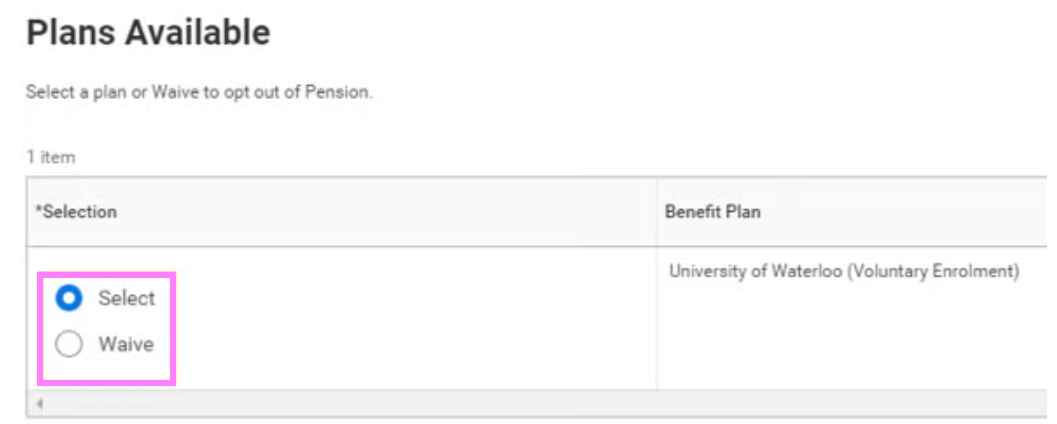
- Review and update your pension plan elections.
Note: You are only eligible to waive if you are under age 35. Employees not eligible for the pension plan will not have the option to elect. You cannot waive once you have elected to join the pension plan.
- Click Confirm and Continue to proceed to the beneficiary screen.
- Click the + in the beneficiary table to add beneficiaries or the - to remove them.
- Click the menu prompt and select Add New Beneficiary (do not select Trust)if you have not set them up as a beneficiary yet, or Existing Beneficiary if you have already entered their information.
-
On the Add New Beneficiary screen, enter the following information:
-
Relationship
-
Name
-
Address
-
Phone number
For a Trust (i.e. minor child under 18), enter as follows:
- First Name: John Doe in trust for
- Last Name: Minor child full name
Note: All relationship/contact information should be for the adult trust. Each trust needs a separate record. If naming an Estate, First Name: Estate of; Last Name: John Doe
- Once your beneficiary is listed, enter the Percentage amount.
Note: Percentages must equal 100 for each plan.
- Repeat the process for any additional or secondary beneficiaries, noting that a spouse must be listed as the primary pension beneficiary if applicable. If you would like to name someone other than your spouse as a primary beneficiary, you must complete a Spousal Waiver form and send it to HR in EC1.
Note: Secondary beneficiaries are optional and can be listed as a back-up in case the primary beneficiary is deceased.
- Once changes are complete, click Save.
5. Review and Sign
- Once changes have been made to all applicable plans, click Review and Sign at the bottom of the screen.

Note: Changes are not finalized until this step is completed.
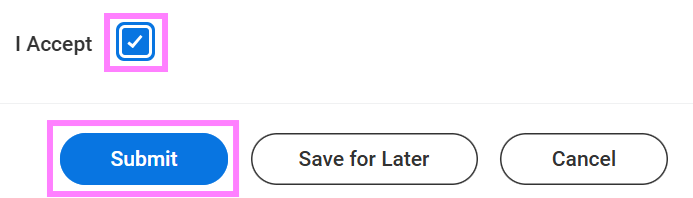
- Review your changes and scroll down to select the I Agree checkbox.
- Click Submit.
- This next page presents a summary of your benefit elections for your reference only. You may choose to print or save this page or just click Done. Do not send this page to Human Resources.
6. Inbox tasks
Wet signatures are required for legal purposes for any beneficiary changes. Navigate to your Workday inbox to find the Review Documents tasks.
- Click the PDF beneficiary document to print and sign. The original form with wet signatures needs to be sent to Human Resources in EC1. Forms should be sent within 30 days of change.
- Once sent, click I Agree and Submit at the bottom of the screen to complete your benefit changes. Repeat this process for both Life Insurance and Pension beneficiary documents in your inbox as applicable.
Note: Pension and Life Insurance each have their own beneficiary designation forms. The forms will only be sent to you if you make a beneficiary change to the associated plan.
7. Inbox tasks specific to marriage/common law partnership or divorce/dissolution of marriage events
-
If you are a part time employee and have waived Health or Dental coverage you must provide proof of alternate coverage
- Click the Update your Alternate Benefits Coverage (Part Time Employee) inbox task.
- Follow the on-screen instructions (repeated in more detail below) to navigate to your worker profile and provide your alternate benefits provider and policy.
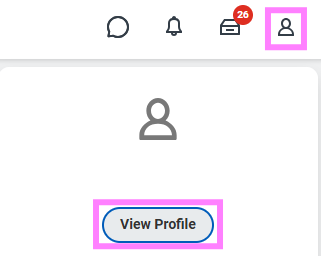
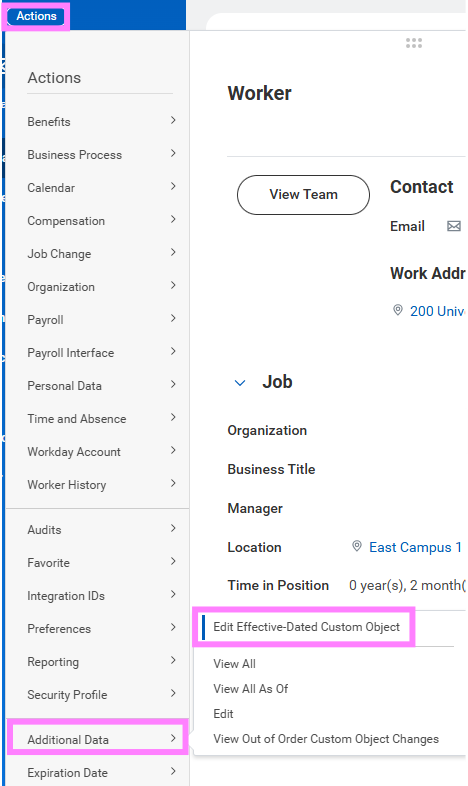
- Click the profile icon and click View Profile.
- Select the Actions button under your name and hover over Additional Data to select Edit Effective-Dated Custom Object.
- Enter the date benefits became effective in the Effective Date field and click OK.
Note: This is typically your hire date.
- Click the Edit Additional Data option in the pop-up window.
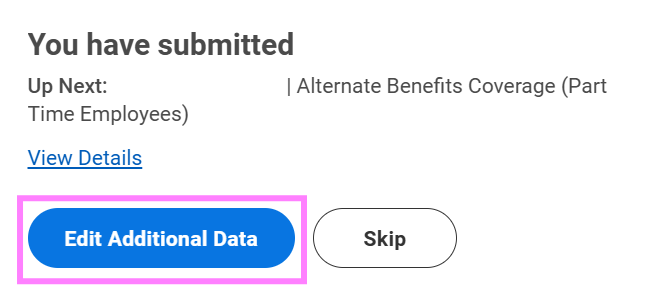
Note: If the pop-up is no longer on the screen, the Alternate Benefits Coverage (Part Time Employees) task will be in your Workday inbox. Complete and submit from there.
- Indicate the alternate benefits coverage provider and policy number for each of the waived benefit plans:

- Once complete, click Submit.
- Navigate back to your Workday inbox to submit the Update your Alternate Benefits Coverage (Part Time Employee) task to complete your changes.
Note: All inbox tasks must be submitted in order to complete benefit changes.
- Select the Update Marital Status task and click the Change My Personal Information button to navigate to the Change Personal Information page.
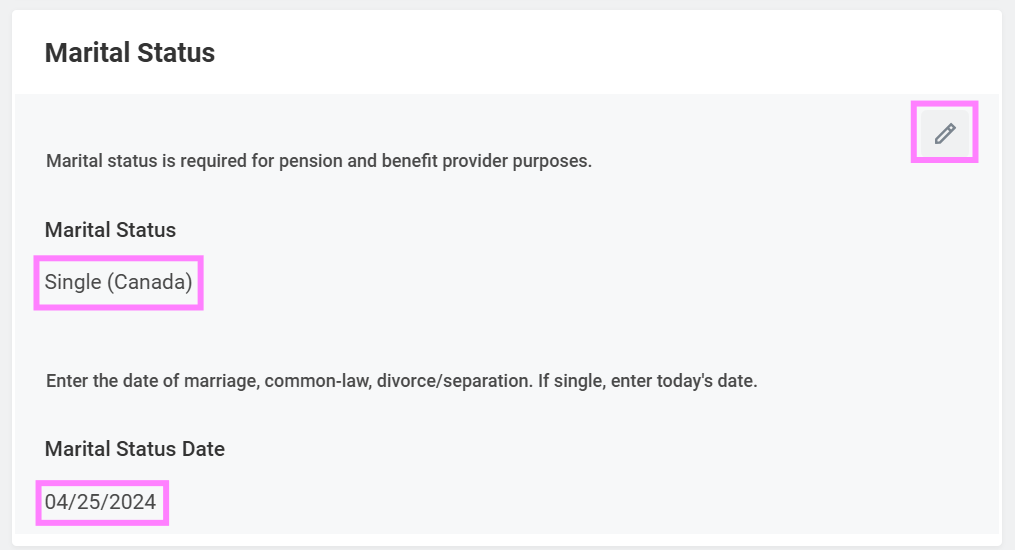
- Click the Edit icon (pencil in grey box) in the Marital Status section to update your marital status.
- Click Submit to return your Workday inbox.
- Click Submit on the Update Marital Status task in the inbox.
- Select the Review Documents option in the pop-up window OR navigate back to your inbox to select the Review Documents task.
A Declaration of Marital status form will be sent, along with beneficiary designation forms if you have made beneficiary changes.
- Print and fill out the Declaration of Marital Status form. An electronic copy can be emailed to hrhelp@uwaterloo.ca, or if you also need to send in beneficiary designation forms, the completed forms can be mailed together to Human Resources in EC1.
- Click the PDF beneficiary document to print and sign. The original form with wet signatures needs to be sent to Human Resources in EC1.
- Once sent, click I Agree and Submit at the bottom of each inbox form task to complete your benefit changes. Make sure to repeat this process for all Review Document tasks in your inbox as applicable - there should be no tasks left in your inbox when you are done.
Note: Pension and Life Insurance each have their own beneficiary designation forms. The forms will only be sent to you if you make a beneficiary change to the associated plan.