
A previous coop student named Ayoung Eun began this project in April 2023 but was unfortunately unable to finish. I picked up from where they left off. Ayoung had already the 3D printed a case for a Macintosh SE and had gathered the hardware needed for the interior. We both followed the tutorial by C Genco on Autodesk Instructables. (Ayoung also found another tutorial by Adafruit, but decided to follow the one on Instructables).
C Genco's Tutorial
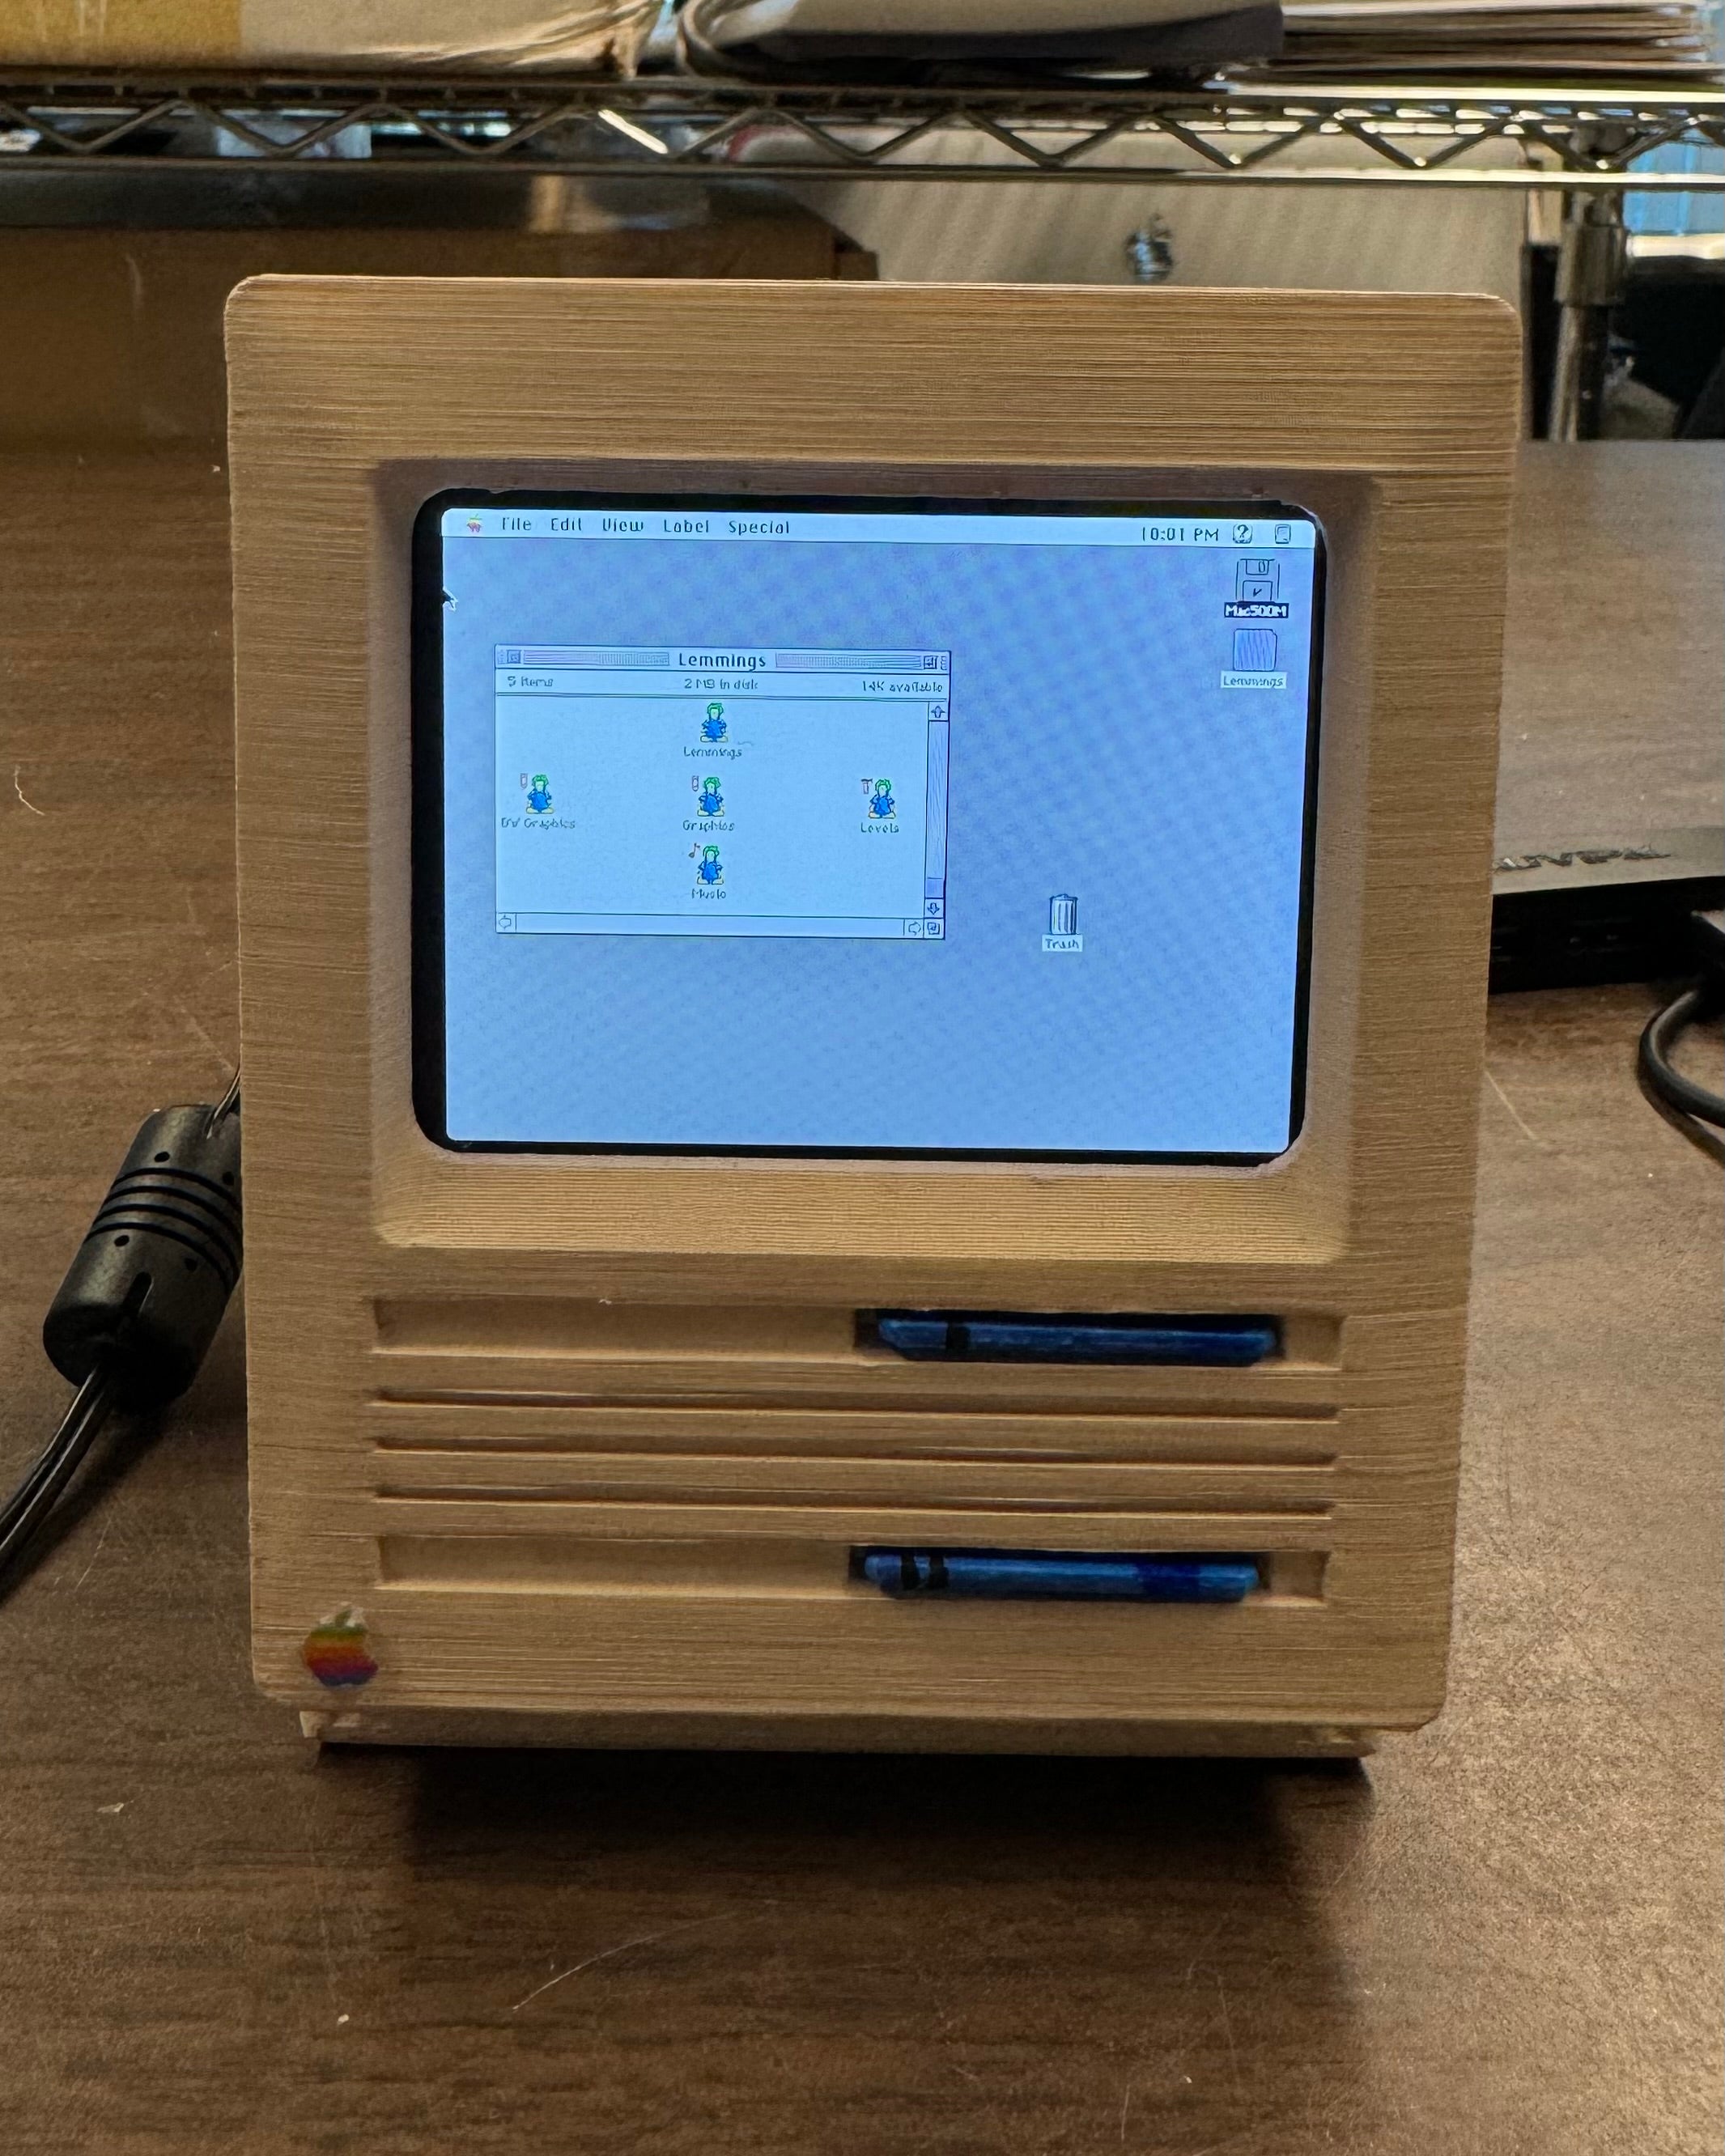
The first step was to compile software for the Mac SE on a Raspberry Pi Zero W. To do this I uploaded the Raspberry Pi operating system software to an SD card. From here I followed each link that C Genco had collected to emulate the old software. I had some trouble with the wireless card on the Pi, but after some trial and error ended up using a USB cable to put the files directly on the pi. The difficult part was over and now it was time for fun: choosing what games to put on the mini-Mac SE. I found the games on an archive for Mini VMac, and ended up choosing Lemmings for now.
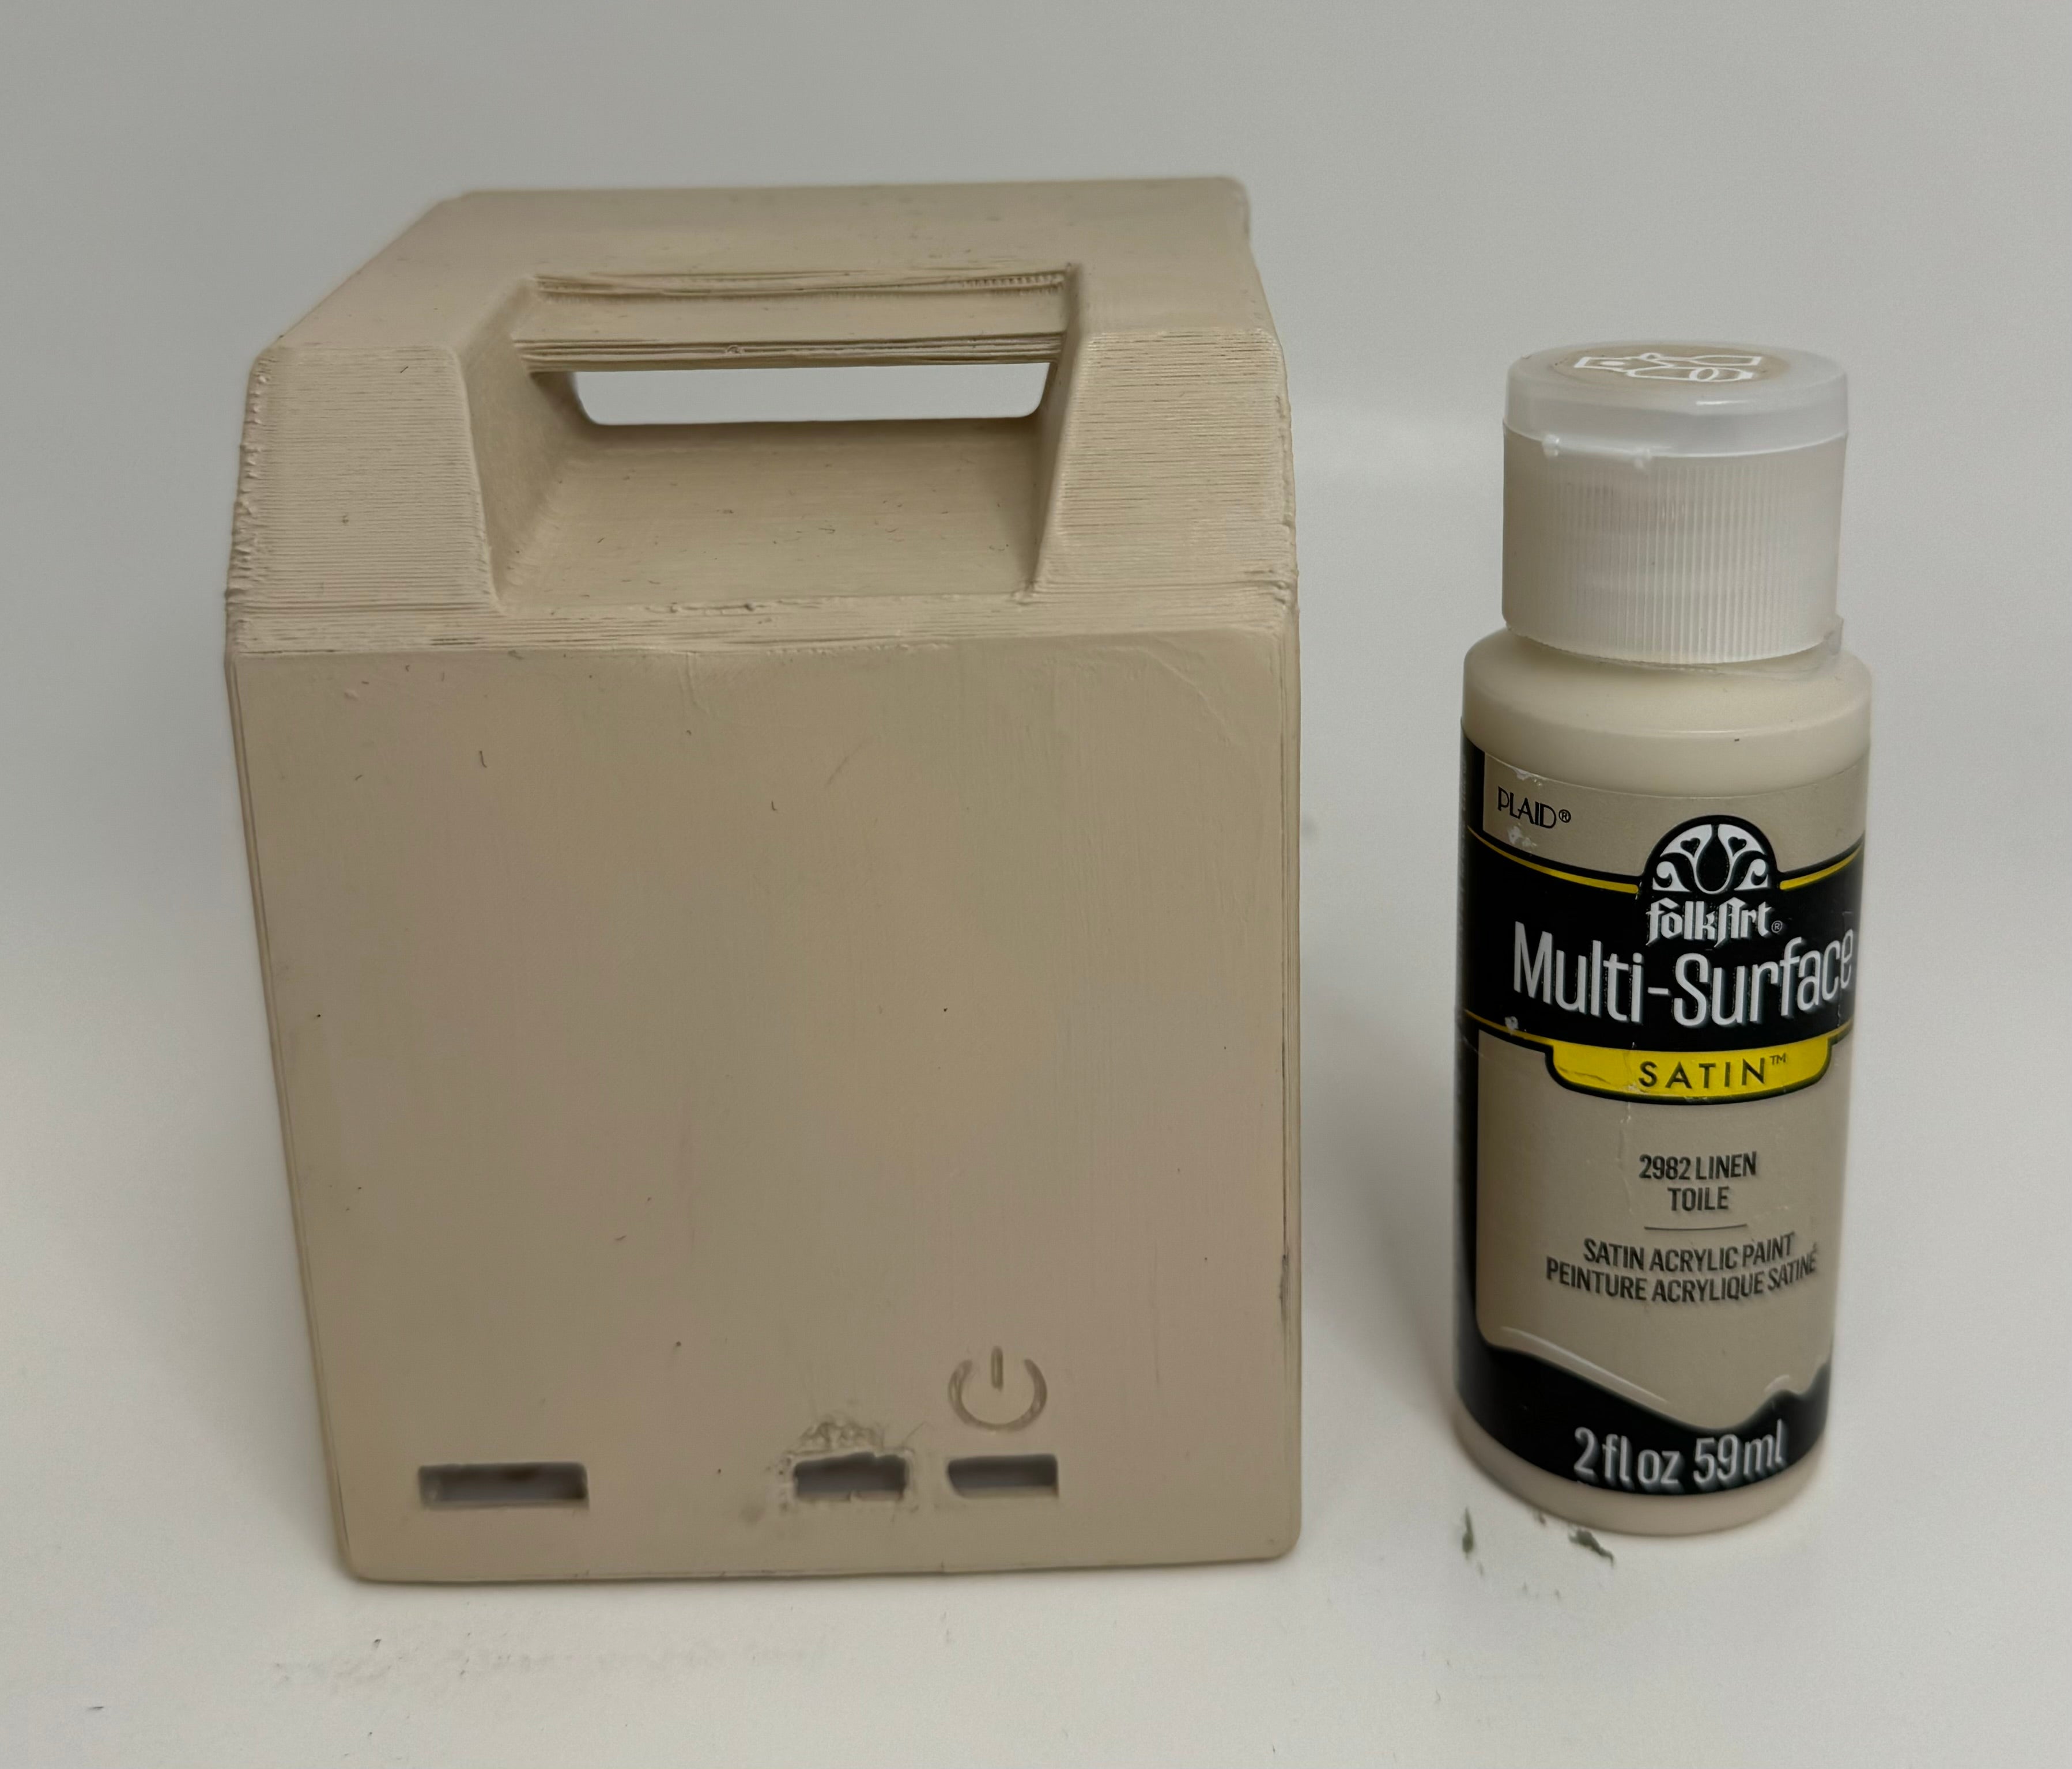
The hands-on part of this project was a good break from software. I soldered a 40-bit male part onto the Pi in the Science Resource Shop, a very student friendly place in the physics building room 135 (tip: you can buy a Pi Zero with the headers soldered on already). Then painted the 3d printed Mac SE the proper vintage beige (my paint colour was "Linen Toile"), and painted the small details like the apple logo and fake floppy disks.
After connecting the ribbon cable from the Pi to the screen, I did have to go in and add the software that would allow the PI to connect to the small display screen. The final step was to turn on the PI while connected to the small display screen, but the ribbon cable was plugged in wrong and the screen started to smoke (which I’ve been told is bad)! I had to order a new screen and wait for it to arrive.
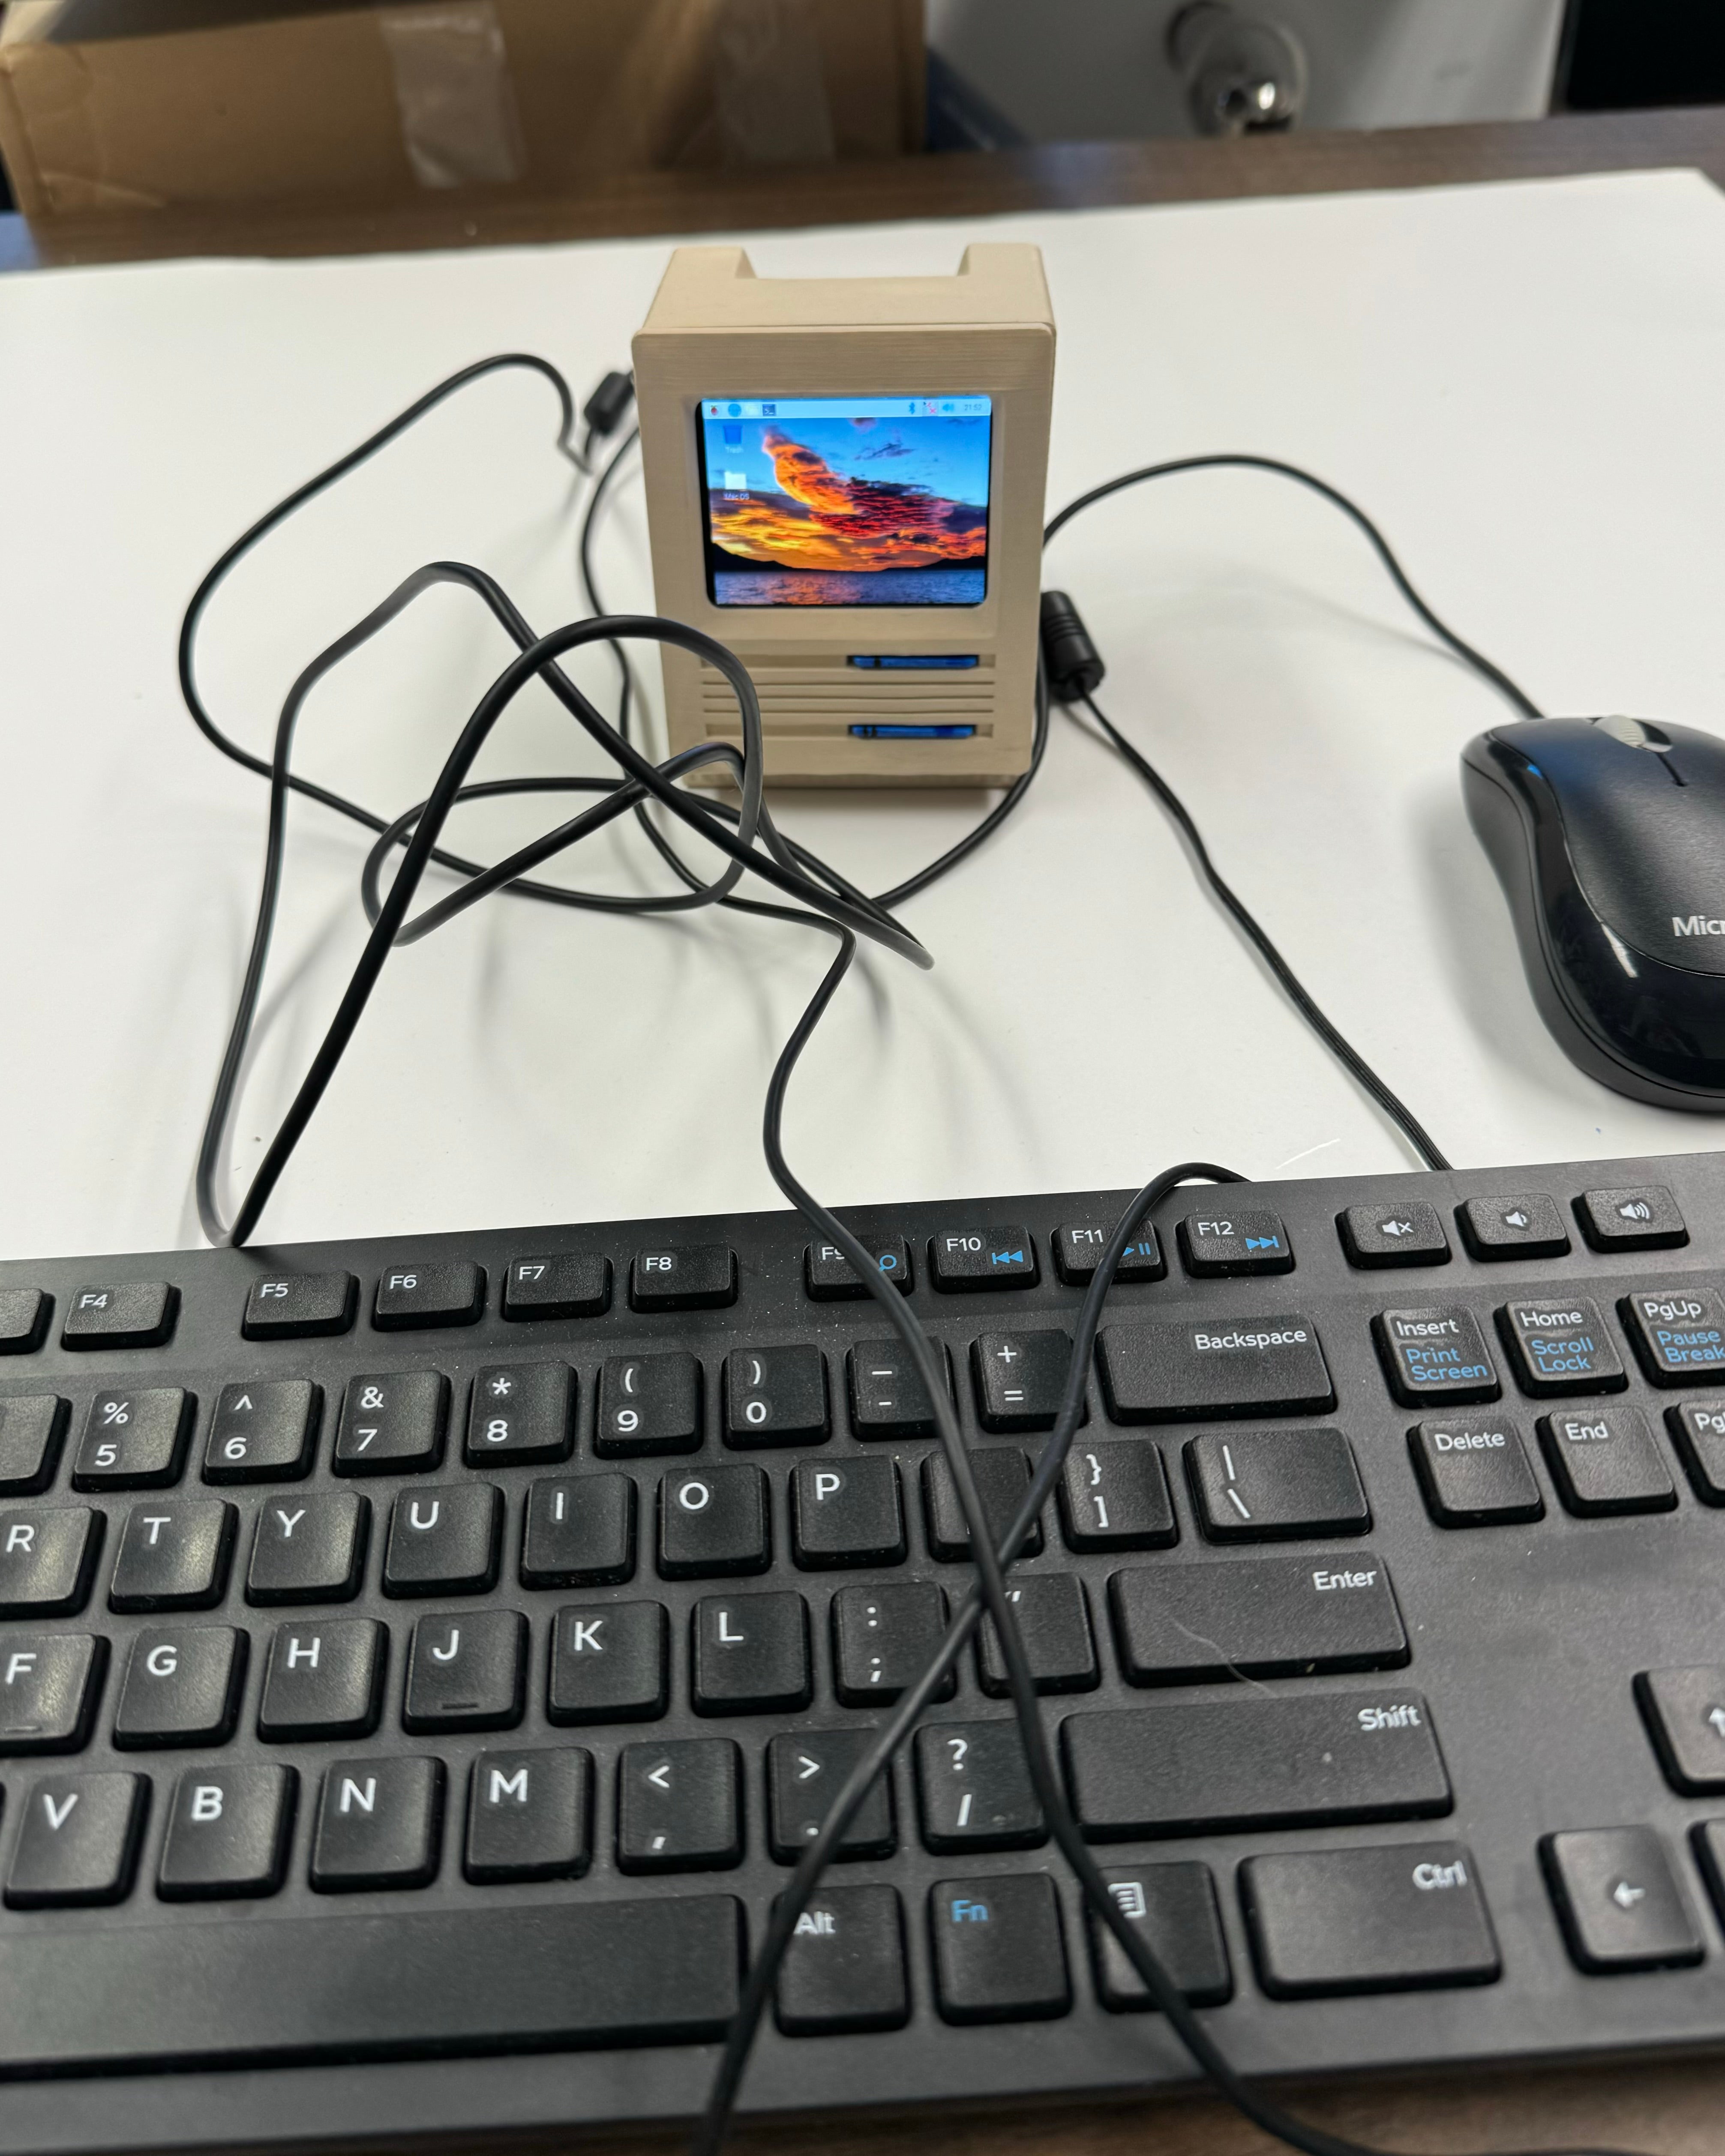
Two weeks later, the screen finally arrived and I plugged everything and booted up the Mini Mac. It was finally up and running! I’ve included photos of the final project. Feel free to come to the Computer Museum in the Davis Centre room 1316 to give it a try!

Waterloo Computer Museum. Mini-Macintosh SE. 2024.

Waterloo Computer Museum. Mini-Macintosh SE and paint. 2024.
Screen and Raspberry Pi Zero W

Waterloo Computer Museum. Inside Mini-Mac SE. 2024.
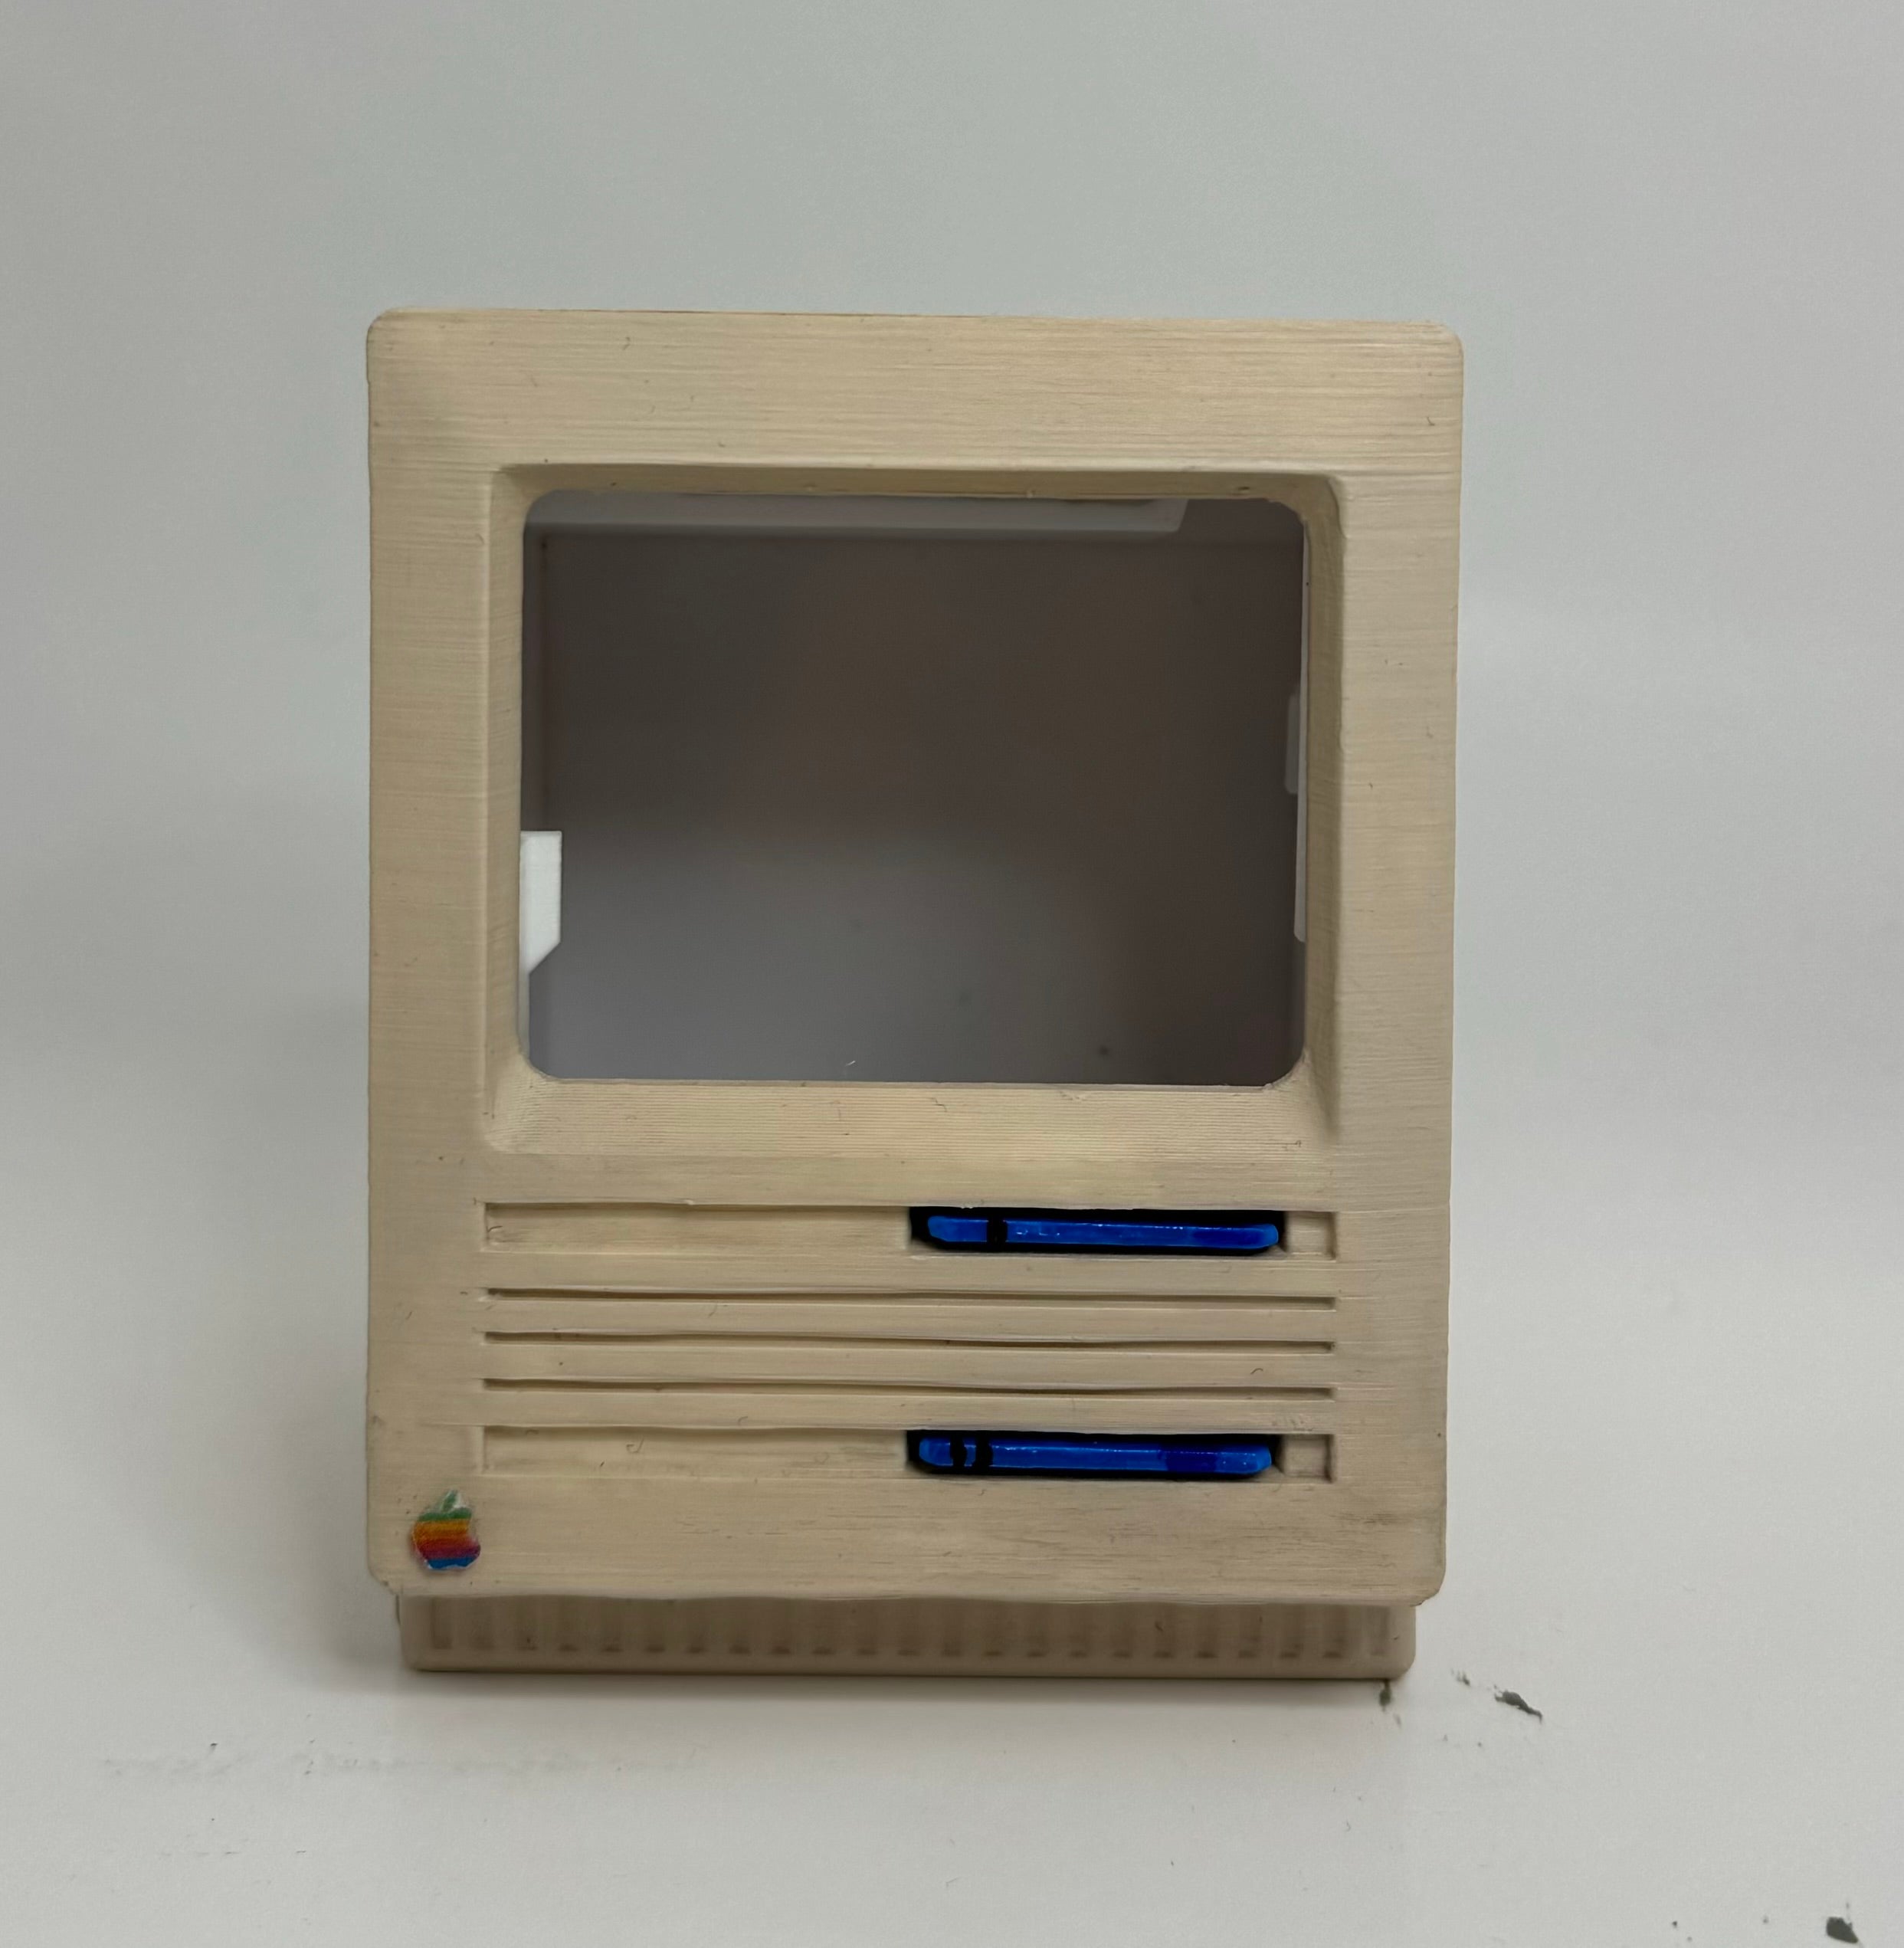
Waterloo Computer Museum. Mini-Mac SE. 2024.
Waterloo Computer Museum. Mini-Mac SE. 2024.

Waterloo Computer Museum. Lemmings on Mini-Mac SE. 2024.
Some Insights
If you are looking to recreate this project I have some recommendations if you plan to follow C Genco's tutorial.
First, the tutorial suggests connecting the Pi to Wi-Fi and transfer the files wirelessly. Connecting the Pi to the University of Waterloo Eduroam Wi-Fi network was a challenge: I followed this tutorial if you are interested. It worked, sort of. It was much easier to transfer files with a USB stick plugged directly into the Pi with an micro-USB adaptor.
When connecting the Pi to the Waveshare display be careful that the first pin on the Pi (marked by a square) is correctly connected by the cable to the first hole on the display. This is where I ran into an issue and short circuited the first Waveshare screen. To know what the first pin on the screen is look at the website photo to see where both components connect.
Make sure to shut the Pi down properly from the software. If you just pull the power cable or remove the SD card it will probably corrupt the contents of SD card and you will have to re-download the Pi software and start over.
Finally after connecting the Pi to the small display screen, you will need to add four extra files onto the SD card. At this step make sure you have finished uploading all of the Mac OS software to the Pi. The files added onto the SD card, to connect to the small display, change the Pi startup so that is will no longer work on a HDMI connection to the computer. This means you will now only be able to work on a 2.8" screen which is very hard to see.
USB stick plugged directly into the Pi with an micro-usb adaptor
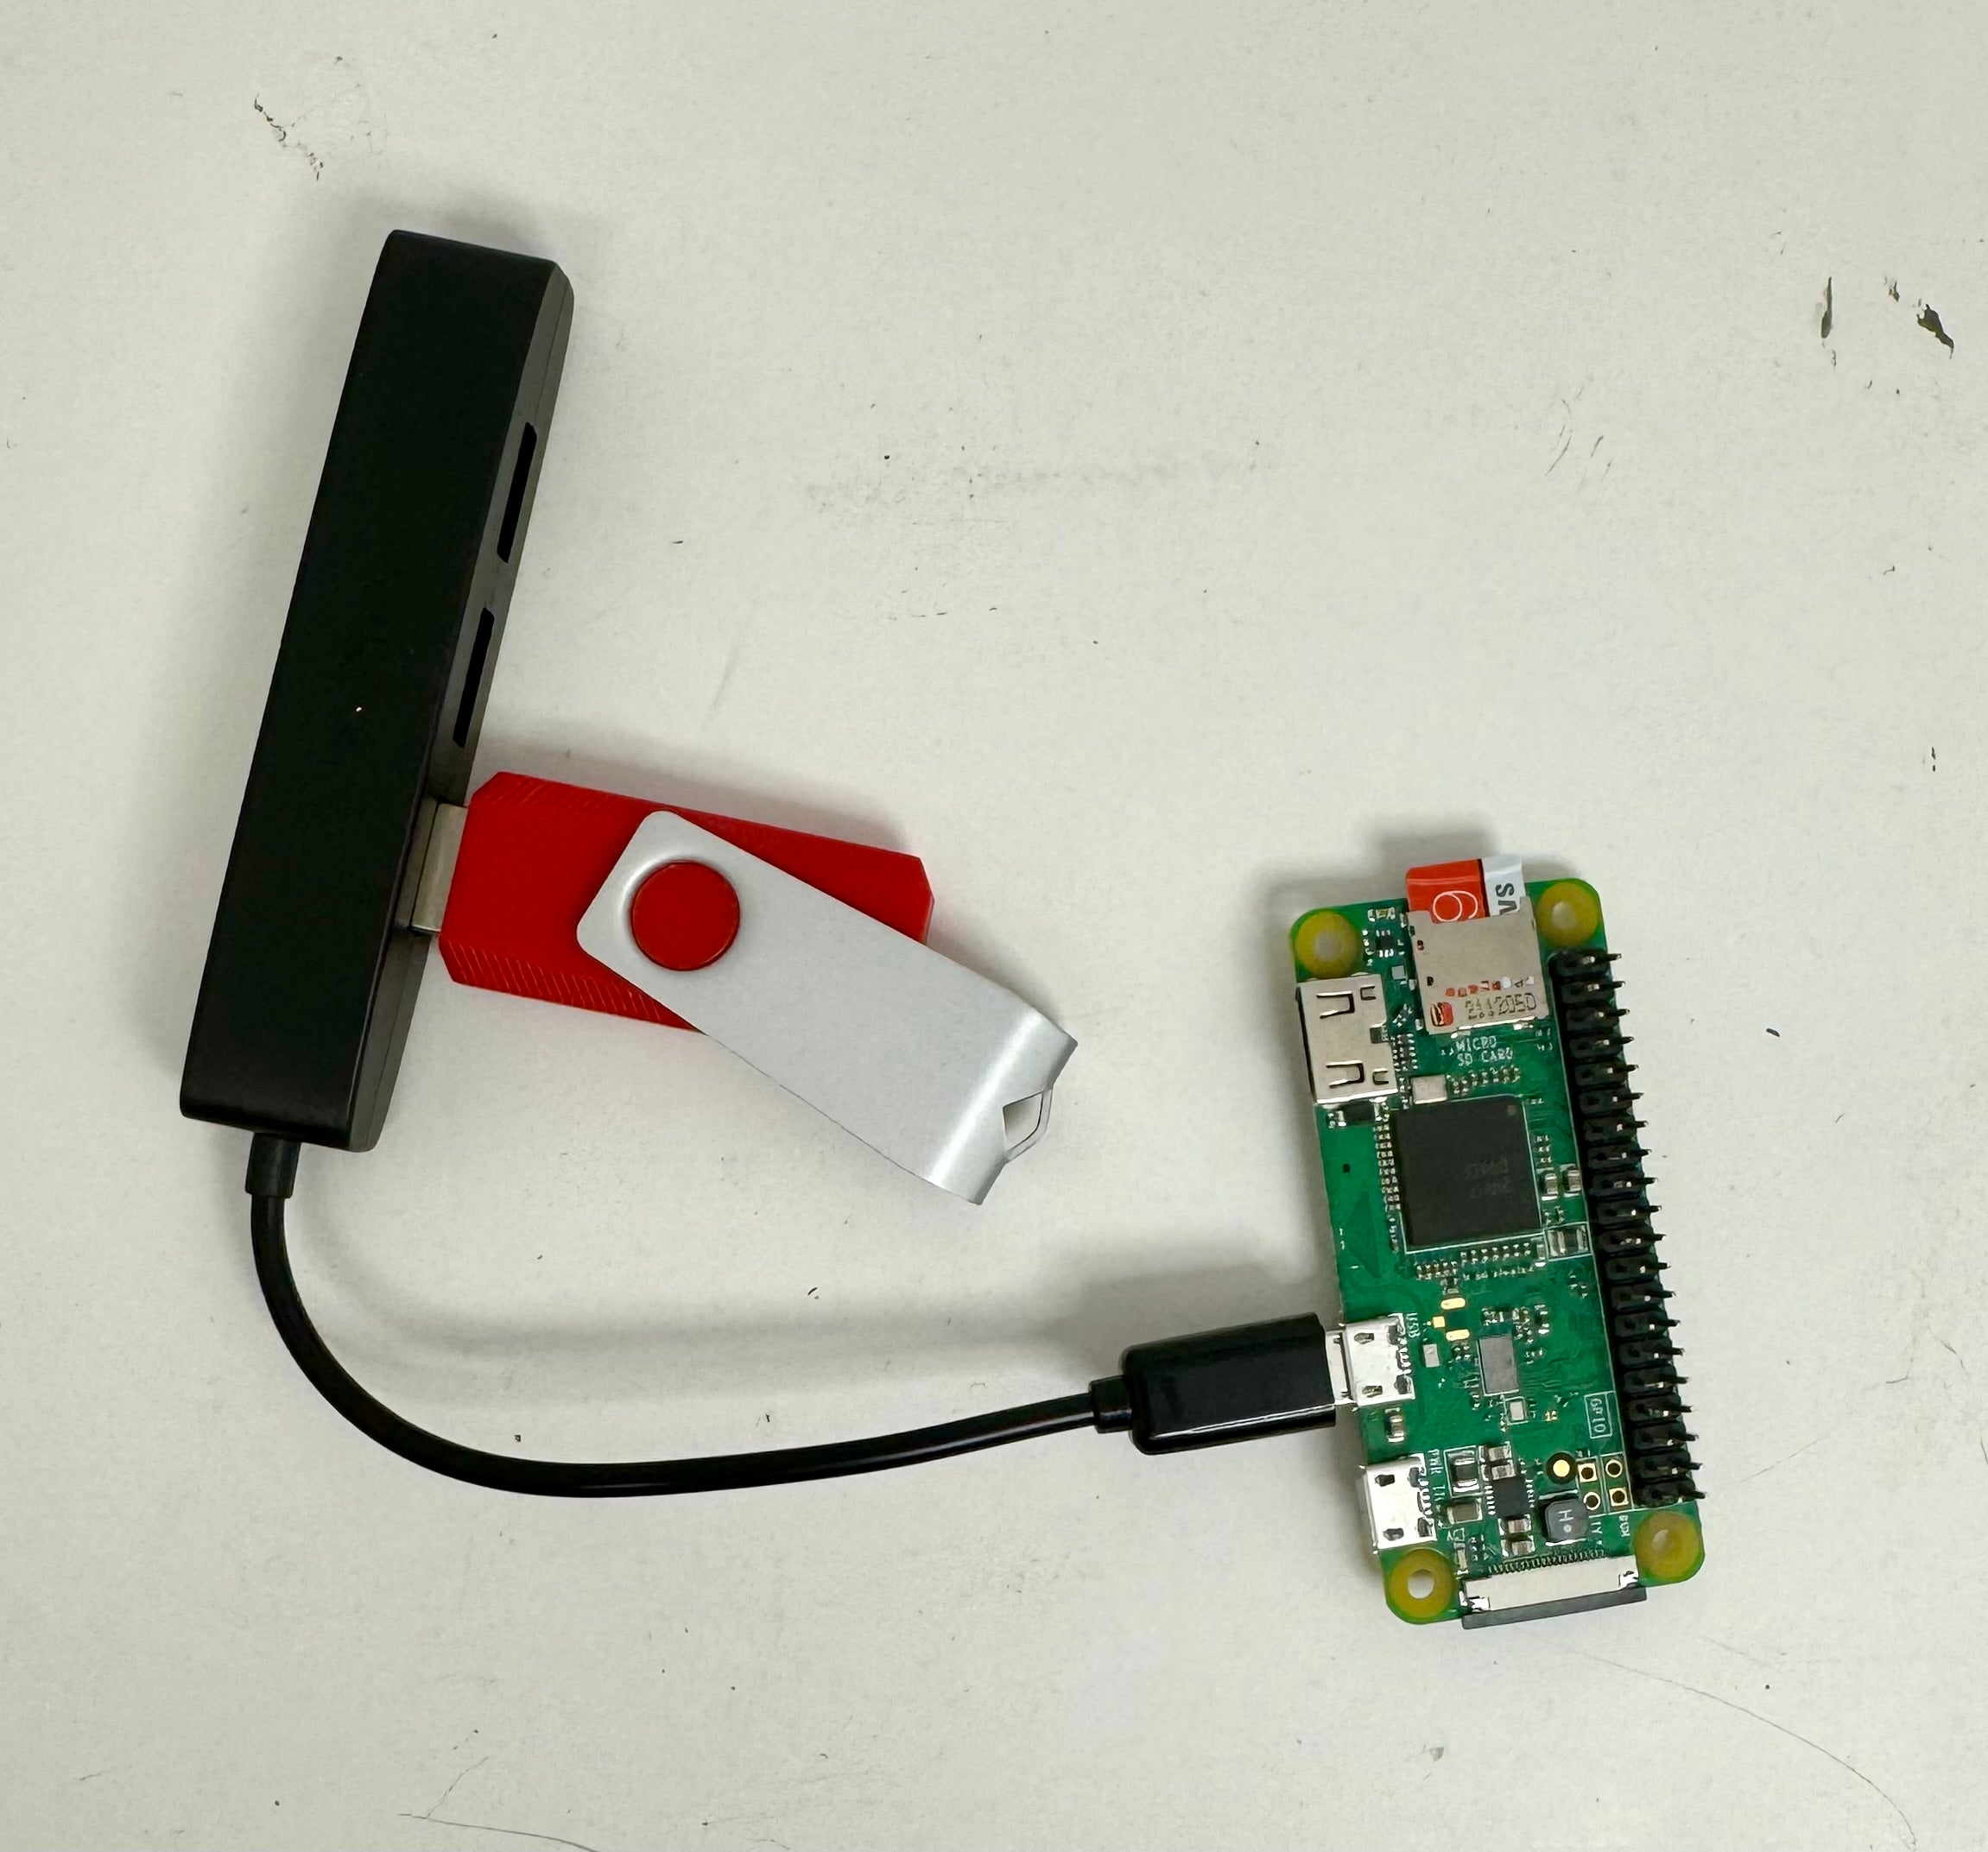
Waterloo Computer Museum. Pi and USB. 2024.
Waveshare and Pi Orientation
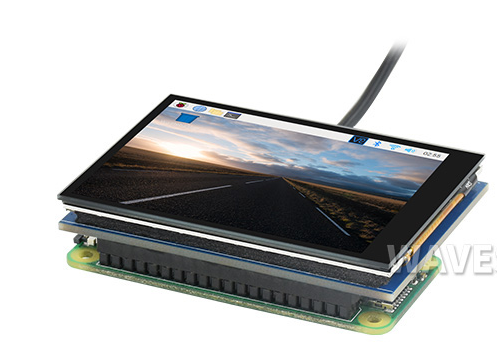
Waveshare. 2.8" Touch Screen. 2024.
About the author
Charlotte is a Physics and Astronomy student currently in her 2B term at Waterloo. She enjoys tinkering and creating all forms of art in her free time. She works at the Computer Museum as their current Winter 2024 coop student.