By Charlotte Wipp
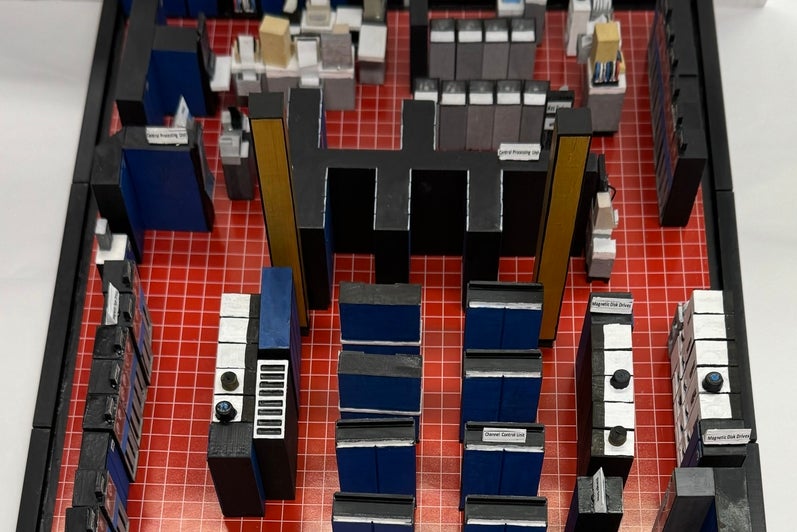
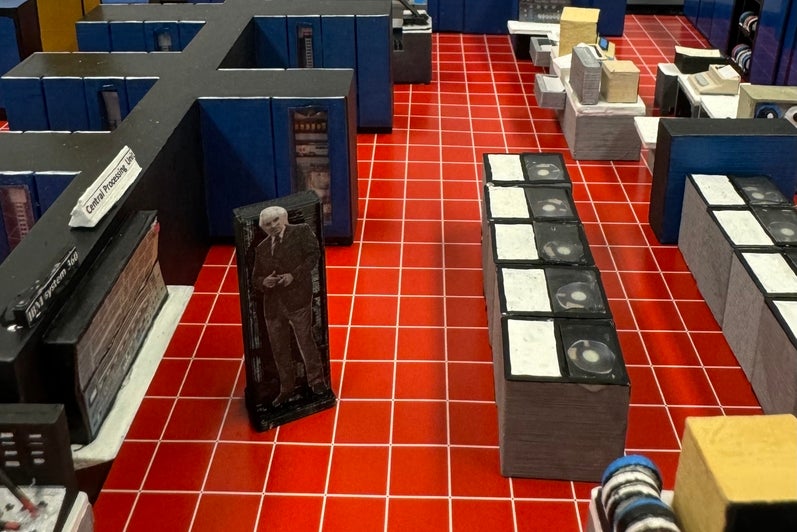
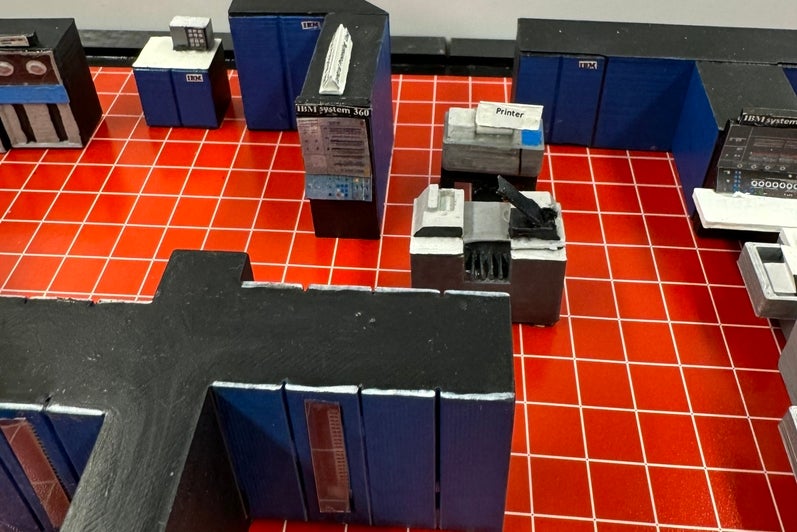
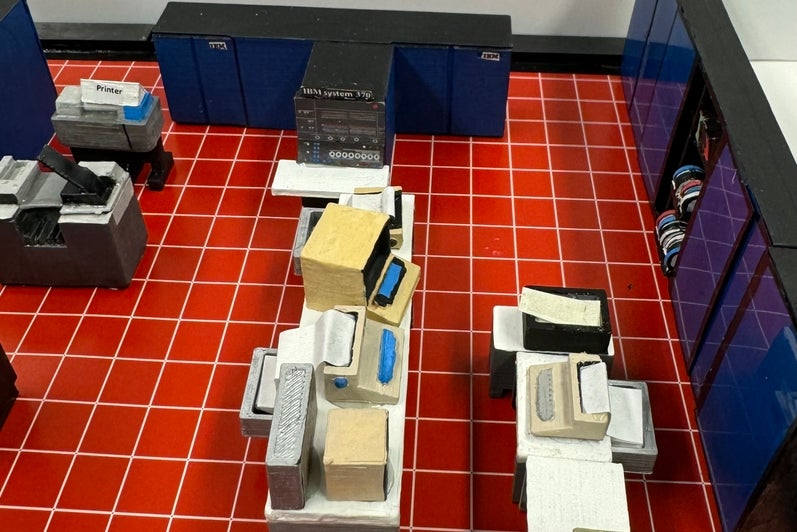
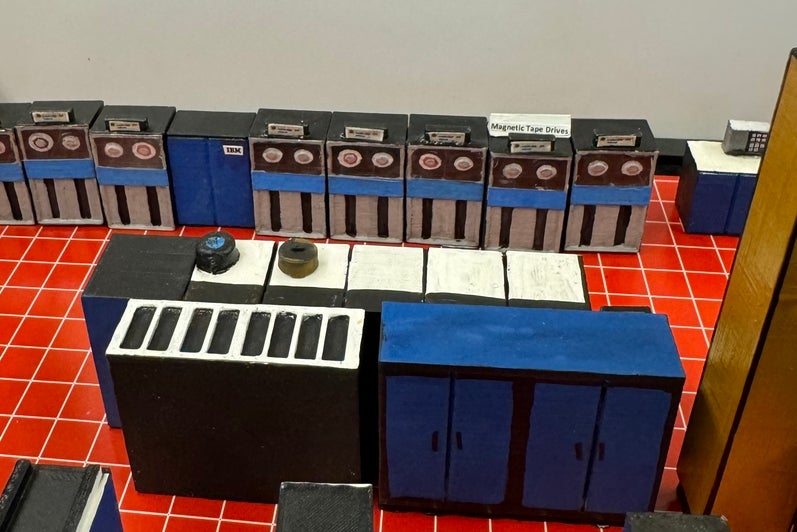
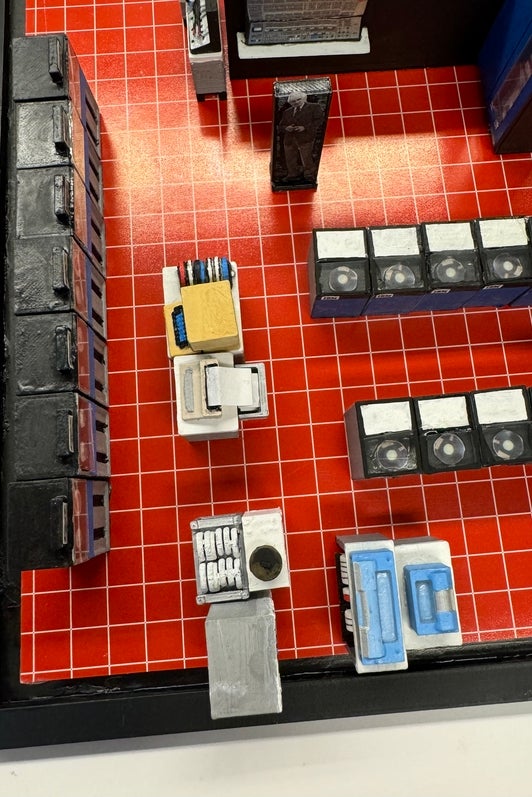
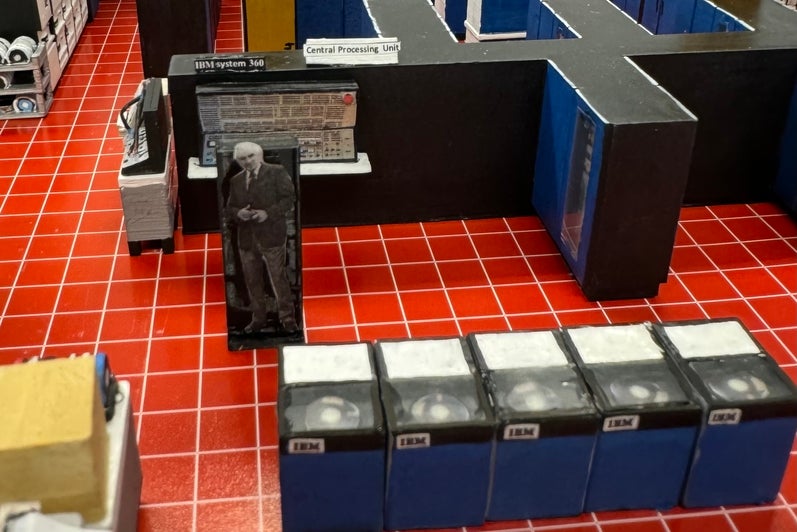
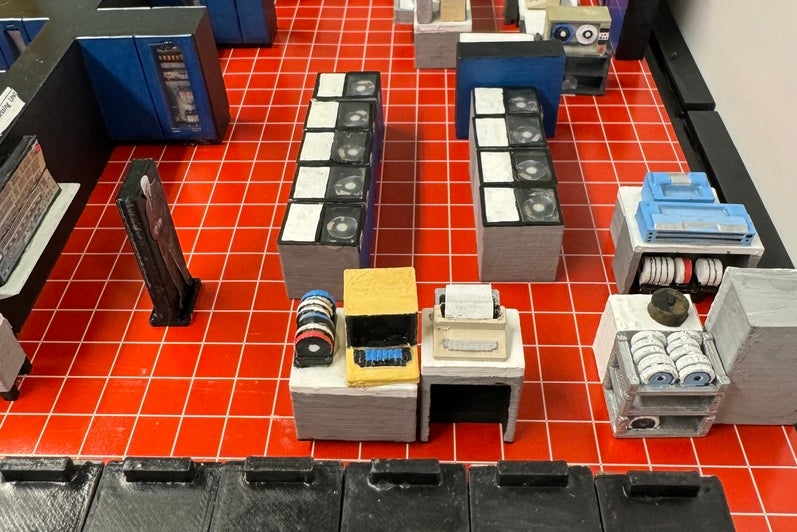
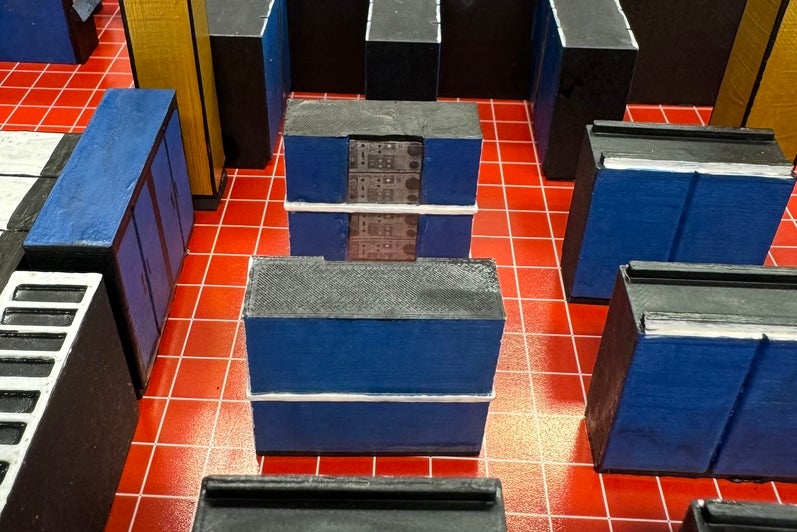
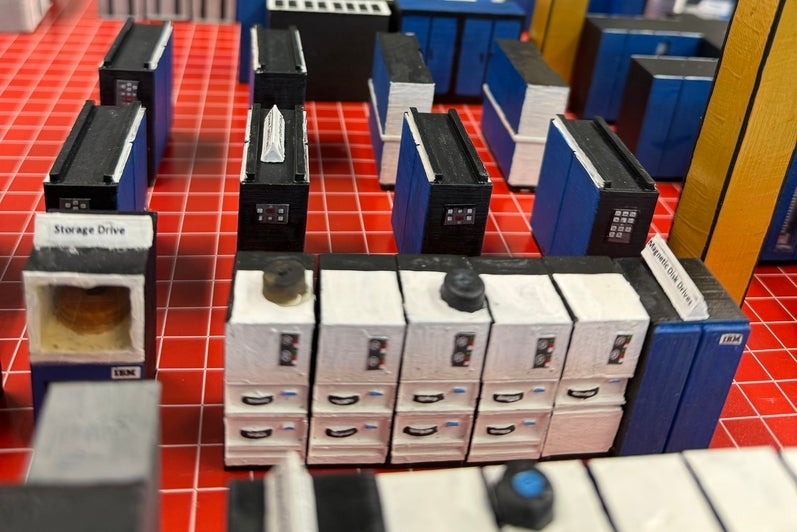
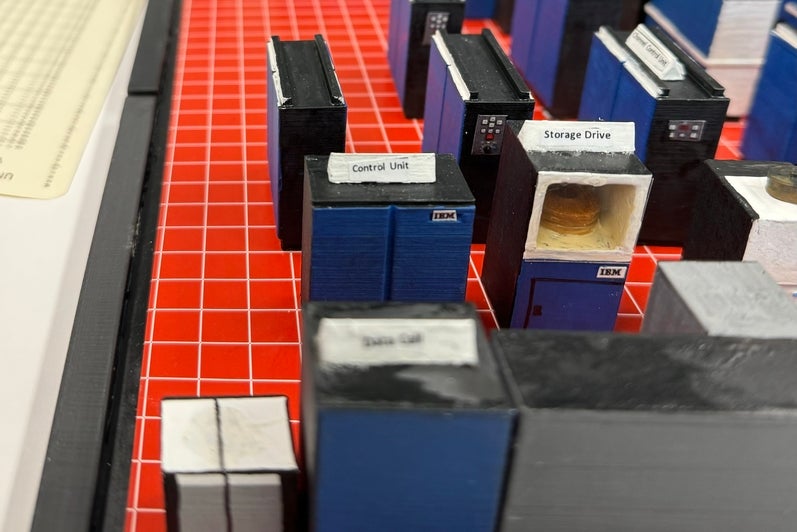
For one of my final projects during my winter 2024 coop experience at the Computer Museum, it was suggested that I could create a diorama of the famous Waterloo Red Room. Overall, the project took me about eight weeks, and consisted of research, modeling, painting, and a lot of my intuition filling in the blanks.
What is the Red Room?
The Red Room was a two story computer center that existed in the Mathematics and Computing (MC) building between 1967 and 1999. Surrounding the room on the second story were glass walls, showcasing the room for viewers of the computer cathedral. The room itself was surrounded by lecture and study halls, where students could run their programs through a cafeteria style computing format.
Why was the Red Room red?
Although the exact reason is unknown, there have been a few individuals who worked in the Red Room that had an idea.
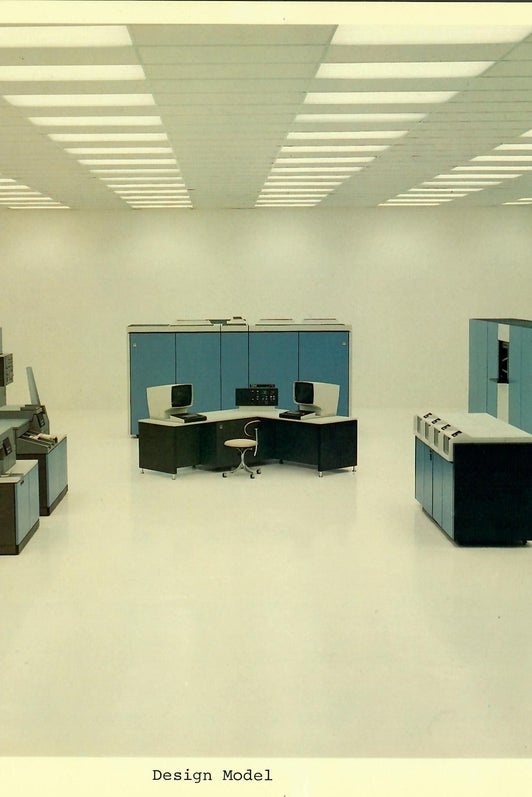
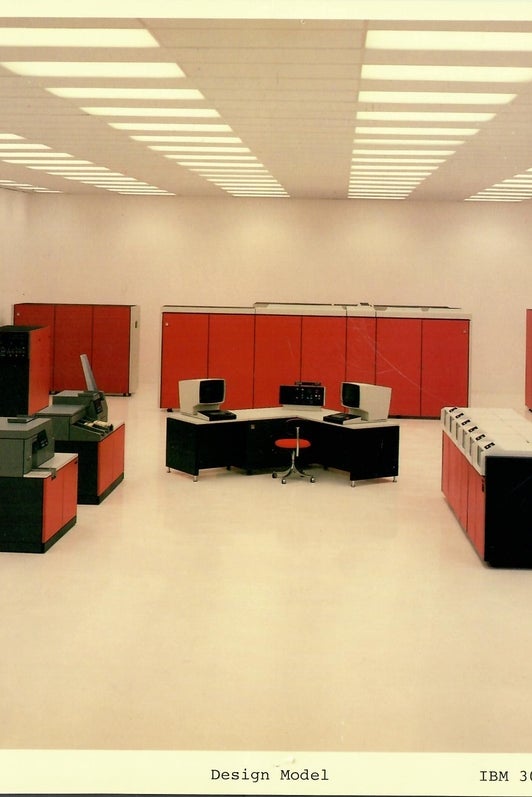
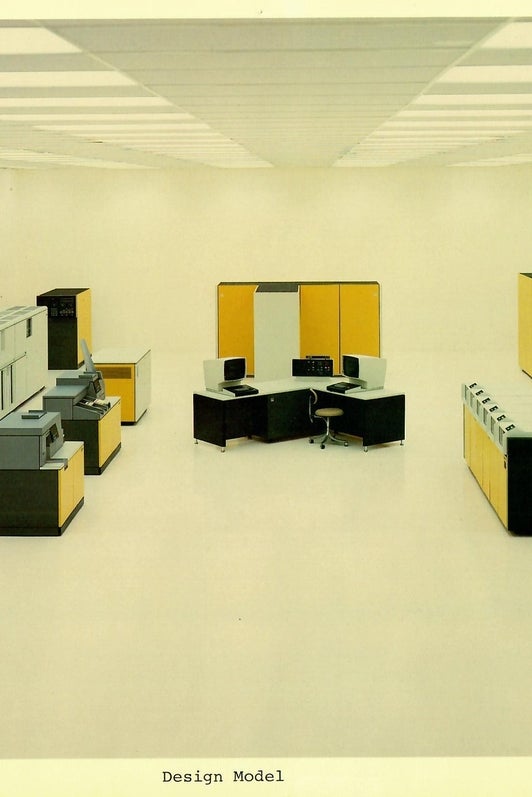
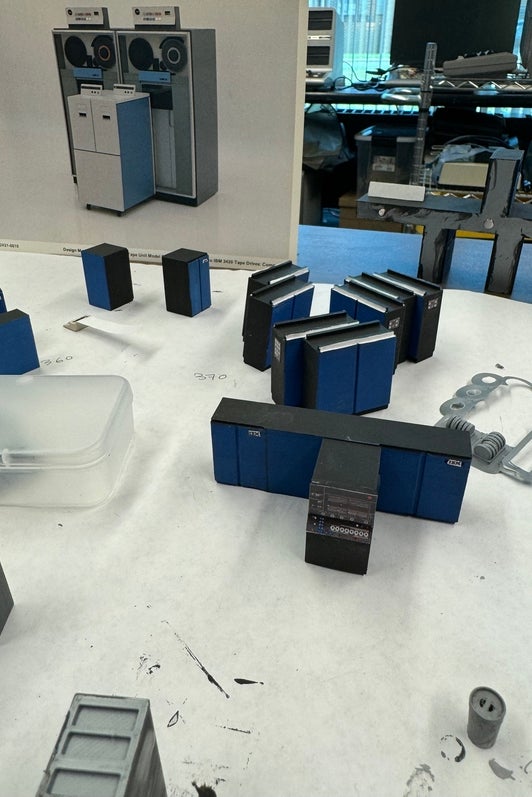
According to them, it was a designer hired by the University who chose the red, infamously while Wes Graham was away. IBM equipment could be ordered in several different colour sets or 'families', as pictured to the right. The designer chose red computer cabinets, then matching red floor tiles and red walls. When we asked Don Cowan--the founding chair of the Department of Computer Science--about the choice he suggested that it was purely for drama. However, red floors and red wall and red IBM cabinets would have been a disaster waiting to happen for people's depth perception so a compromise was reached to get the blue cabinets (in the 1970s, IBM settled on a similar blue for its own logo and marketing). Supposedly, when Wes Graham returned he despised the colour, but eventually warmed up to it.
What was in the Red Room?
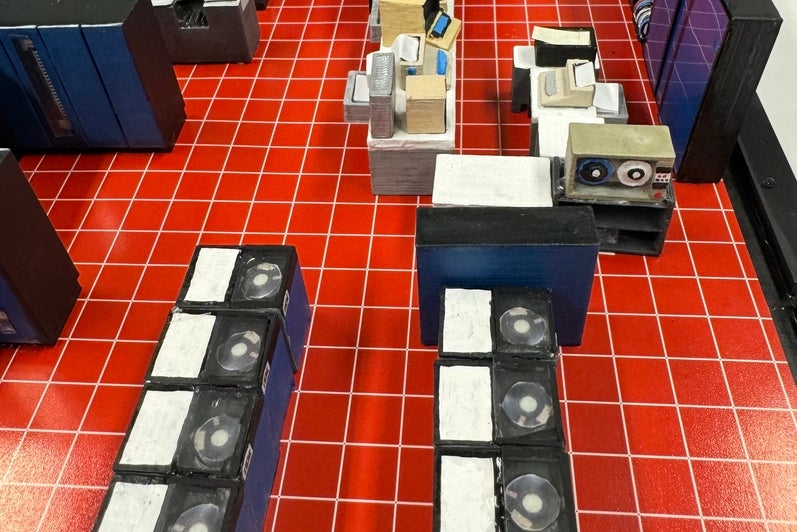
Starting from a virtual model created by a previous coop, I identified a few key elements within the room. This included processors, data management, disk and tape hardware, personal computers (in the 1970s and 1980s), and various peripherals.
If you are curious about the some of the objects and their purposes within the Red Room, see this blog on Objects in the Red Room.
Mystery Objects in the Red Room
There were a few objects within the 1973 image I could not identify cleanly, because they were obscured or unidentifiable. In the hope that at one point someone will recognize them, for now I labelled them with a question mark. There's a closer perspective of the known and unknown objects in a separate blog entry about objects in the Red Room.
MC

University of Waterloo Library. Special Collections & Archives. Dr. Donald D. Cowan Fonds. GA165-211_020
'Families' of IBM Products
IBM family unit photos courtesy of Gil Aburto.
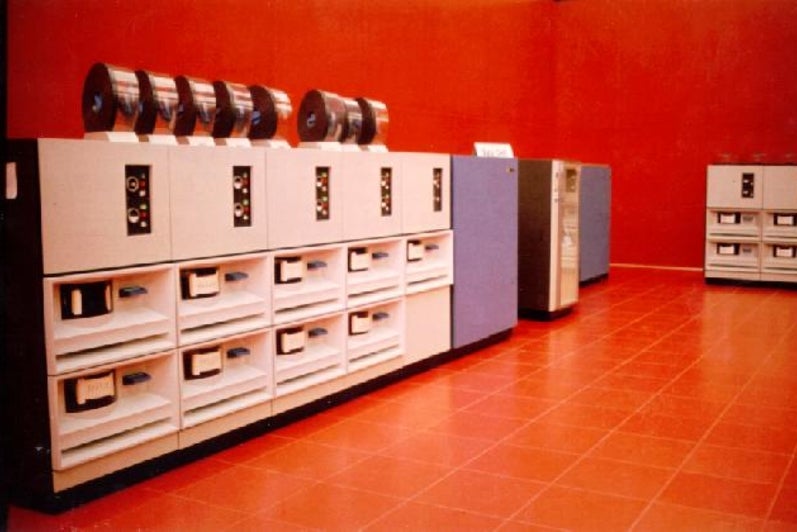
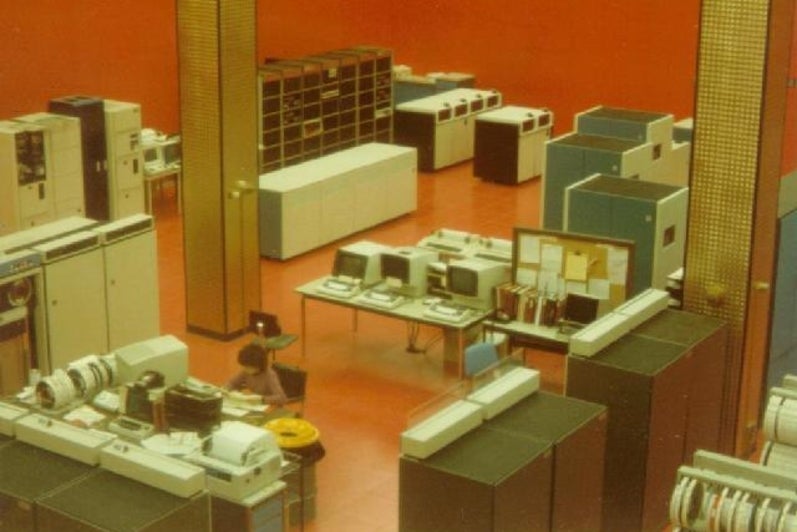
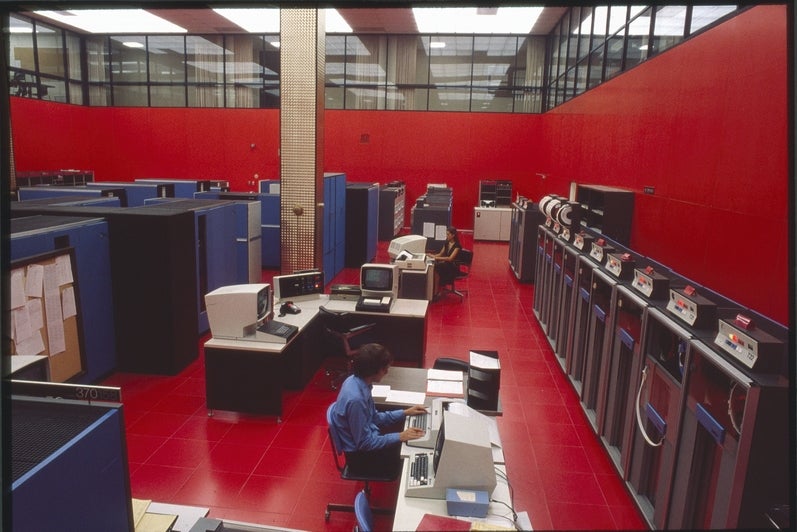
What Colour Was the Red Room?
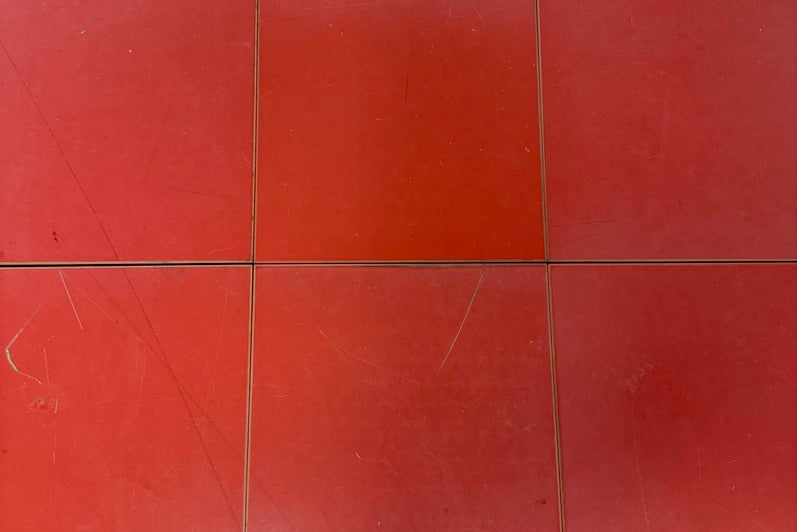
The floors were a very specific shade of red. Although, that was not as easy to find as the images to the right show an extreme variation in colour over the years. This is most likely due to the film fading, different types of lighting, and when the film was developed.
I had some hope, as some of the tiles from the room still exist within the Graham room in MC. I took a photo of the tiles and assumed that the floors would have slightly faded from years of existing and being walked on. The Computer Museum hopes to move some of these tiles into the main office in DC 1316 to preserve what the University has left of the Red Room.
Colours of the Red Room
Making a Layout
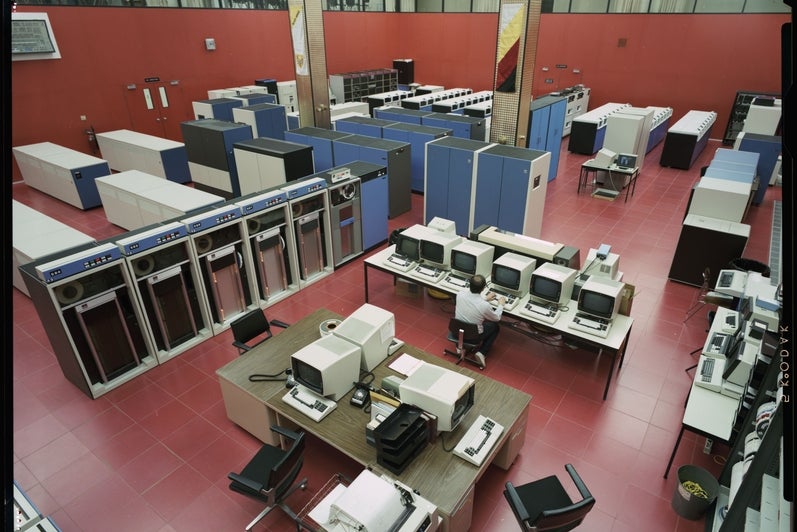
A previous Computer Museum Coop had made a 3D model on SketchUp of the room, allowing me to have a basis of what objects were in the room. The model they created was based on this 1973 image, creating a challenge for me as the image and model only provided me with a limited perspective from that year.
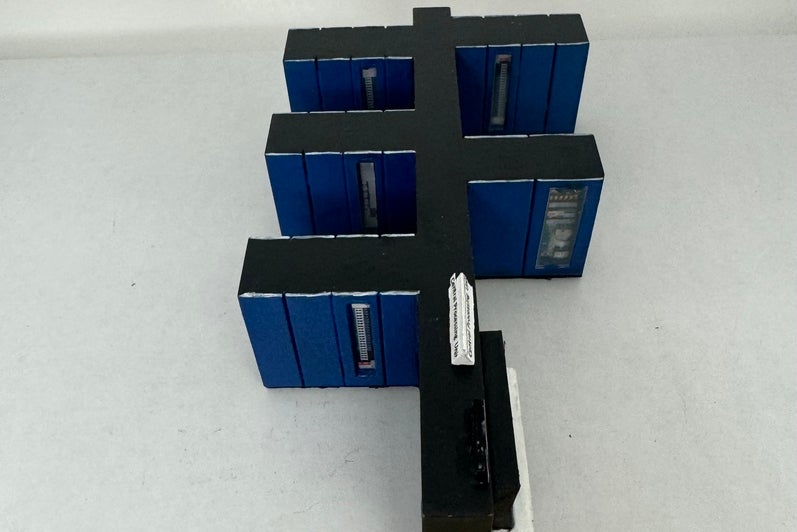
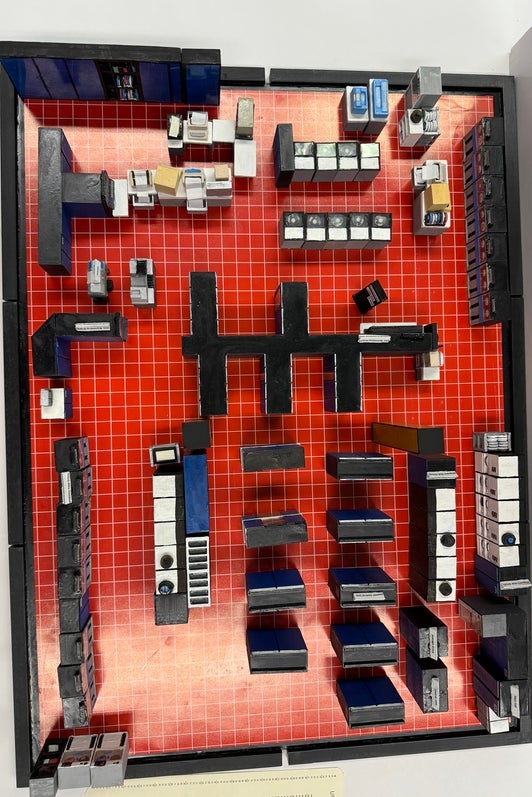
It was decided that the diorama would be a “storage-box” size, to make the objects visible, but also so that windows and a box could eventually be built. It was important to present the room from a bird's eye perspective as the room was only viewed by the public from windows on the second floor.
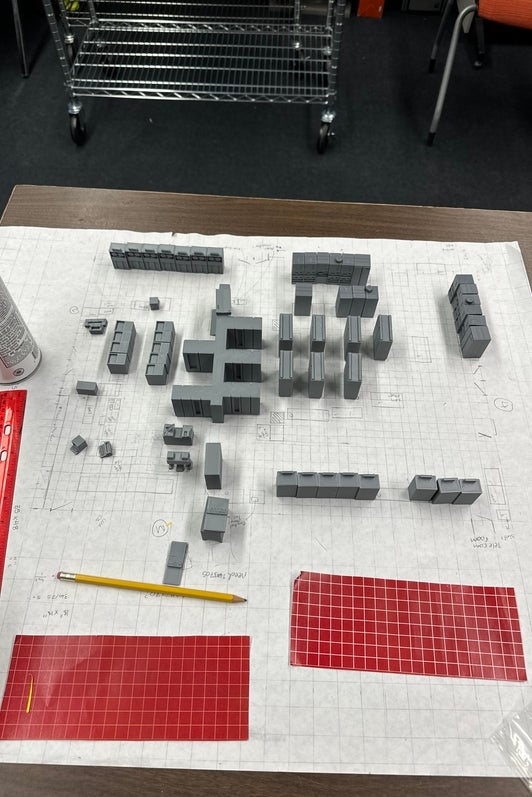
From the 1973 image and a few others with similar machines, I used the floor tiles to count the width and length of each object and its relative placement. After carefully considering the research I obtained, my sketch of the Red Room fit onto a 35x48 cm grid.
I discovered shortly that the objects in the red room would often change, visible in photos where the models are different, the object’s location has changed, or the object has been switched out completely. To combat this challenge, I focused on the objects known from the 1973 image, in addition to gathering as many images as possible to aid my research. The Waterloo Special Collection and Archives had many slides and images of the Red Room, MC, and Cafeteria Style Computing that I had yet to see. The collection of these images gave me hope as they provided me with new perspectives on the dimensions of objects and location of different machines. Additionally, I created and tested floors to paste onto a steel sheet so that objects could be moved around, representing their change of location over the years.
The Red Room in 1973

University of Waterloo Archives. Graphic Services Fonds. 73-07-13_001
Outline of the Diorama
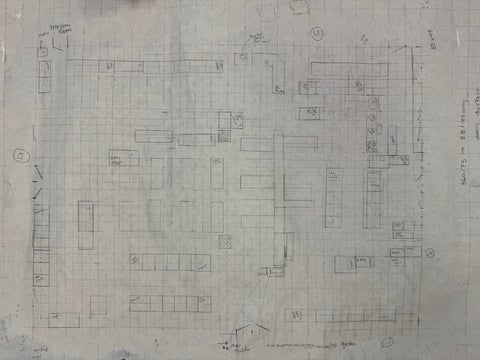
University of Waterloo Computer Museum. Red Room layout from 1973. 2024.
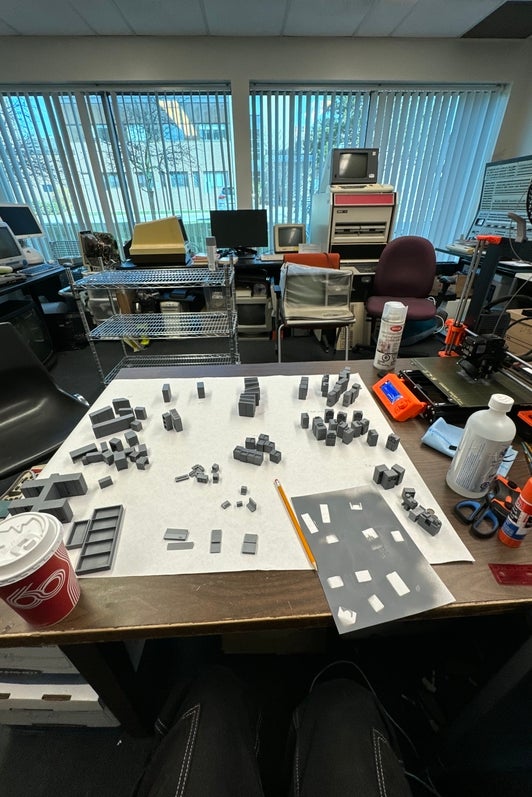
Creating the Models
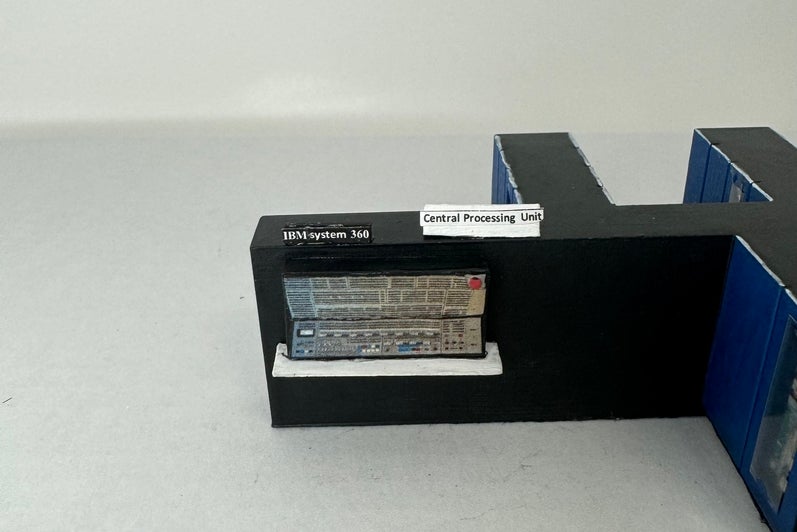
Since I created an outline for the room, I estimated the size of all the objects in the room by counting the tiles. The actual tiles from the room are 18"x18", but the tiles for the diorama are 1x1cm. I also had access to blueprints of the Red Room that revealed to me the height of the walls were a total of 13' 1/2" tall. I used those measurements to find that my diorama walls should be 9 cm tall as I have direct access to the IBM System/360 75 console, which is on display in DC 1316, and could compare the relative tile size to wall height.
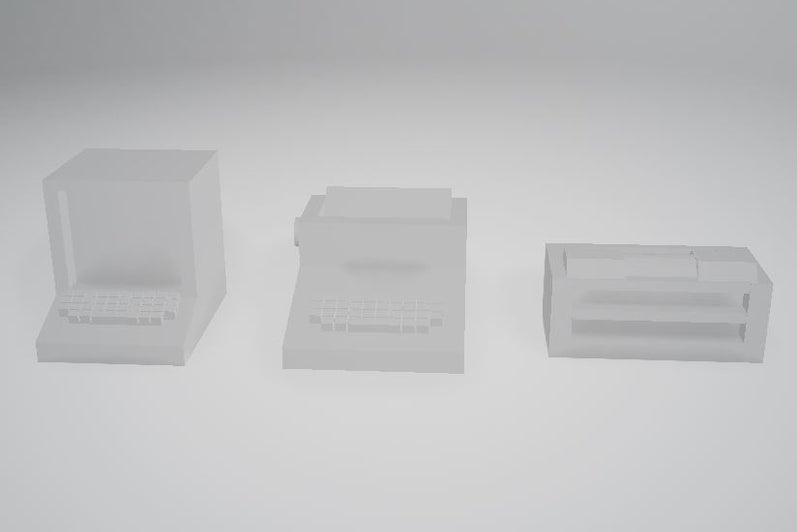
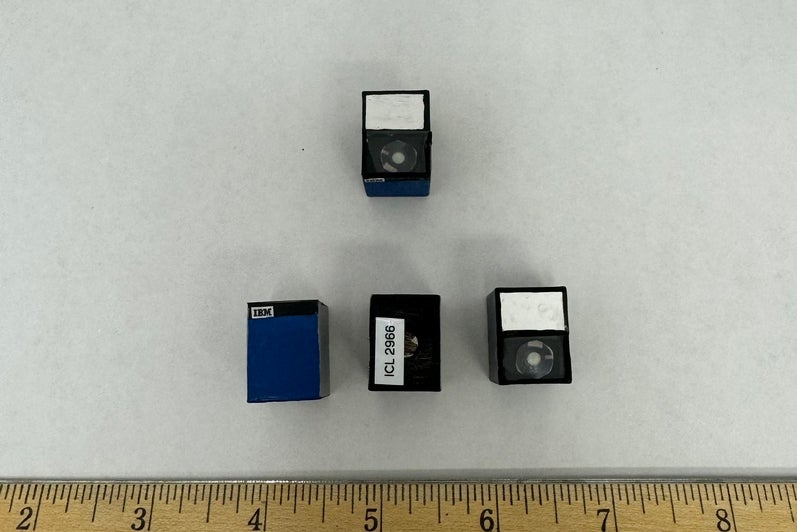
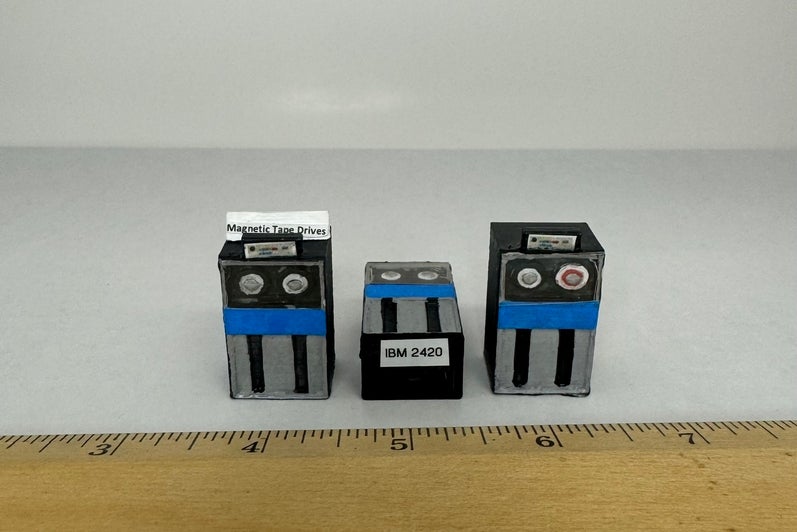
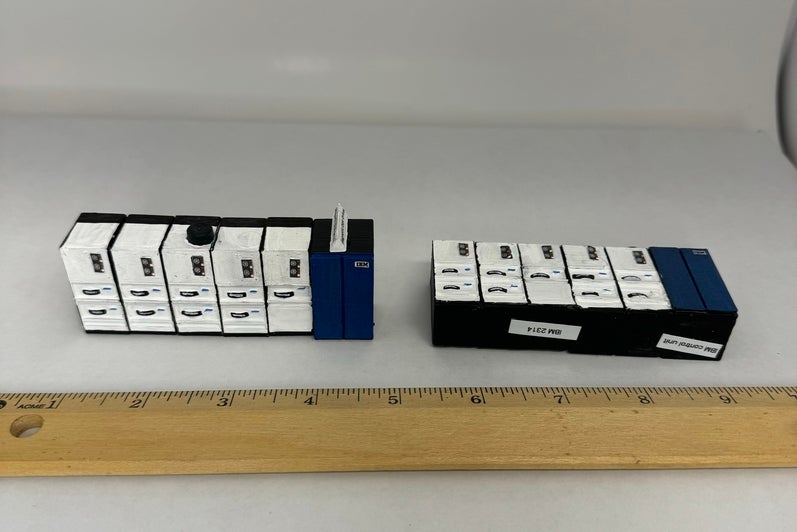
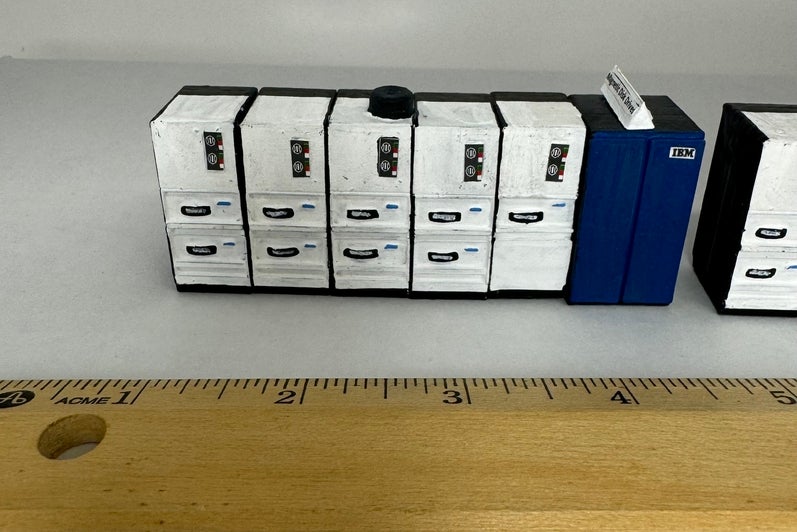
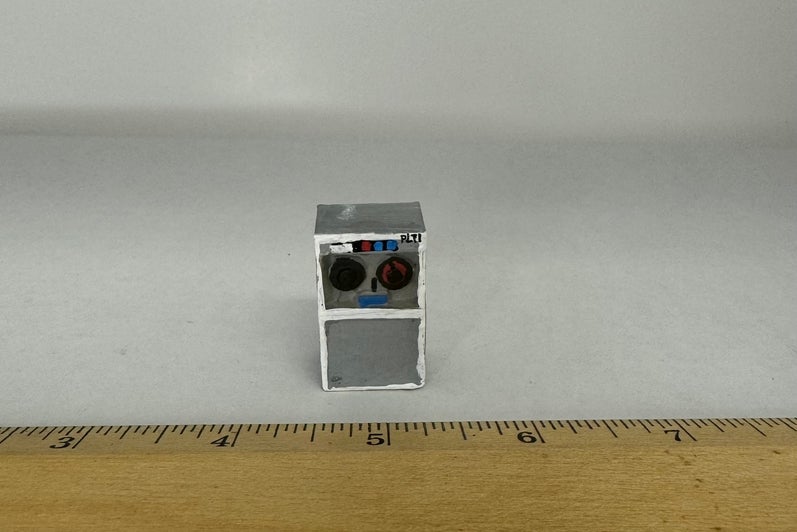
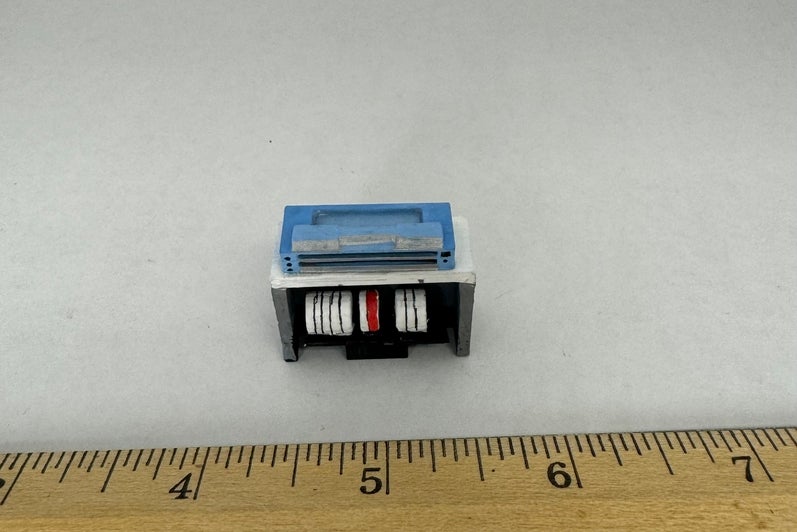
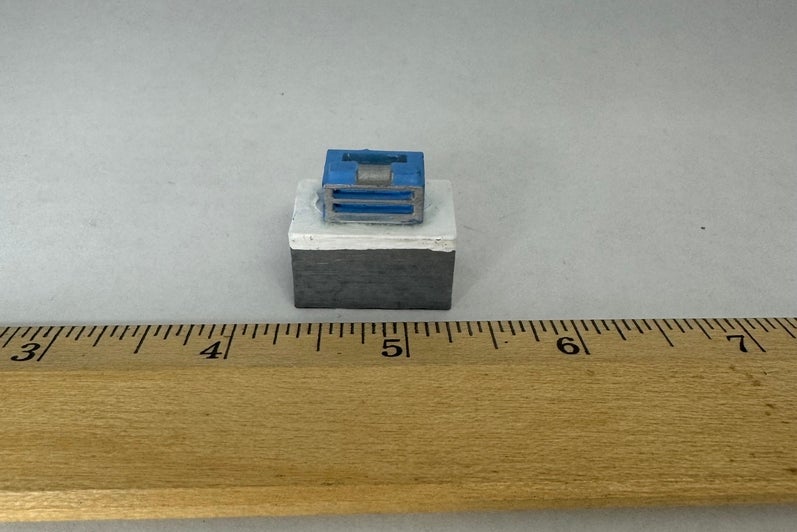
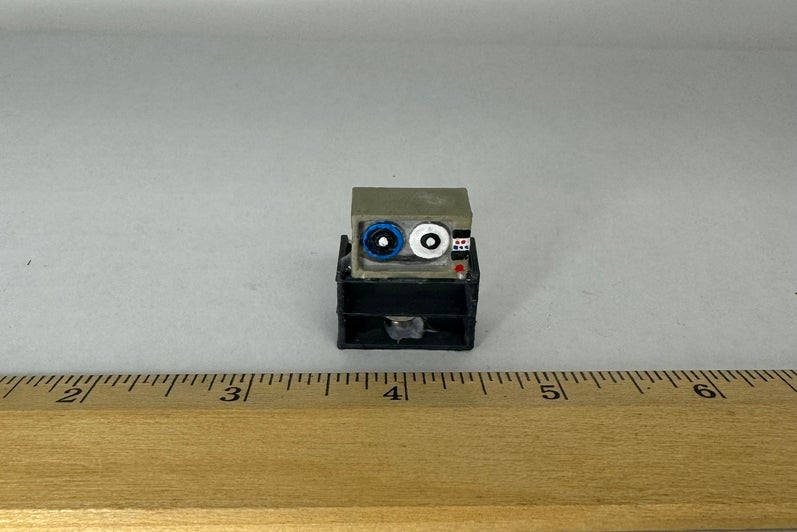
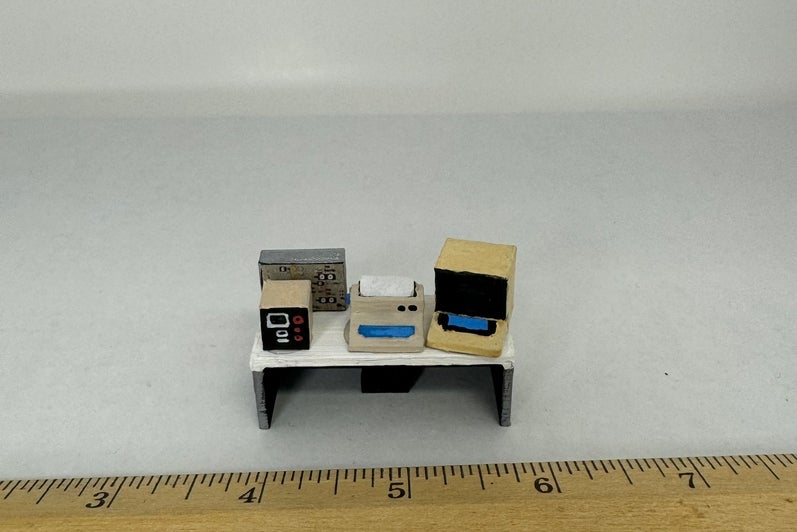
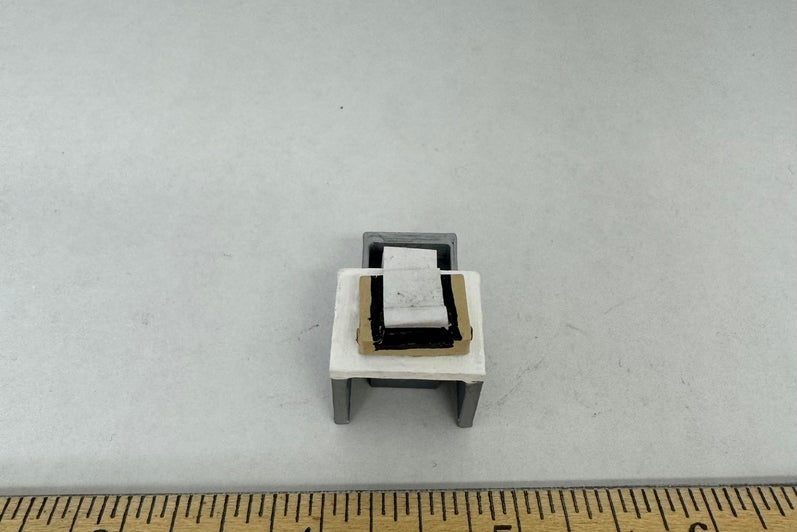
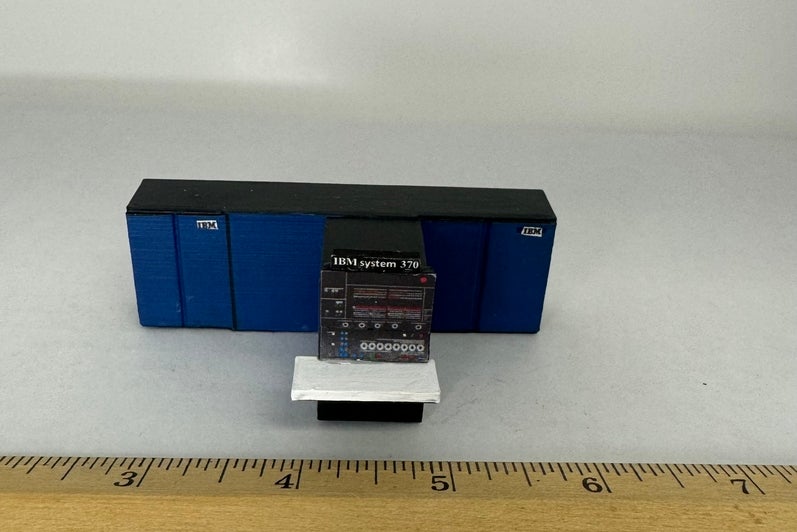
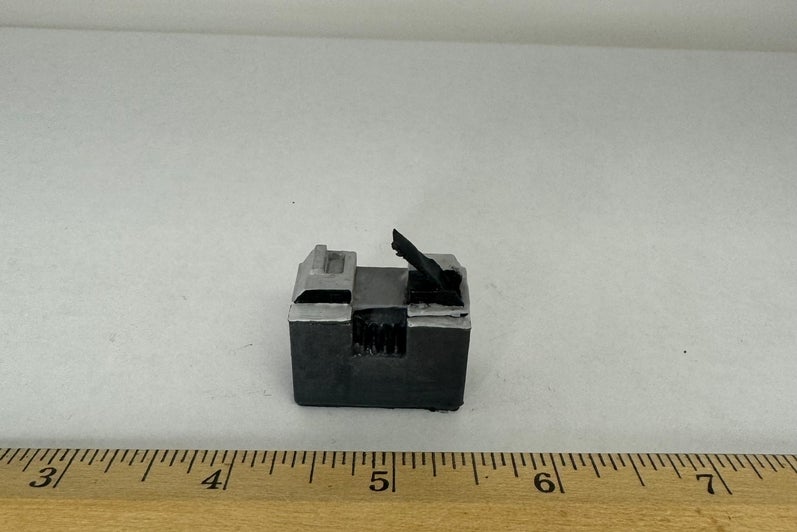
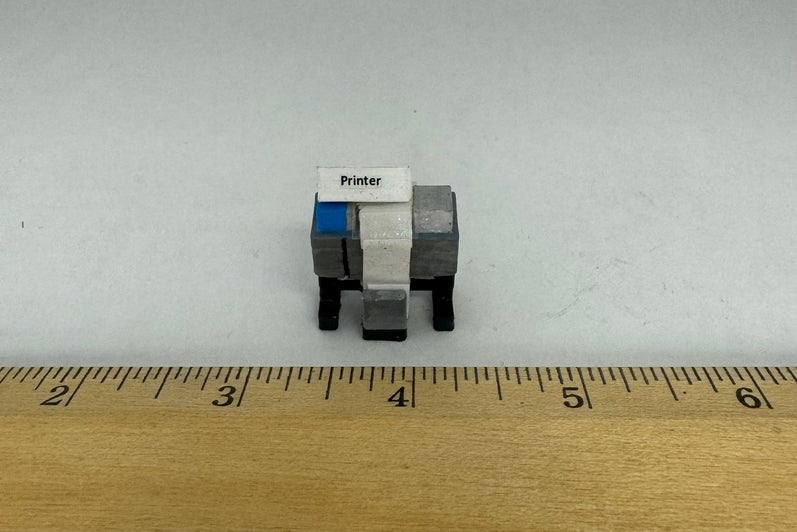
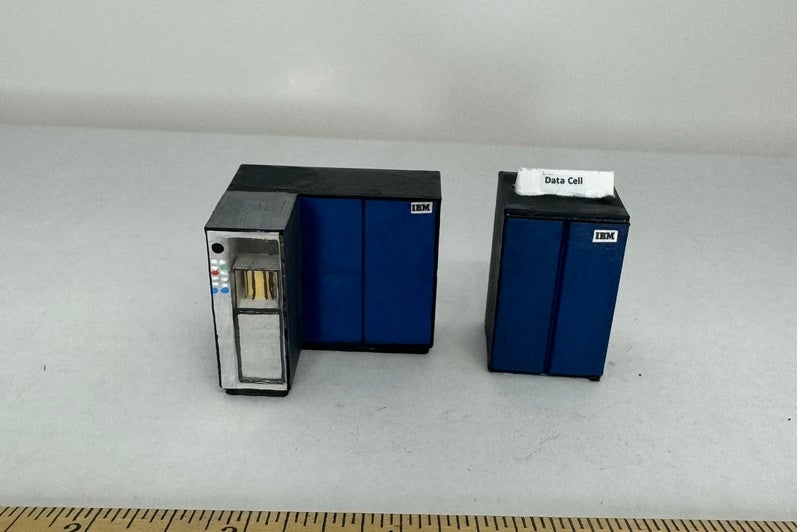
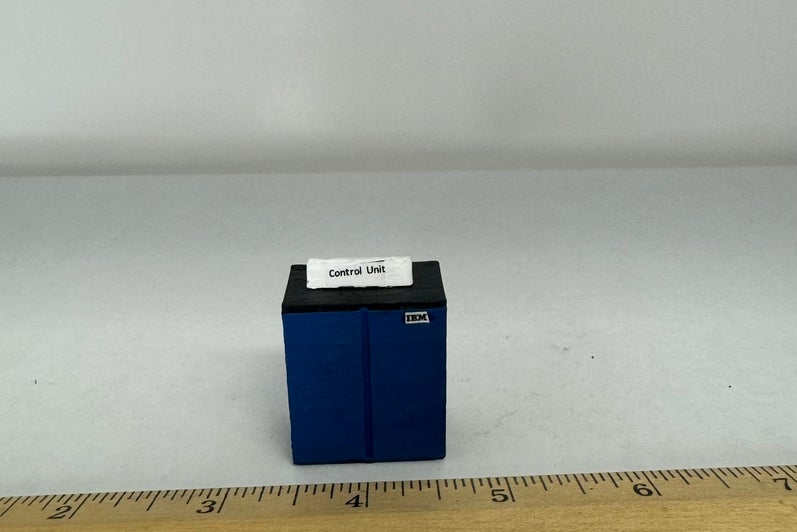
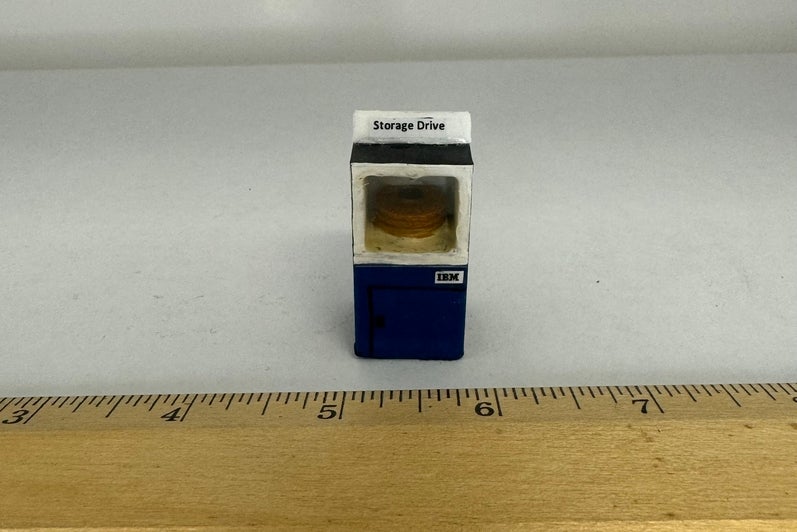
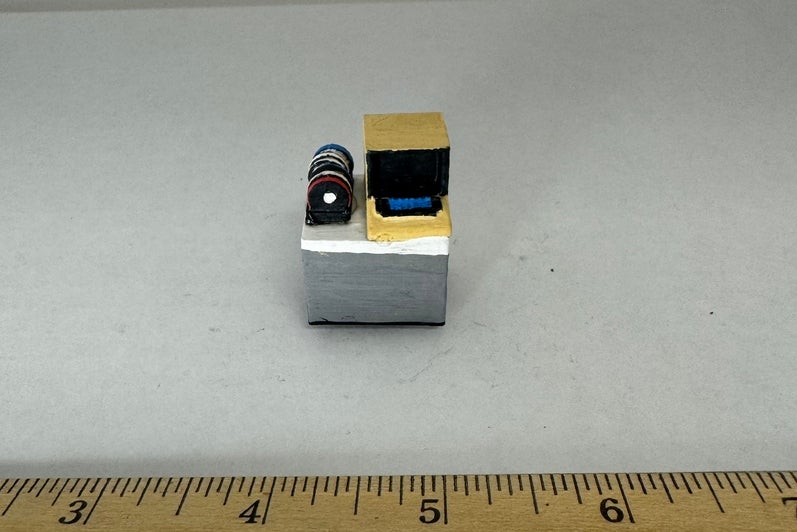
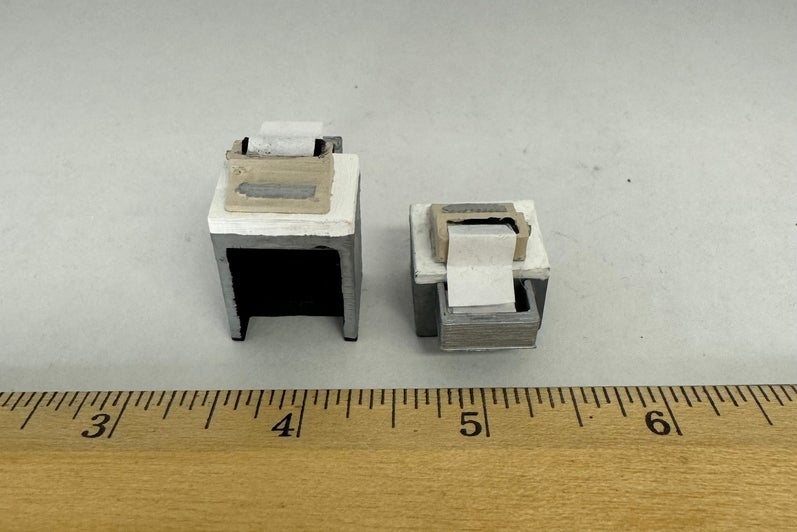
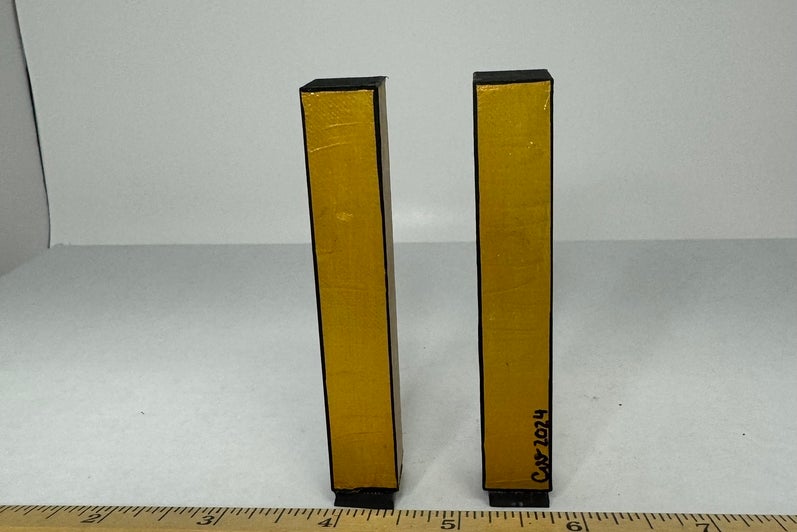
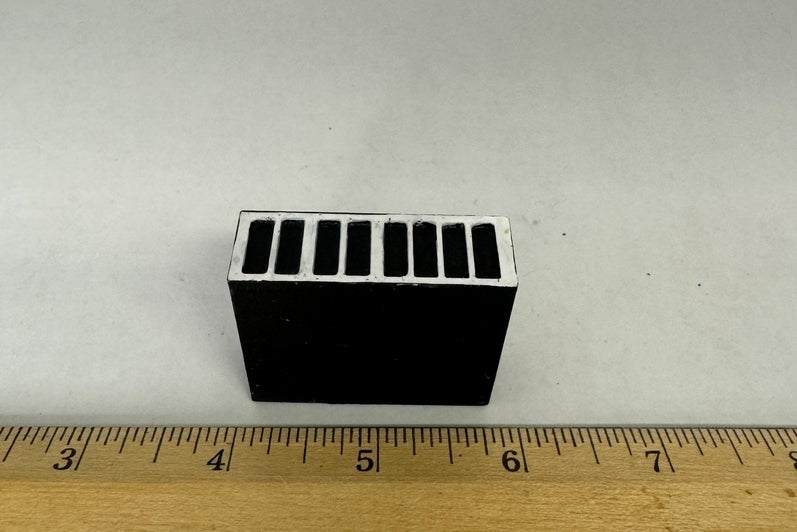
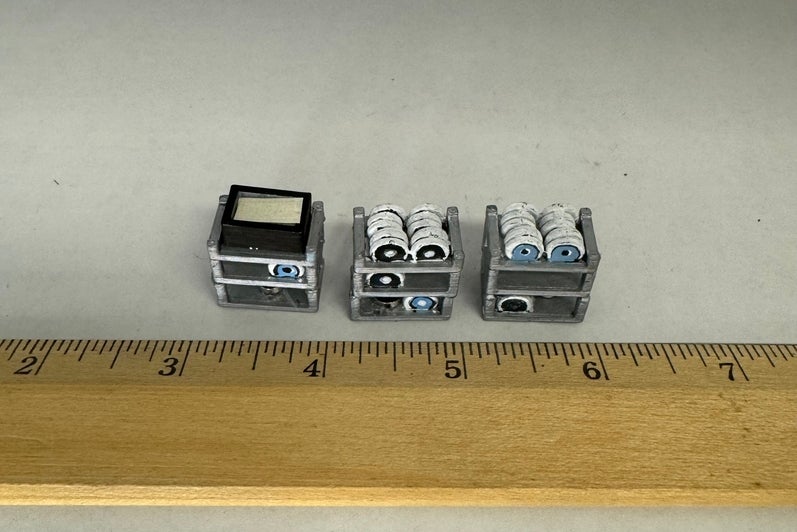
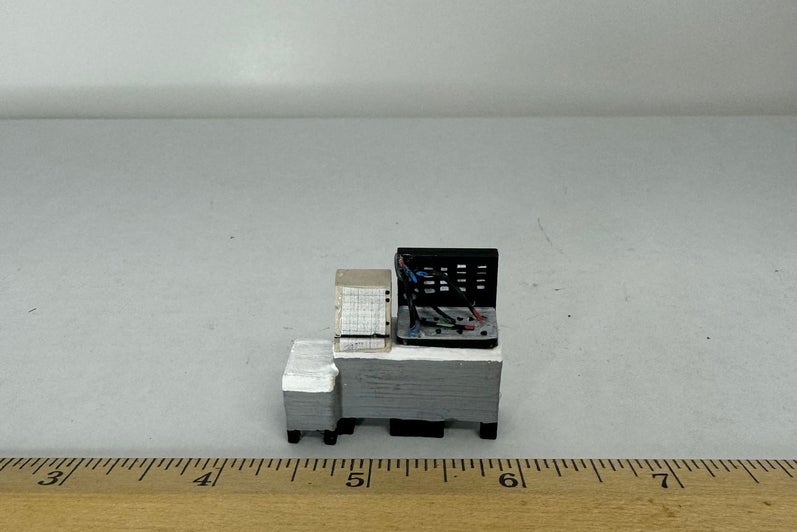
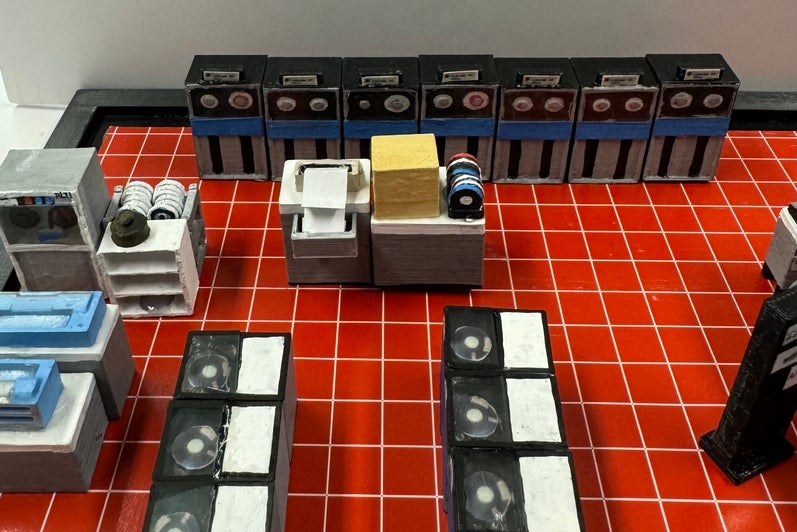
Some of the objects, such as the IBM 2314, could be found online as SketchUp models then converted to STL files for me to 3D print. Although, some objects did not transfer well into STL files, pushing me to create them on my own within TinkerCAD. Since I was going to paint the pieces, it was not too important to have all the miniscule details, although I printed most objects on the smallest layer height (0.05mm). I 3D printed all of the objects in the room, this project has certainly left me with a greater understanding of object dimensions and 3D printing properties.
Painting the Models
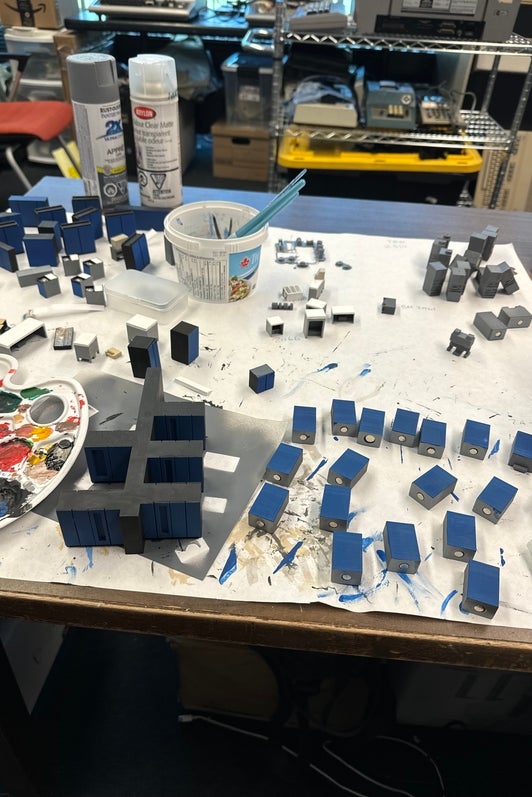
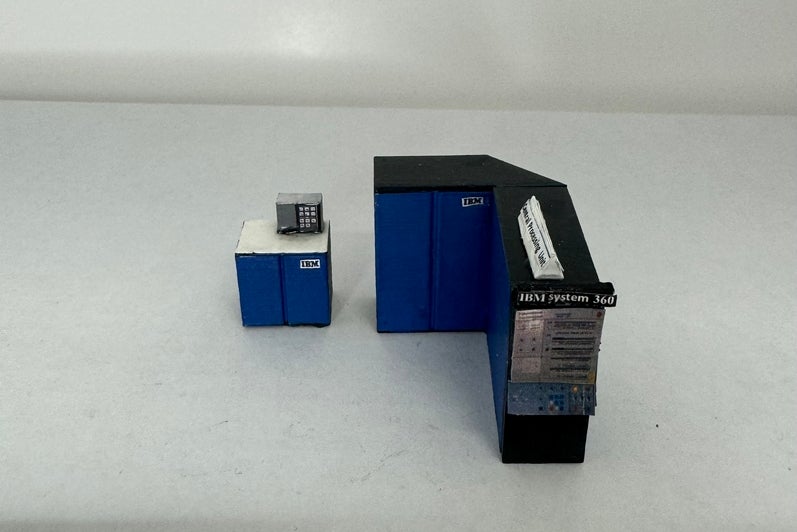
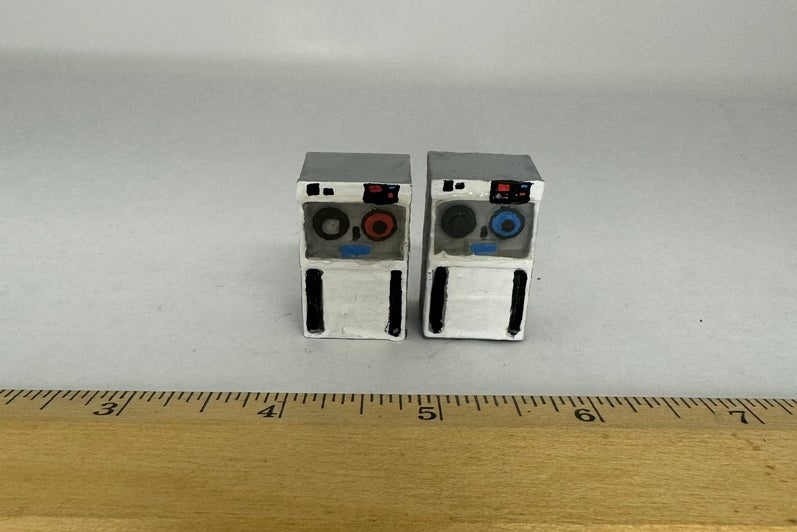
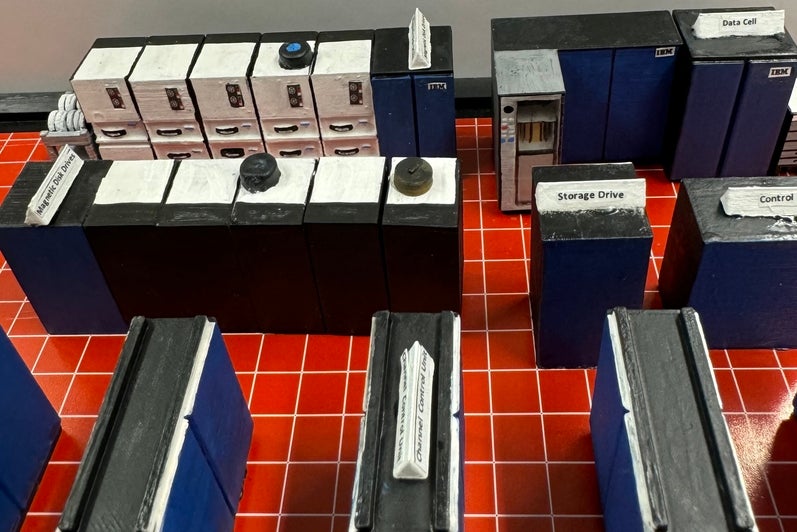
This was the most enjoyable part of this process. The black and white photos did not provide much help to figuring out what color all of the objects were, although I did have a few coloured images. Additionally, the majority of the IBM products in the Red Room were part of the same 'family' set, so they were all the same colour of blue. In my head I had looked at the blue cabinets so much that I had created my own imaginary "IBM Blue" paint color.
Painting the Models
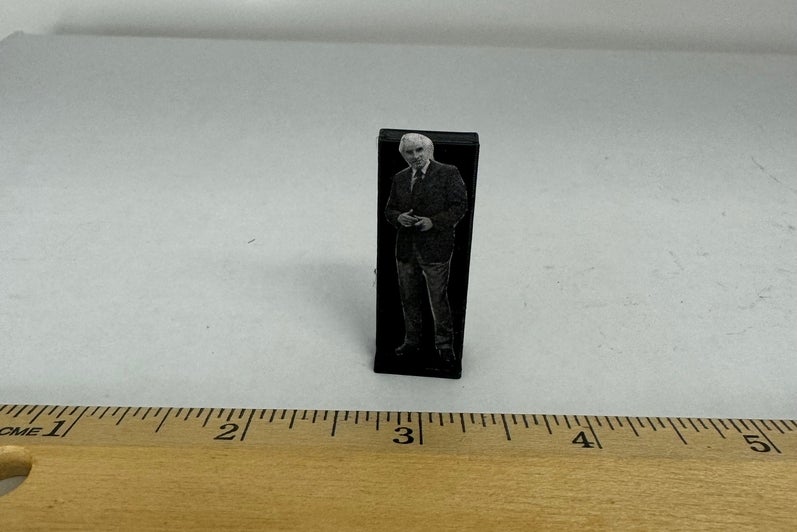
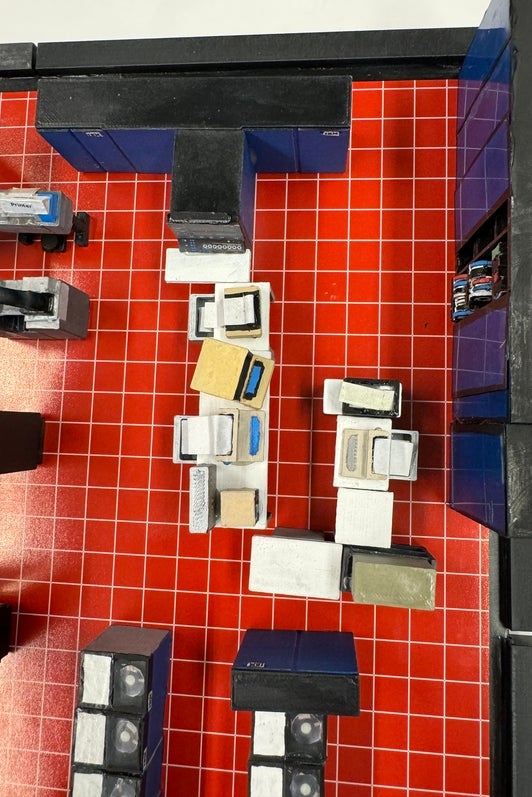
Finished Models
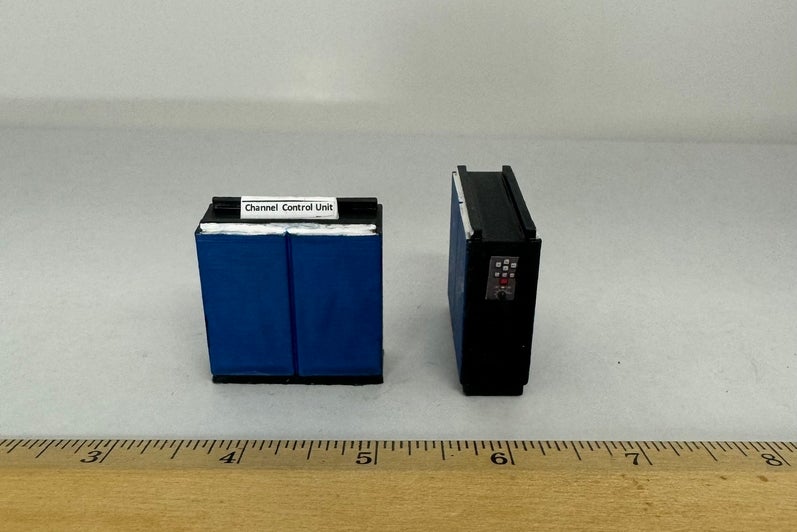
Errata
We have received feedback on some of the specific items in the diorama with some corrections/further details:
- Image 5: "IBM plotter tape drive" is actually the "Calcomp 770"
- Image 6: "Calcomp 563 plotter" should say "Calcomp 763 plotter"
- Image 7: "IBM 1627 plotter" is likely the "Calcomp 565 plotter"
- Image 11: "IBM system/370 158" is actually the 370/145
- Image 12: "IBM 2540 card punch computer" should say "2540 card read punch"
- Image 16: "IBM 7074 mainframe computer systems" are channel control units
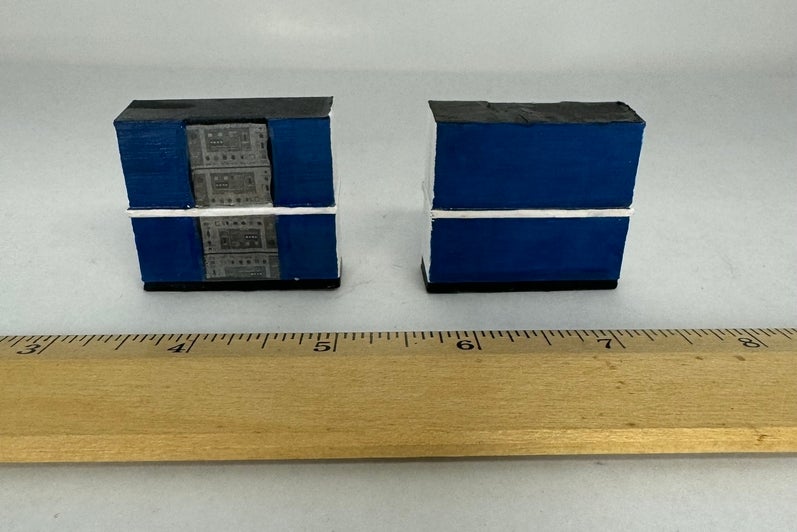
- Image 17: "IBM control units with panels" should say "Ampex LCS units"
Presenting the diorama
Next Steps
The next steps of this project were part of the original plan, although could not be completed due to time constraints.
Walls
The next step to complete the room itself would be to build red walls, topped with windows. From here, the box would presumably be able to fold open and also close fully up as if one is viewing the room from the perspective of a student.
Cafeteria Style Computing Emulation
On the exterior of the box would be a larger scale model of the System/360 75. Emulating this system has been a long term goal of the Computer Museum as it would allow visitors to truly appreciate the purpose of the system and its peripherals. To do this, there are a few emulators available on the internet that could be downloaded in combination to the Waterloo computing languages onto a Raspberry Pi. From here, replicating the punch card system with a feeder, a WATFOR emulator, and a printer will replicate the process of cafeteria style computing.
Conclusions
Overall, this project allowed me to develop my research abilities as there was limited information accessible for it. From discussing my diorama with individuals who experienced and worked inside the Red Room, it was made clear to me that the room existed as a cathedral for computers. The room for students provided access to innovative computers and allowed the development of individuals coding abilities and technological progress. Some parts of the computers from the room such as the IBM/360 75 and the IBM/360 44 are in the museum’s archives, the former visible within the main museum display office (DC 1316). Otherwise, the devices in the room were consistently switched out, always leaving room for the extreme development Waterloo has proven capable of.
About the author
Charlotte is a Physics and Astronomy student currently in her 2B term at Waterloo. She enjoys tinkering and creating all forms of art in her free time. She works at the Computer Museum as their current Winter 2024 coop student.

