The virtual computing lab is a group of computers that you can use to access software for Faculty of Health courses.
Contact Health Computing to use the software in the Virtual Lab and indicate which software you need to access. Once access has been granted, all you need is a browser to connect to a computer or application in the lab.
On this page:
- Connect to an application or computer in the Virtual Lab
- First time set up (OneDrive)
- Working with Data
- Ending your session (logging off)
- Special Notes when Using NVivo (please read to avoid data loss)
Connect to an application or computer in the Virtual Lab
These instructions are available in a short video also.
- Connect to a virtual computer or application in the labby navigating to https://www.wvd.uwaterloo.ca.
- If you're already logged in with your browser to any Microsoft 365 service, you will be connected to the lab home screen. Otherwise, when prompted, log in using your userid@uwaterloo.ca and your UW password. Respond to Duo push if prompted.
The lab home screen displays the applications or machines available to you (SPSS, NVivo 12, Kin Desktop). The items displayed will be determined by your status (e.g. courses, undergraduate, graduate, faculty, staff):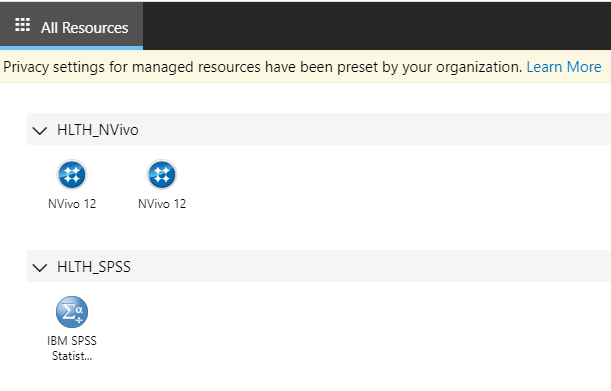
- Click on the application or desktop that you want to use. Each desktop supports 12 simultaneous connections. If the one you click on is full, try another desktop.
- Before connecting, you will be asked whether you want to use your local computer printer and clipboard.
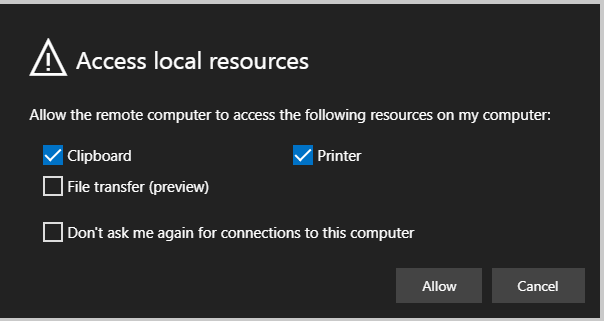
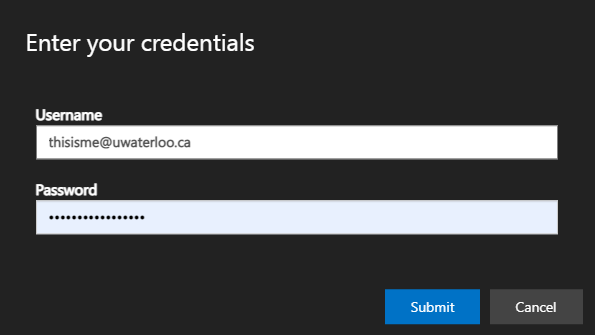
This will allow you to copy/paste text from your local computer to the lab computer and use your own printer for output. Click on Allow. - Log in to the selected application or desktop using your username in the form of userid@uwaterloo.ca and enter your UW password.
First time set up (OneDrive)
We strongly recommend that you use your OneDrive account to save work while using applications and computers in the virtual lab. This is an easy, one-time operation.
If you are using an application (NVivo or SPSS).
The first time you log in to an application, you will experience a prolonged black screen. This is normal. Your account profile and OneDrive access takes a while to get set up. You can either wait it out or close the application and reconnect in about 5 minutes.
If you see a OneDrive cloud icon on the toolbar at the top:
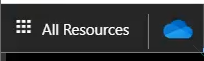
Click on this icon to start the OneDrive set up process. When prompted, enter your userid@uwaterloo.ca and log in to your UW Microsoft365 account.
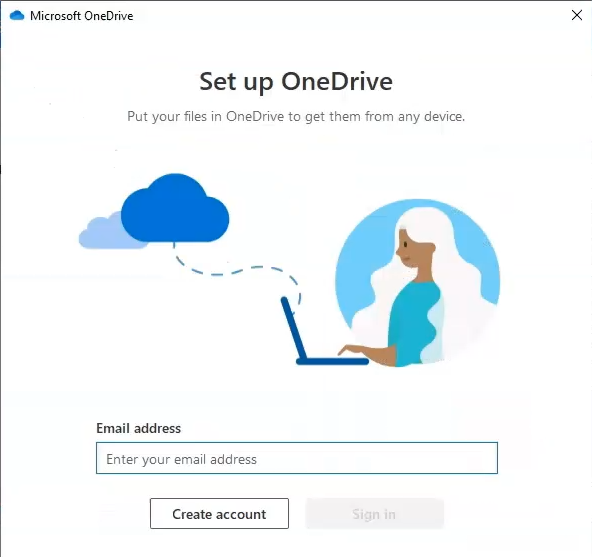
Accept all the default options (click "Next" and "Continue") except for the last mobile setup option - there you can click the "Later" option.
If you are using an entire desktop such as the Kin Desktop
Follow the setup instructions on IST's page: How to Access Windows Virtual Desktop
Working with Data
If your data resides on your local computer, you can use OneDrive to make the data available on a lab computer.
- If you have OneDrive installed locally and sync'd to a folder simply copy the data into the local OneDrive folder on your computer. See IST instructions on how to install OneDrive on your Mac or Windows computer.
- Otherwise, you can upload your files to OneDrive online. Use a browser to navigate to portal.office.com and log in with your UW credentials (userid@uwaterloo.ca and UW password). Click on the OneDrive icon on the left and click on the Upload button the toolbar to select and upload your data to your OneDrive account. The data will appear in the OneDrive folder when using an application or desktop in the virtual lab.
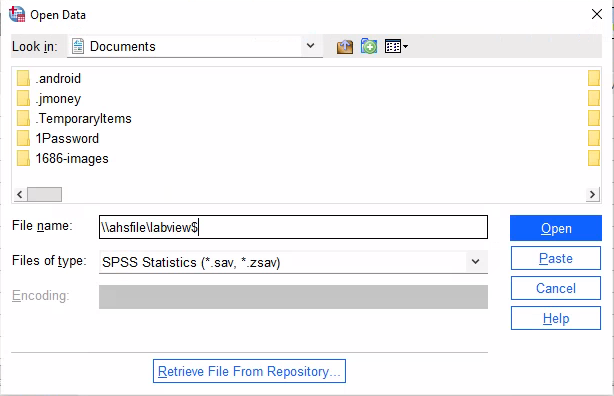
If your data resides on a UW file server (e.g. network drive, research share), you can reach these locations when opening the file by typing the path to the share (e.g. \\ahsfile\research$) in the "Open File" or "Open Project" dialog. In the example below, the SPSS data resides on the netowrk at \\ahsfile\labview$
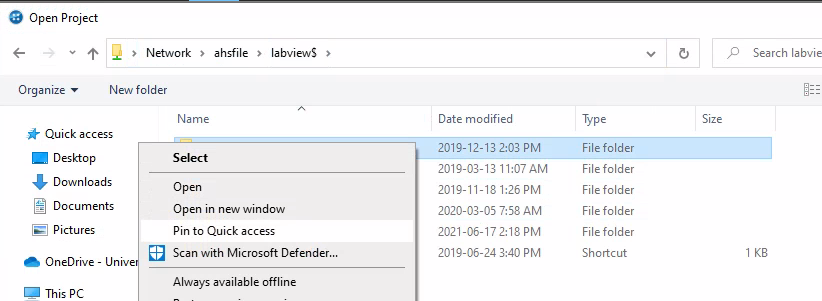
With NVivo, you can right-click on a sub-folder in the Open Project dialog and select "Pin to Quick Access" to have it show under the Quick Access list next time.
Ending your session (logging off)
For those using a virtual desktop, log off or disconnect from the lab machine by one of the methods below:
- double-click on the Log Off icon on the desktop
- click on the icon with your name under the Windows Start icon and click Sign out
- right click on the Windows Start icon and click Disconnect.
For those using virtual applications, Quit the application from the menu or by using the X in the upper right. In NVivo be sure to use the File - Close Project option before clicking on the X in the upper right to close the application.
Special Notes when Using NVivo (please read to avoid data loss)
- When starting a new project, be sure to use the browse button and navigate to your OneDrive account to create the file. By default, NVivo wants to create your file on the virtual computer and you may not be able to access those files again after you log off.
- Be sure to use the File - Close Project option before clicking on the X in the upper right to close the application.