The University of Waterloo subscribes to third-party provider Anvil Group to provide travel assistance and advice for both University-related and personal travel. This resource is available to students, faculty, and staff as they travel abroad.
Anvil app
The Anvil App provides real-time alerts about emerging threats or live incidents in your locality that could impact your safety. The Anvil App is available for iOS and Android smartphones.
Features include:
-
Receiving real-time alerts about emerging threats and live incidents occurring in your immediate vicinity
-
Ability to research comprehensive risk information for every destination around the world, including details of the latest restrictions imposed by governments concerning Covid-19
-
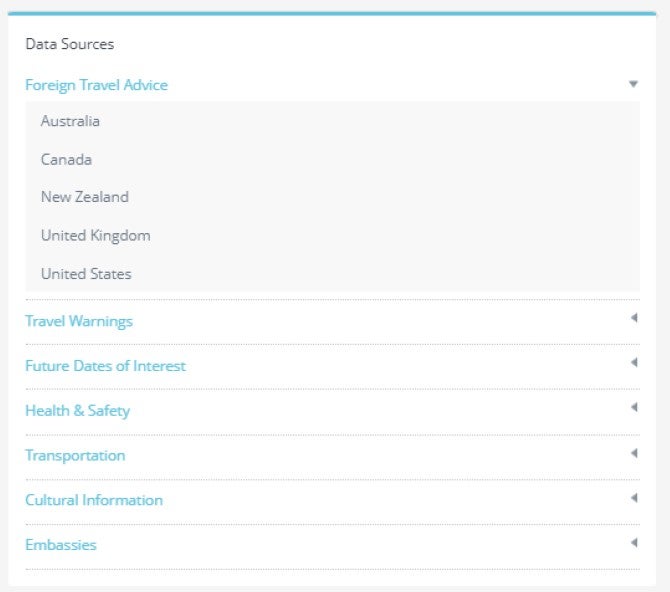
Foreign travel advice provided by Australia, Canada, New Zealand, the UK and US
-
Trip itineraries and 'check-in' functions to let the Safety Abroad team know you have arrived safely at your destination
-
SOS Alerts and direction on how to speak with a specialist about a medical or security concern
Anvil website
The Anvil website contains features useful to any traveller abroad such as travel risk briefs and personal incident alerts. These features are not available on the Anvil app.
How to create a travel risk brief
Destination Information
Step 1
- Log into the Anvil Group portal with your userid@uwaterloo.ca address and WatIAM password.
Step 2
- Click ‘Threat and Risk Intelligence Service.’
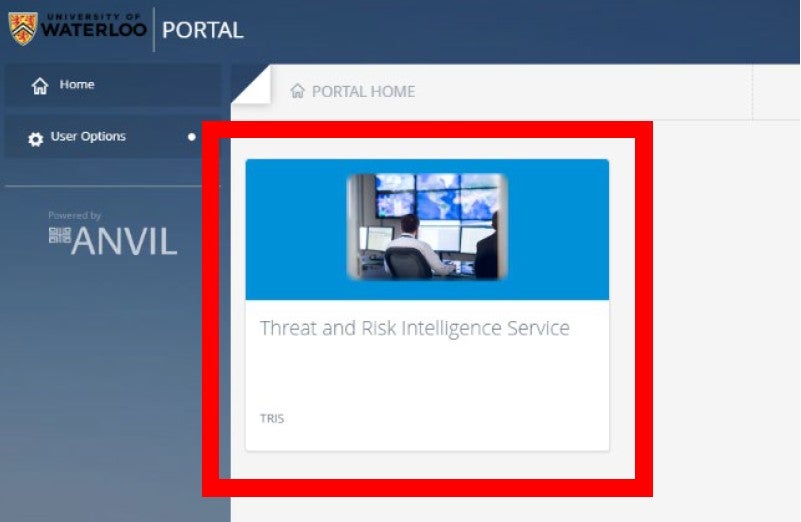
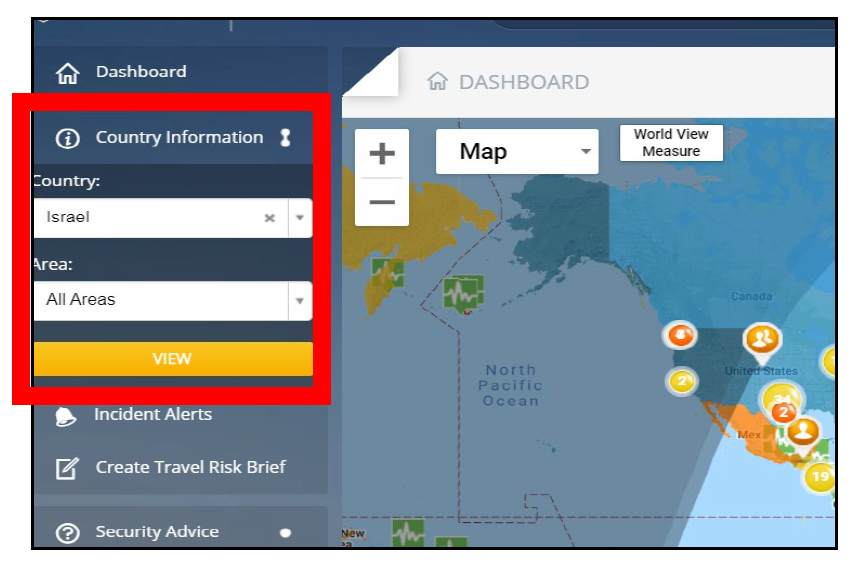
Step 3
- Select the destination you want to research from the 'Country' dropdown menu.
- Select the area (city) of interest or leave the area as ALL AREAS for destination-level information only.
- Click 'VIEW.'
Step 4
- Select any of the 'Data Sources' for more information on your destination.
Travel Risk Brief
Step 1
- Log into the Anvil Group portal with your userid@uwaterloo.ca address and WatIAM password.
Step 2
- Click ‘Threat and Risk Intelligence Service.’

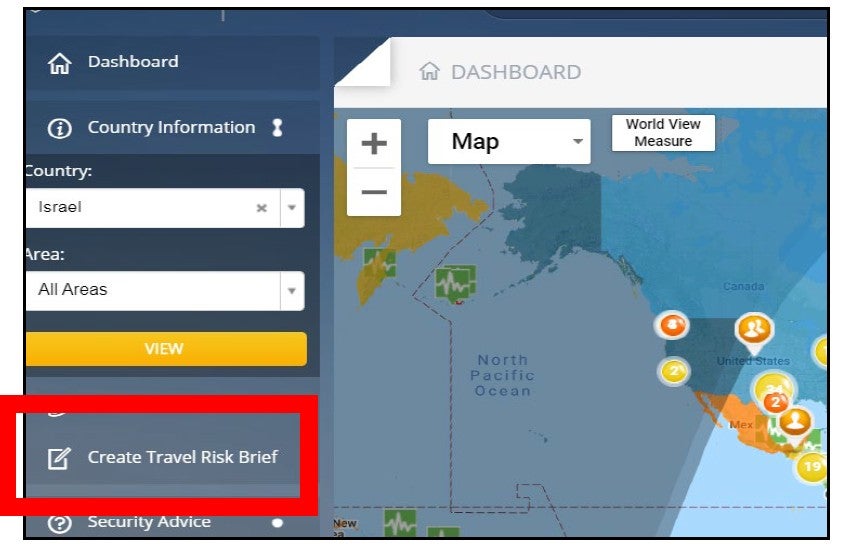
Step 3
- Click on ‘Create Travel Risk Brief.’
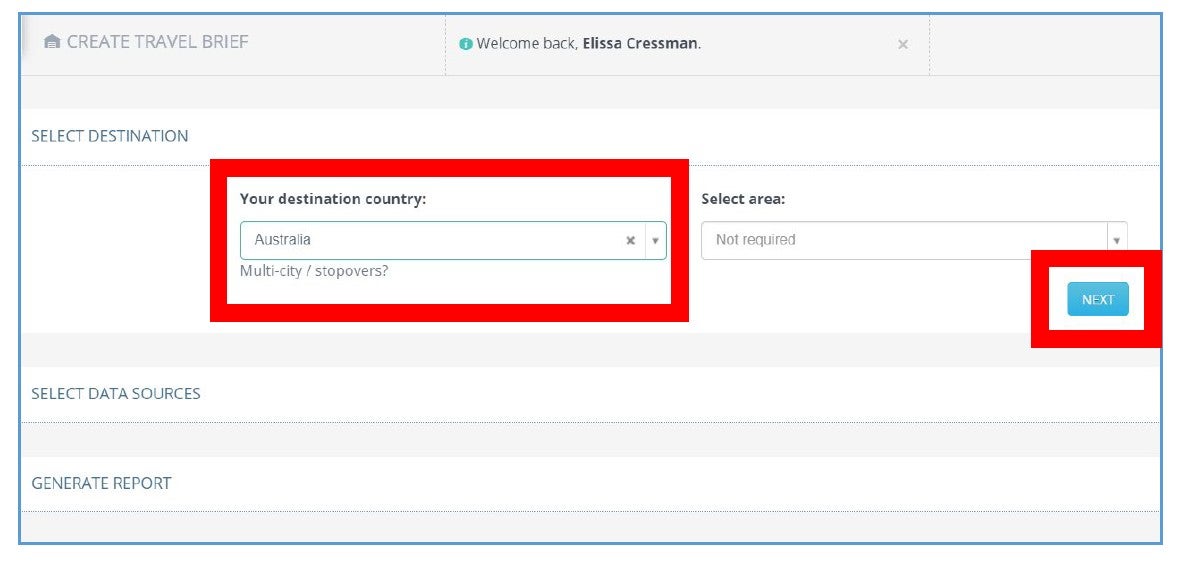
Step 4
- Use the drop-down to select your destination.
- Select ‘Multi-city/stopover’ if you wish to create a Travel Risk Brief for more than one destination.
- Click NEXT.
Step 5
- Select the data that you would like to include in your Travel Risk Brief.
- Include Foreign Travel Advice from all available entities for an in-depth Travel Risk Brief.
- Click NEXT.
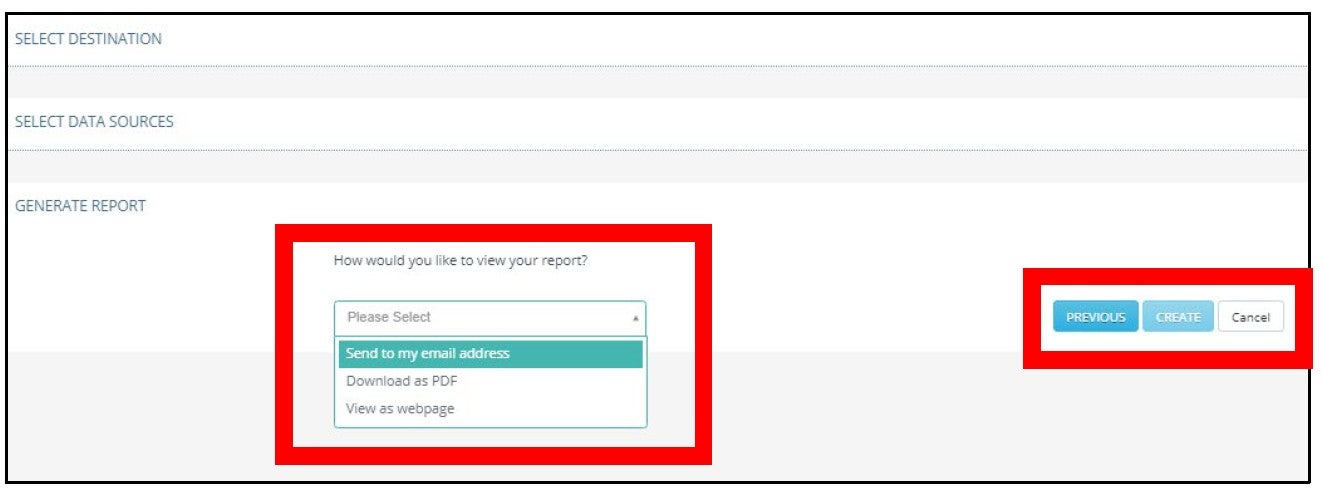
Step 6
- Select how you would like to view your Travel Risk Brief.
- Click CREATE.
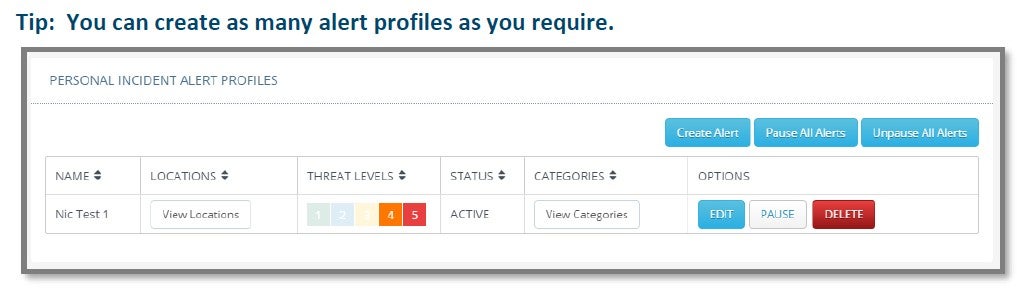
How to create a personal incident alert profile
Travellers who register their trip with Safety Abroad will automatically be enrolled to receive incident alerts from Anvil for their stated destination(s) for the duration of their travel dates. The default settings will include receiving incident alert at levels 4 and 5.
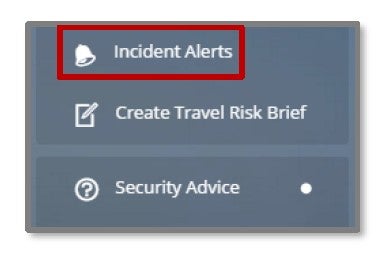
To change incident alert settings related to your travel destination or to add incident alerts for other risk levels or geographical areas, click Incident Alerts on the left-hand menu of the dashboard.
You can set up alert profiles in two ways.
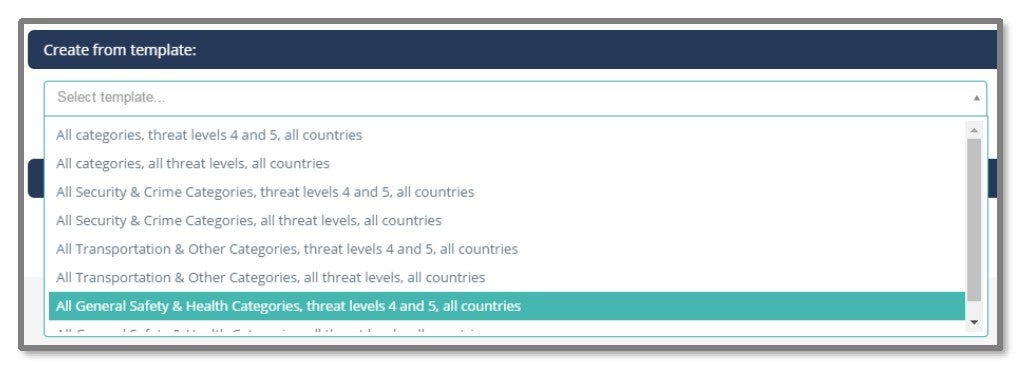
Option 1
To receive alerts for all countries, select a pre-defined template from the list available in the Create from template drop-down menu and click SAVE.
Option 2
To create a customized alert profile, enter a name for your Custom alert profile (ie. France 2023 trip) and click NEXT.

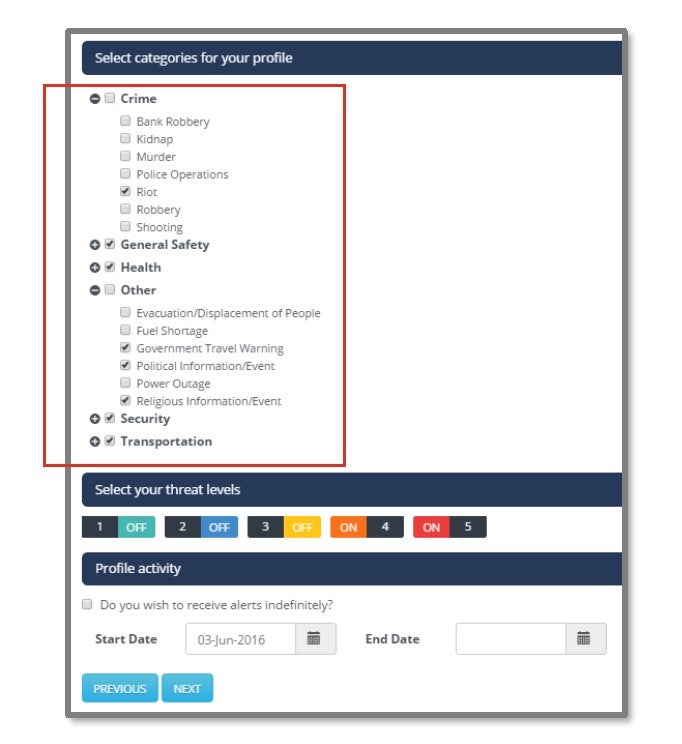
Step 1
-
Select the categories you wantto receive alerts for.
-
Use the + to narrow your search results further.
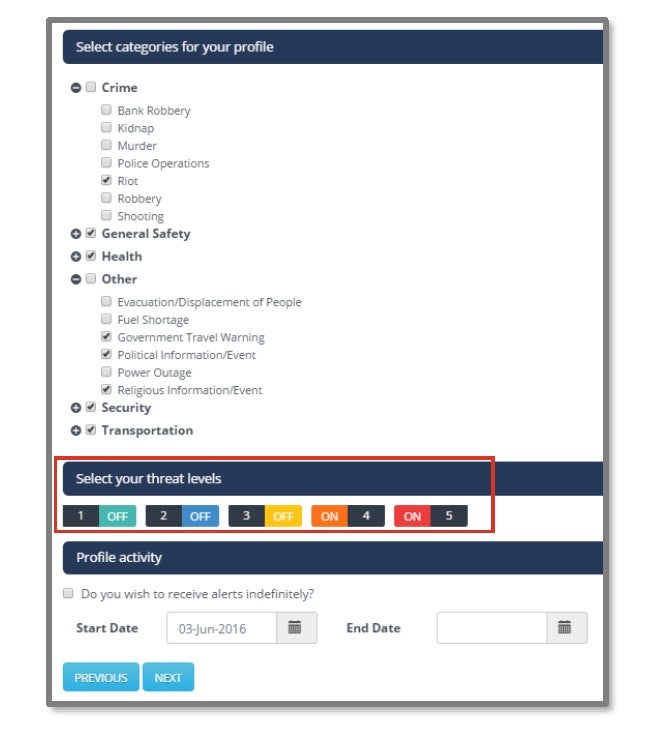
Step 2
- Toggle on threat level options of your choice. You are automatically sent Level 4 and 5 threat level alerts. This step is necessary only if you want to receive Level 1, 2 or 3 threat level alerts.
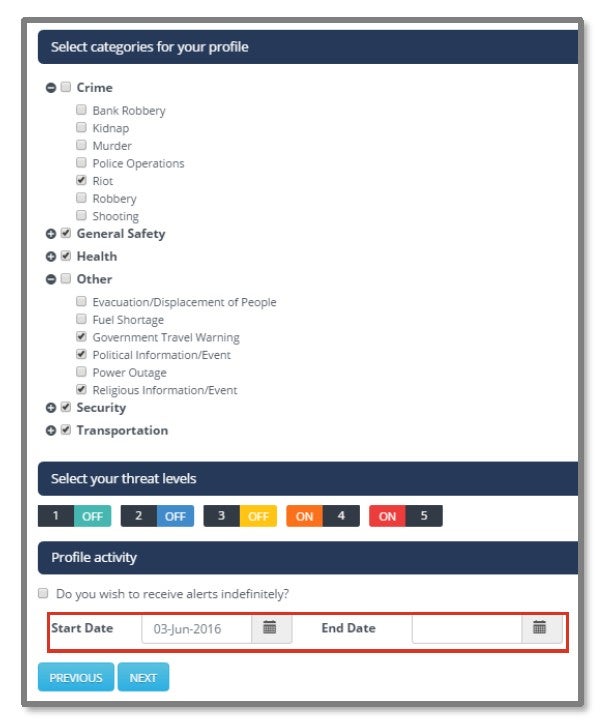
Step 3
- You have the option to receive alerts indefinitely or for a defined period. The checkbox is ticked by default, but unticking it reveals a date range selector. This tool is helpful if you only want to receive alerts during a period of travel.
- Click NEXT.
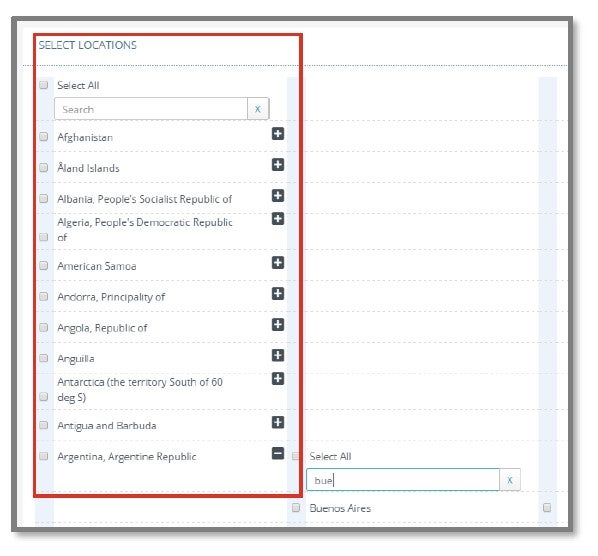
Step 4
- The next screen allows you to select your countries and cities of interest. Clicking on a country will reveal all the cities associated with the country (and States if the United States of America is selected). You may select all countries by ticking the Select All checkbox at the top of the screen.
- When you are satisfied with your selection, click SAVE.
- Set up of your alert profile is now complete. Your alert profiles can be viewed at any time by clicking Incident Alerts on the dashboard.