Correlated Solutions Digital Image Correlation system for measuring strains
Description:
The use of digital image correlation has recently emerged as a method for measuring the deformation or movement on surface using two cameras which compare the movement of a speckled pattern the surface of a component. The movement and stretching of the spots is compared and quantified as multiple images are captured, and a software package is used to calibrate for the optics used and calculate exact displacements.

Application:

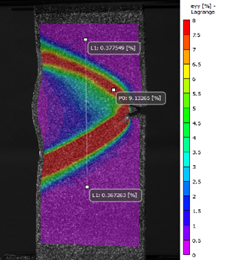
Example 1 (Right): Detecting localized strains during tensile testing of mechanical properties. This can be useful in determining whether flaws or detect promoted premature yielding or fracture in a welded component.

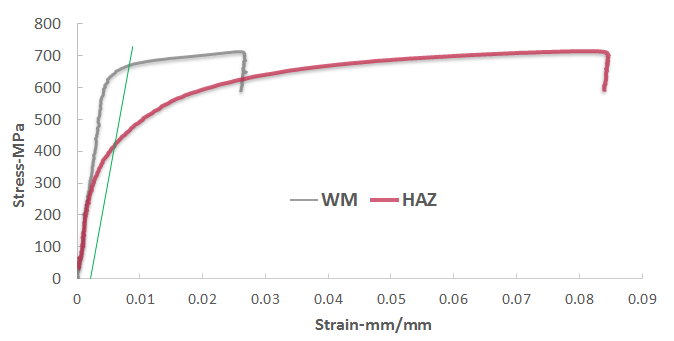
Example 2 (Above): Comparison of weld metal (WM) versus heat affected zone (HAZ) yield stress in transverse tensile test. It is normally not possible to extract the yield stress values of the HAZ since the region is too small to extract a sample in most welds.

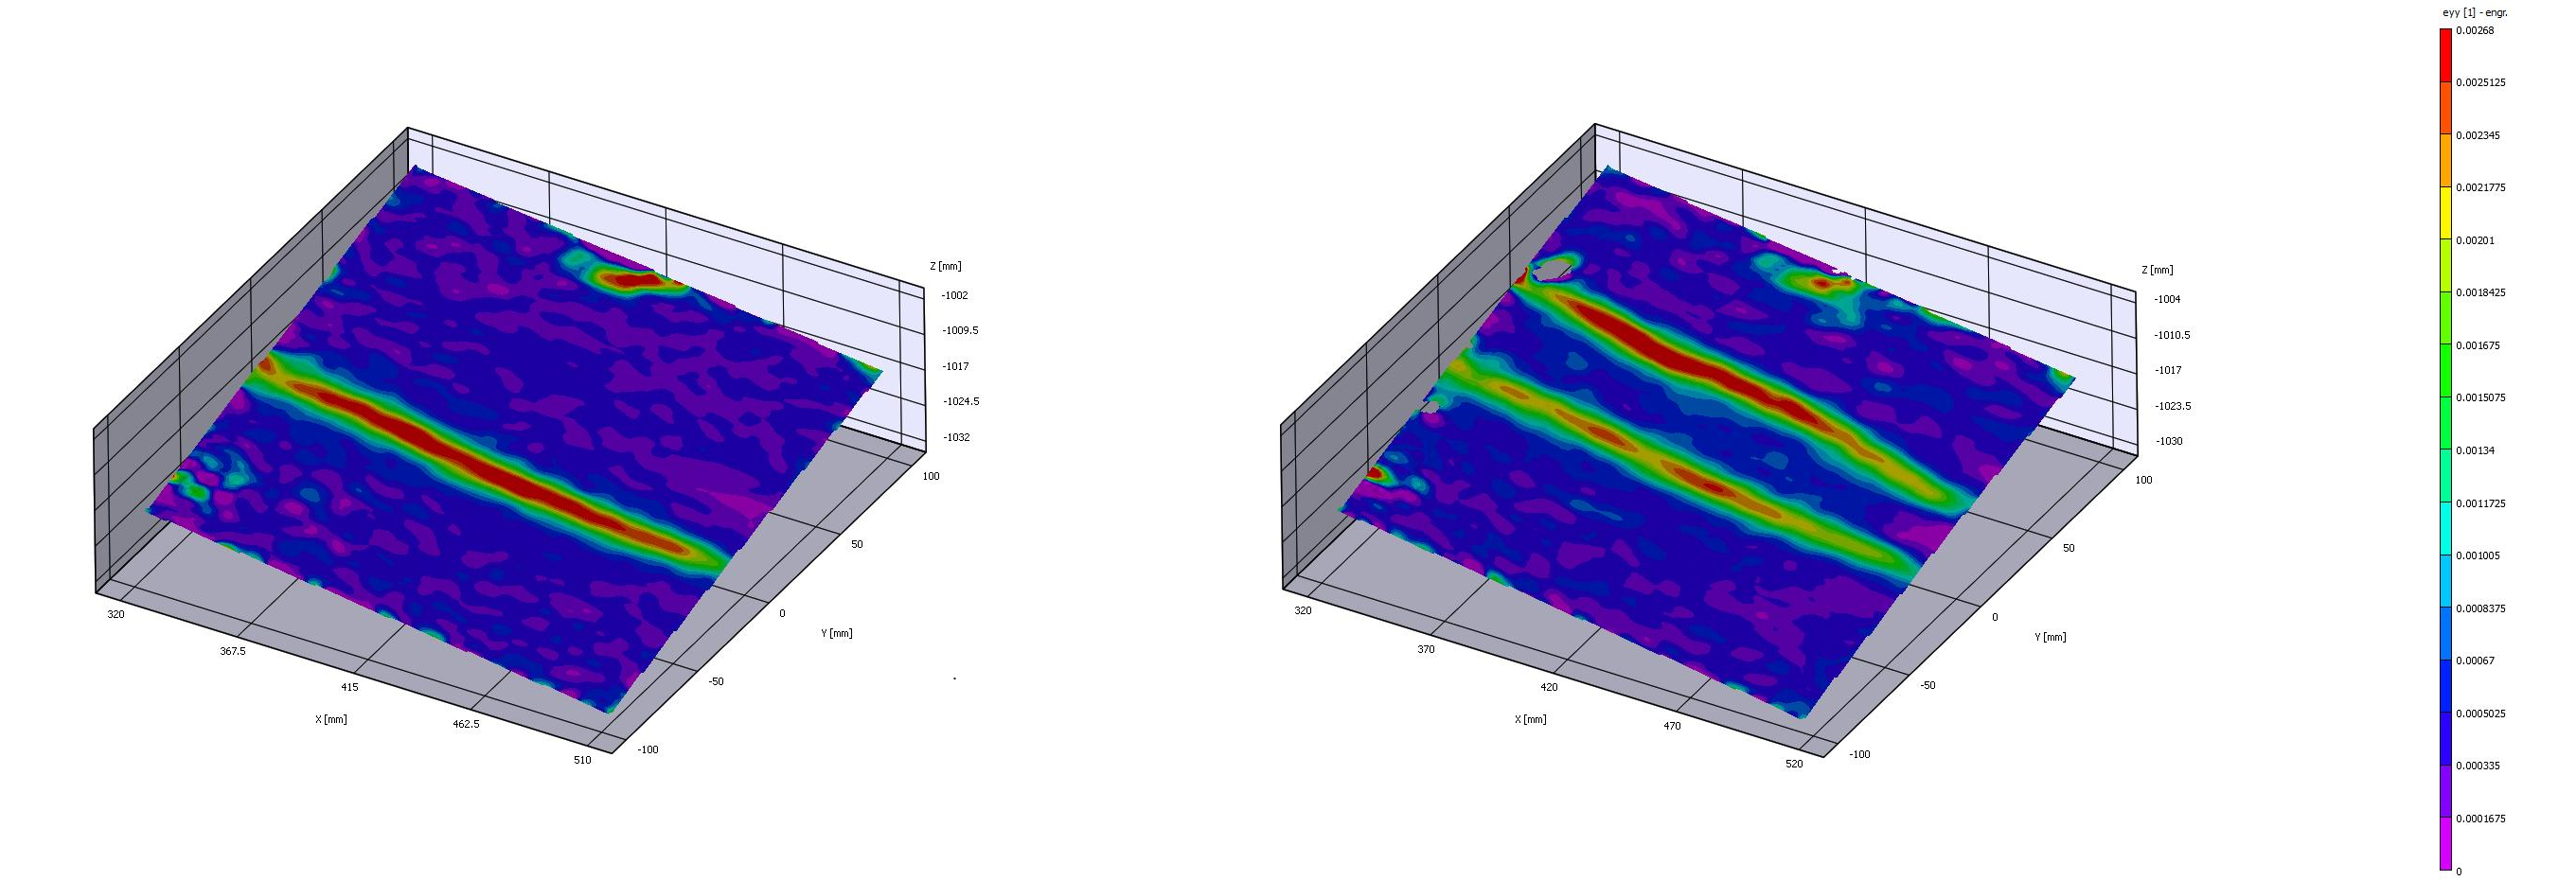
Example 3 (Above): Measurements of distortions in weldments. By comparing images of the surface before and after a weld is done on a component, the distortion values can be measured and compared to strain gauge data. This is extremely useful in comparing to residual stresses in welds and numerical simulation results.