
An Eco-friendly, Eco-nomic Idea
Perhaps we should have taken a vote to see if we actually liked mushrooms. It was only after the mycelium were purchased that we all admitted our dislike for the codified vegetable. Nevertheless, the fun was in the prospect of growing our own Oyster Mushrooms. To make it even better, we would be growing the mushrooms on used coffee grounds from the neighbouring ESS coffee shop, which would otherwise be tossed into the compost. After three days of saving grounds - which added up to approximately 6.8 kg - we were ready to commence our mushroom growing venture.
Here are videos made by the Ecology Lab to help show you how to grow your own Oyster Mushrooms.
- How to sterilize your own coffee grounds:
2. How to make an Oyster Mushroom Box:
3. How to start a fruiting colony:
Materials:
- 1 Grow Your Own Mushroom Garden
- Rubbermaid container
- Drill
- Coffee filters
- Used coffee grounds
- Sieve
- Hydrogen Peroxide
- Measuring cup
- Big stirring spoon
- Bread knife
- Empty bucket
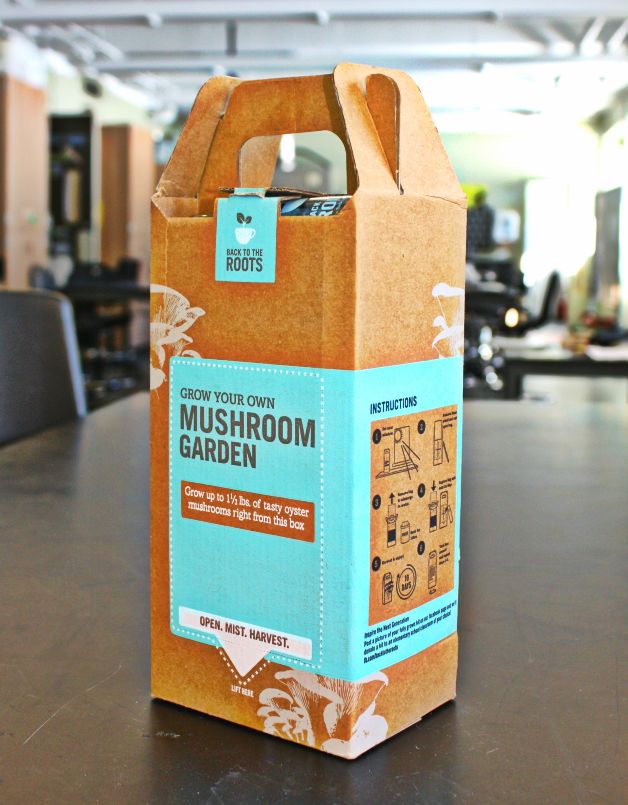
Mushroom Garden box containing the mushroom mycelium.
Methods
Step 1: Small holes were drilled into the bottom and top of a 35 x 50 cm Rubbermaid container for drainage and air. Coffee filters were placed over the bottom drainage holes to prevent coffee grounds from escaping.


Step 2: Coffee grounds were sterilized to prevent the growth of mold and types of ‘bad bacteria’. Hydrogen Peroxide was combined with water at a ratio of 1:10. Grounds were submerged and mixed in the solution. Mixture was poured through a sieve and rinsed with tap water.


Step 3: Coffee grounds and mycelium mixture from the Mushroom Garden package were layered in the Rubbermaid container as follows:
- 3-4 cm of coffee grounds
- half of Mushroom Garden package
- 2 3 cm of coffee grounds
- remainder of Mushroom Garden package
- thin layer of coffee grounds
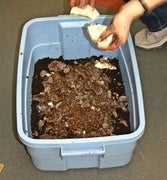
There was no need to add additional water since the grounds were plenty moist after rinsing them. Afterwards we set them in a dark dry area to begin growing.
Then we waited...
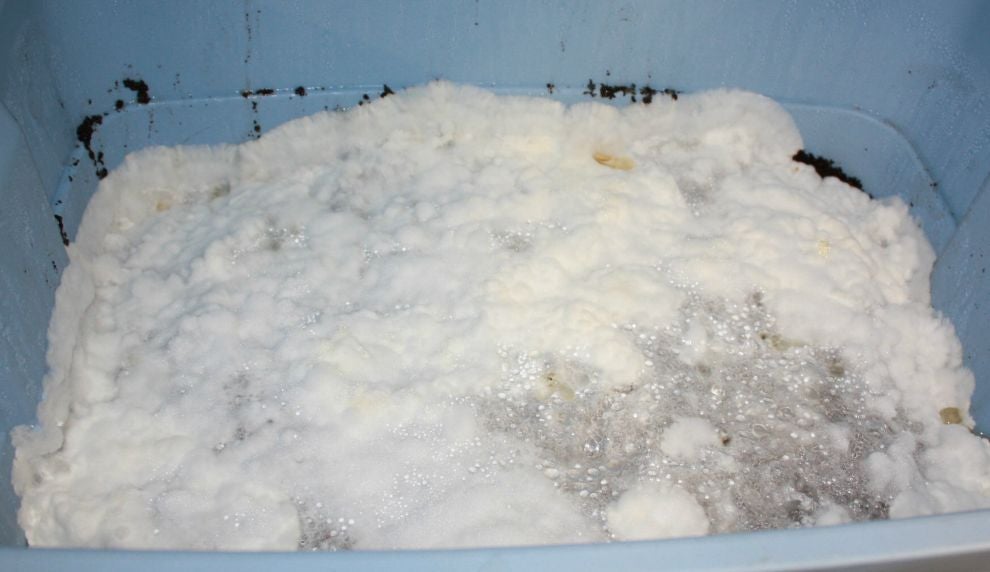
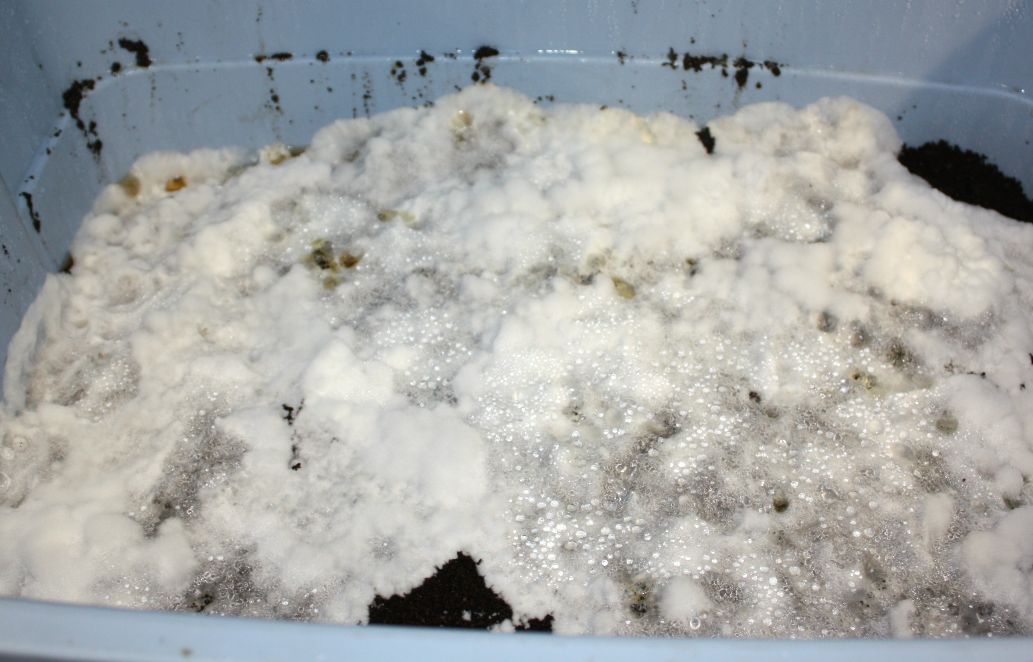
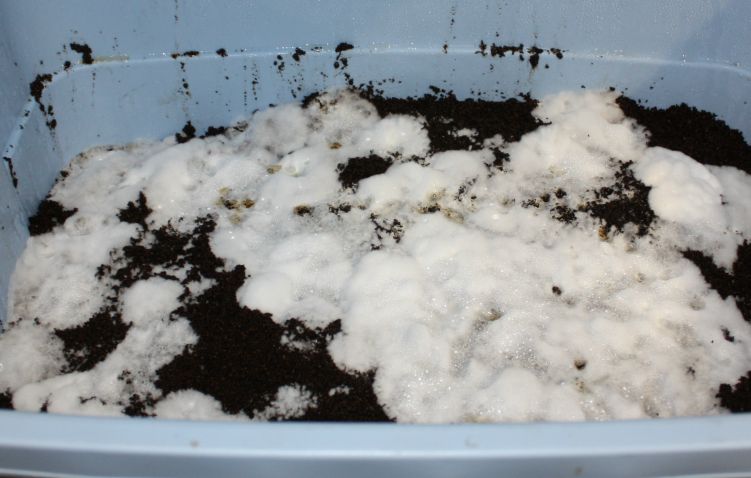
Good Morning Mycelium! Less then a week later, little white puffs which looked a lot like feathery white mold were growing on the coffee grounds. Every day the mycelium expanded till the top layer was completely covered! When we smelled it there was a distinctive almond scent that got stronger as the mycelium established.

Day Seven

Day Four
Day Eleven
Day Eight
Day Six
Step 4: A portion of the colonized mycelium was removed to allow for fruiting. Two strips were cut from the mushroom box and this area was refilled with sterilized coffee grounds. The remaining mycelium will expand onto to strip so that the mushroom operation can continue.
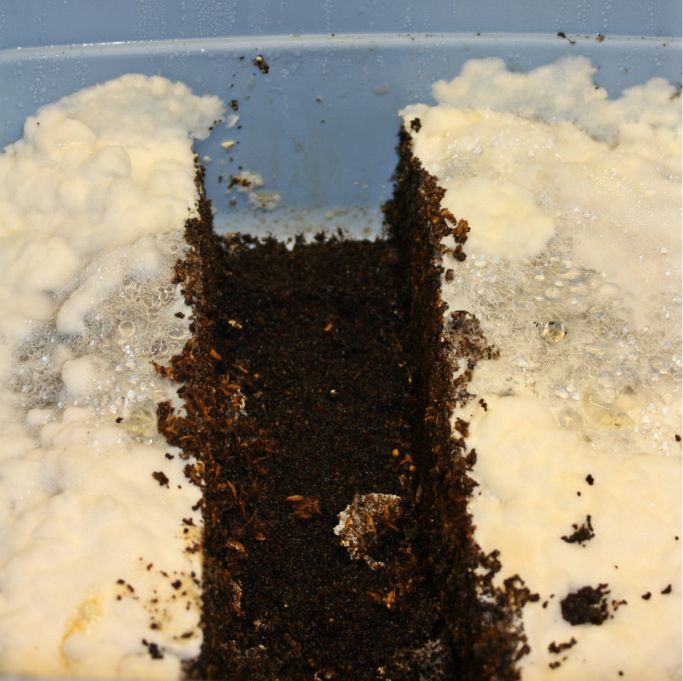
Strips of the mycelium cut out of the Mushroom Box.
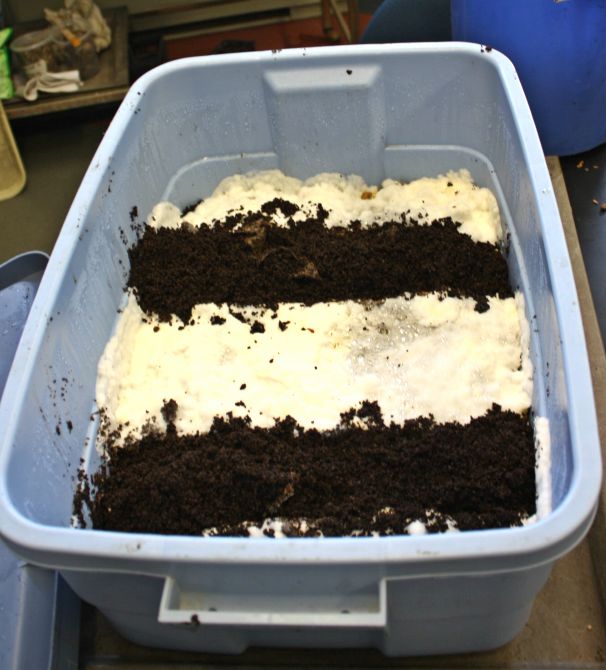
Strips refilled with sterilized coffee grounds.
Step 5: Sterilized coffee grounds equal to the amount of mycelium were placed in a separate bucket. The mycelium was broken up and added to the bucket of coffee grounds. Holes were drilled around the rim of the bucket above the contents. The top of the bucket was covered with plastic wrap and air holes were added. The bucket was placed in dappled sunlight.


A little more waiting...
In order for the mycelium to fruit they need time to re-establish in the bucket. This can take anywhere from 2-3 weeks. Let's hope it works, I'll keep you updated!
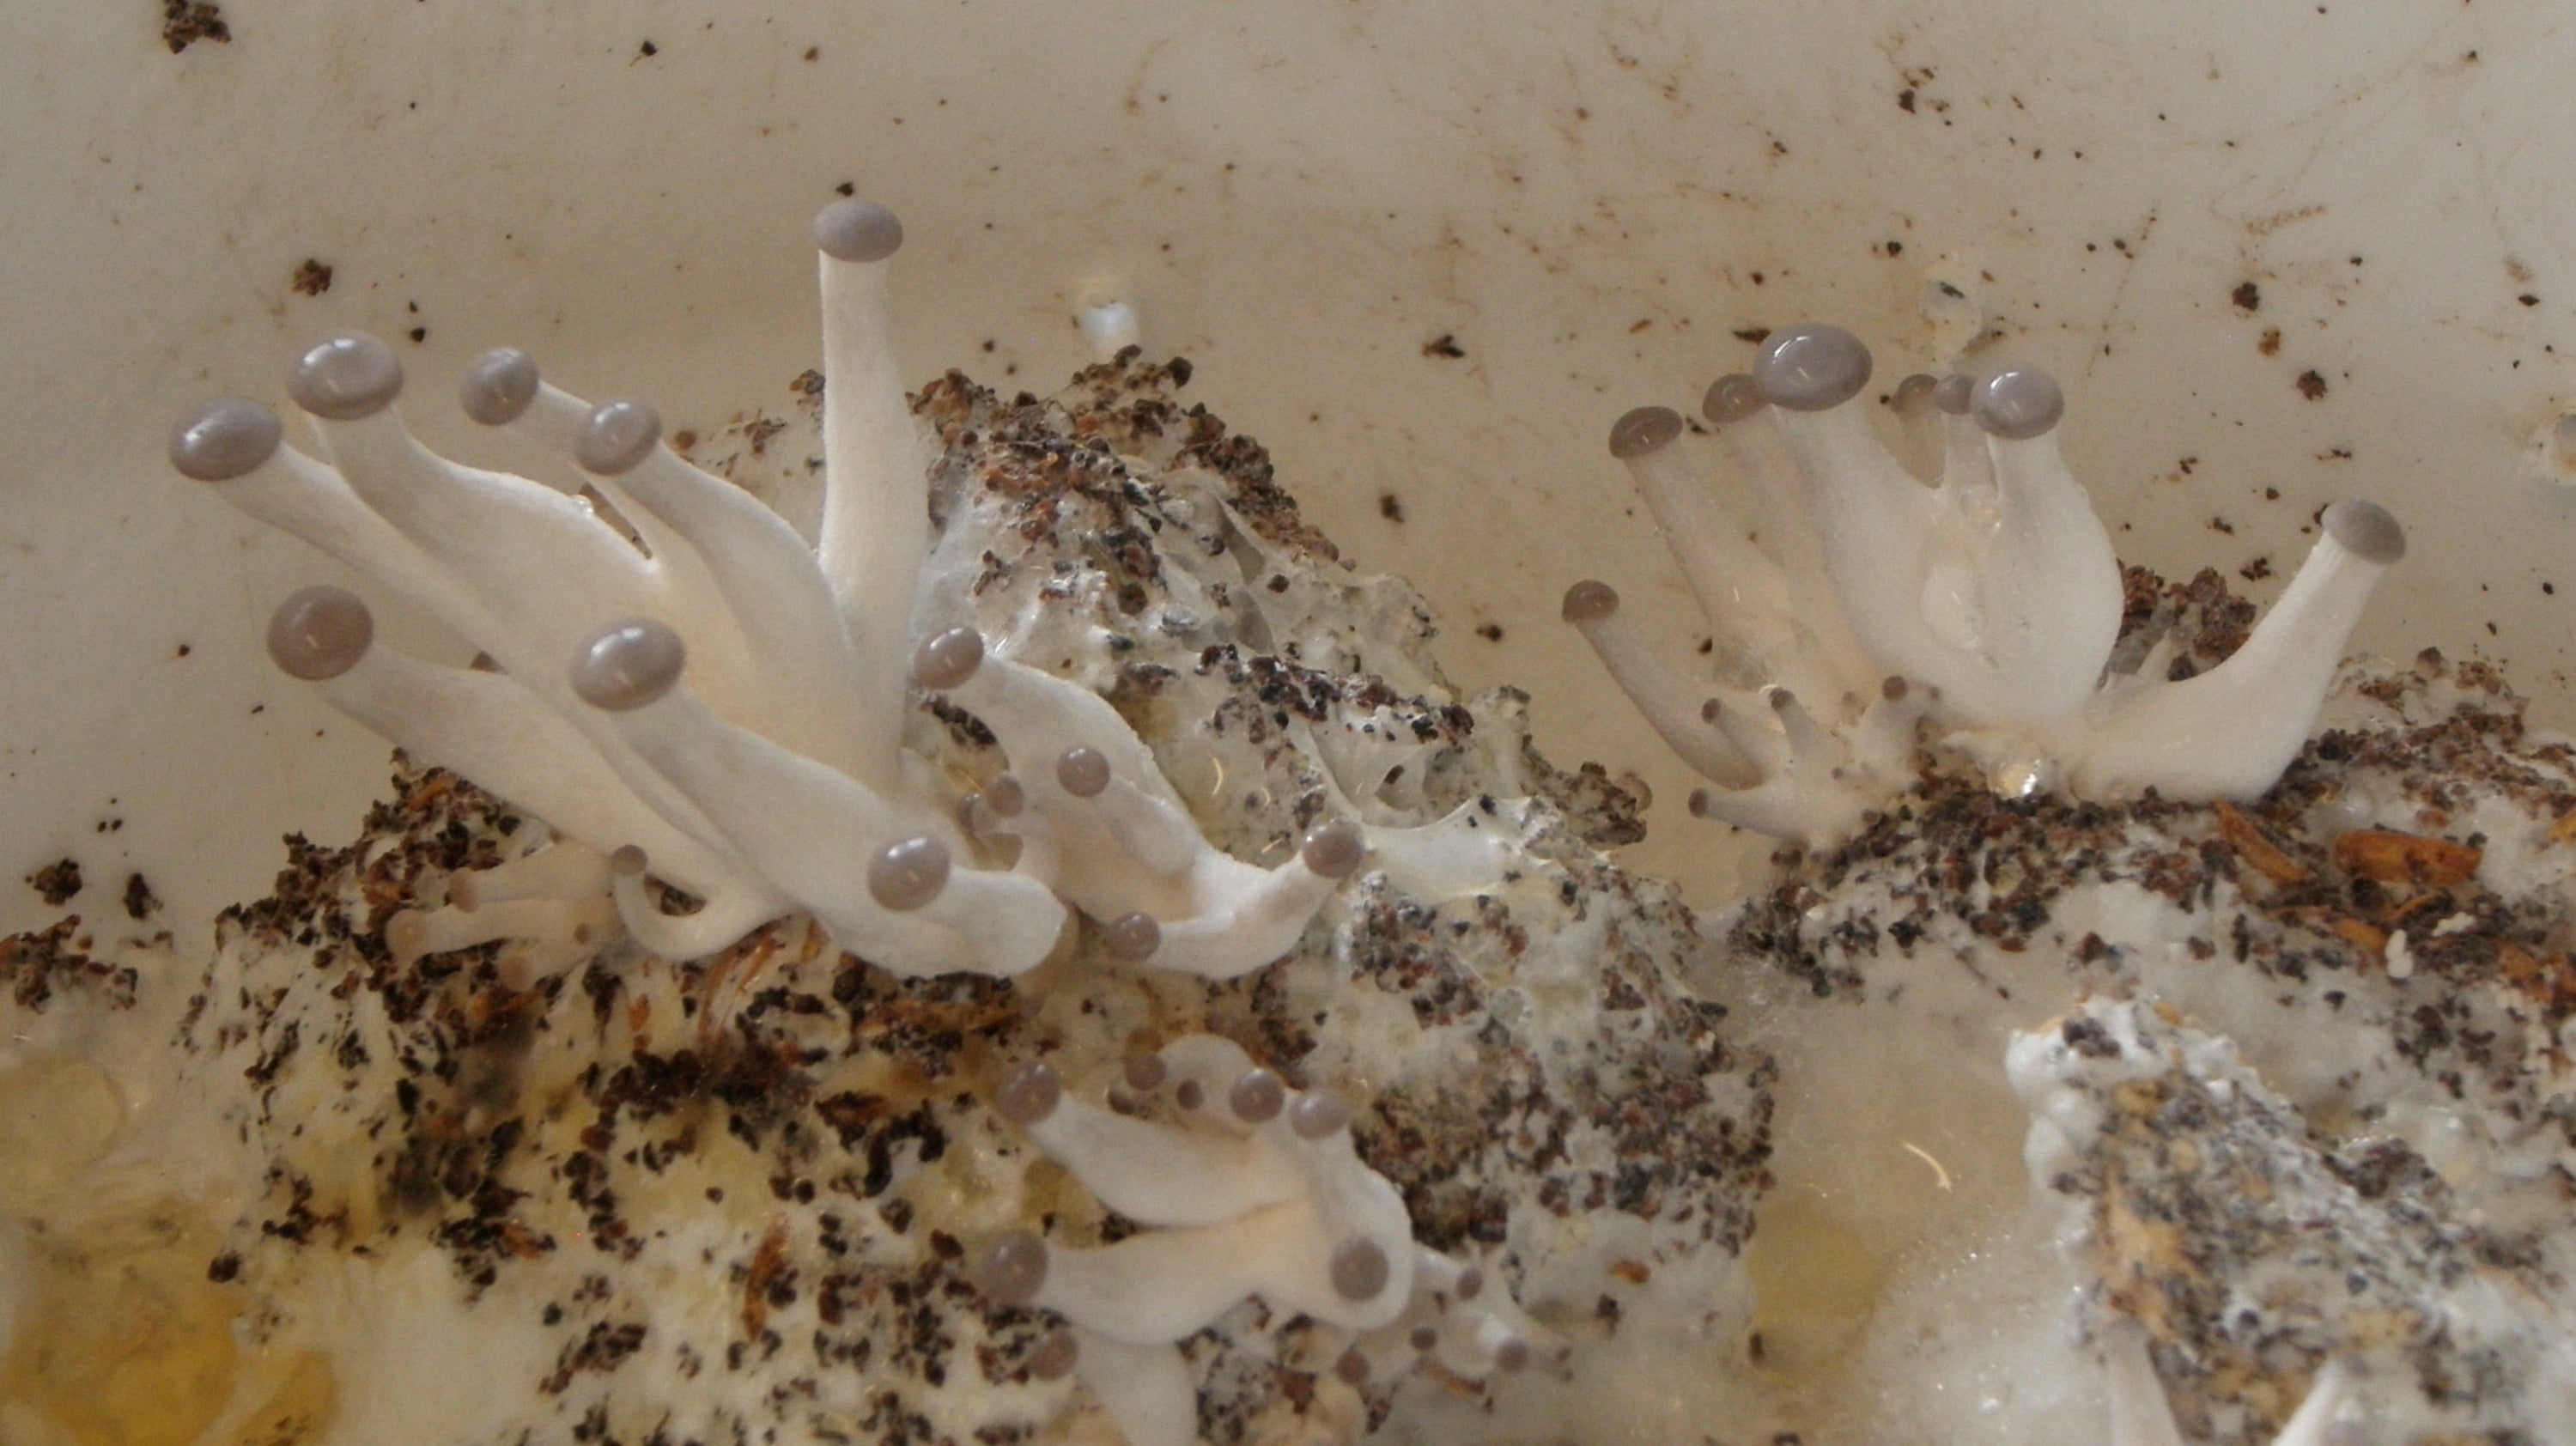
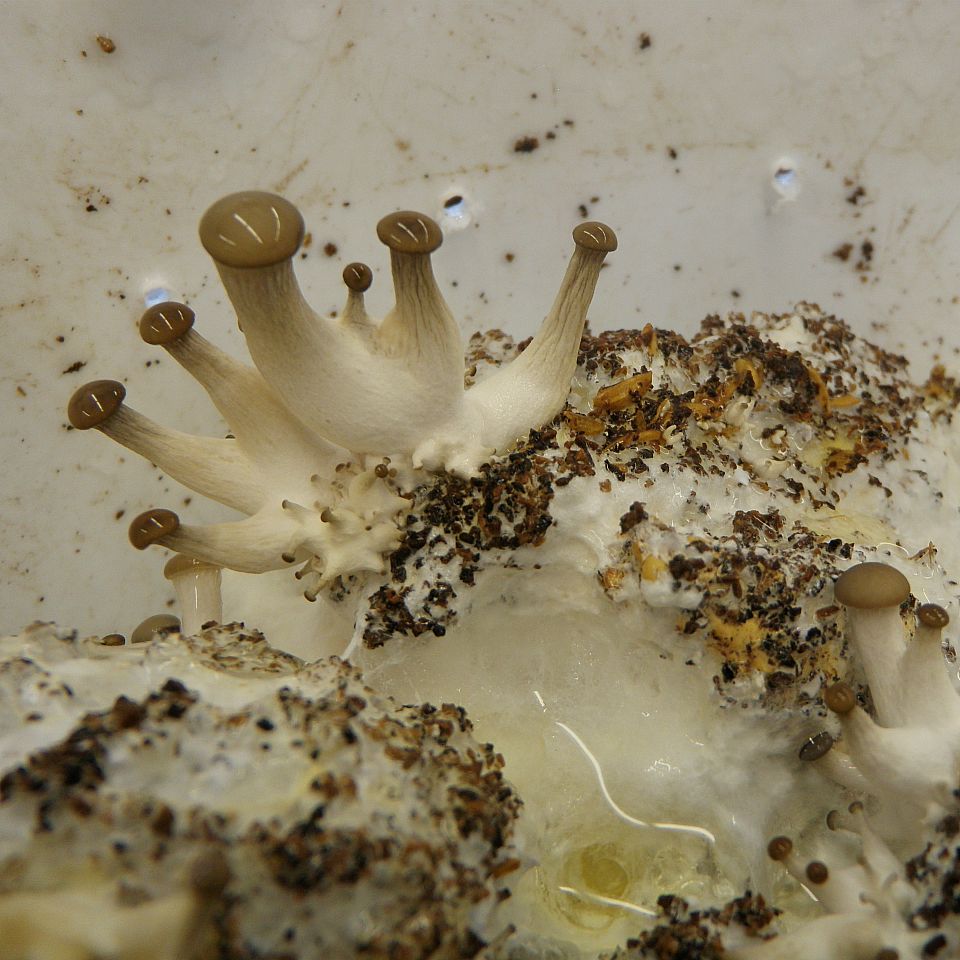
Good Morning Oyster Mushrooms!
I feel like I just gave birth! After two weeks in the bucket, the first fruits of our labour appeared –little brown mushroom caps on white stalks in a variety of shapes and sizes.
Step 6: The plastic wrap was removed (when the mushrooms first appeared). Mushrooms were misted twice daily with water.
Look at them grow!
Day Twenty-nine

Day Thirty-three
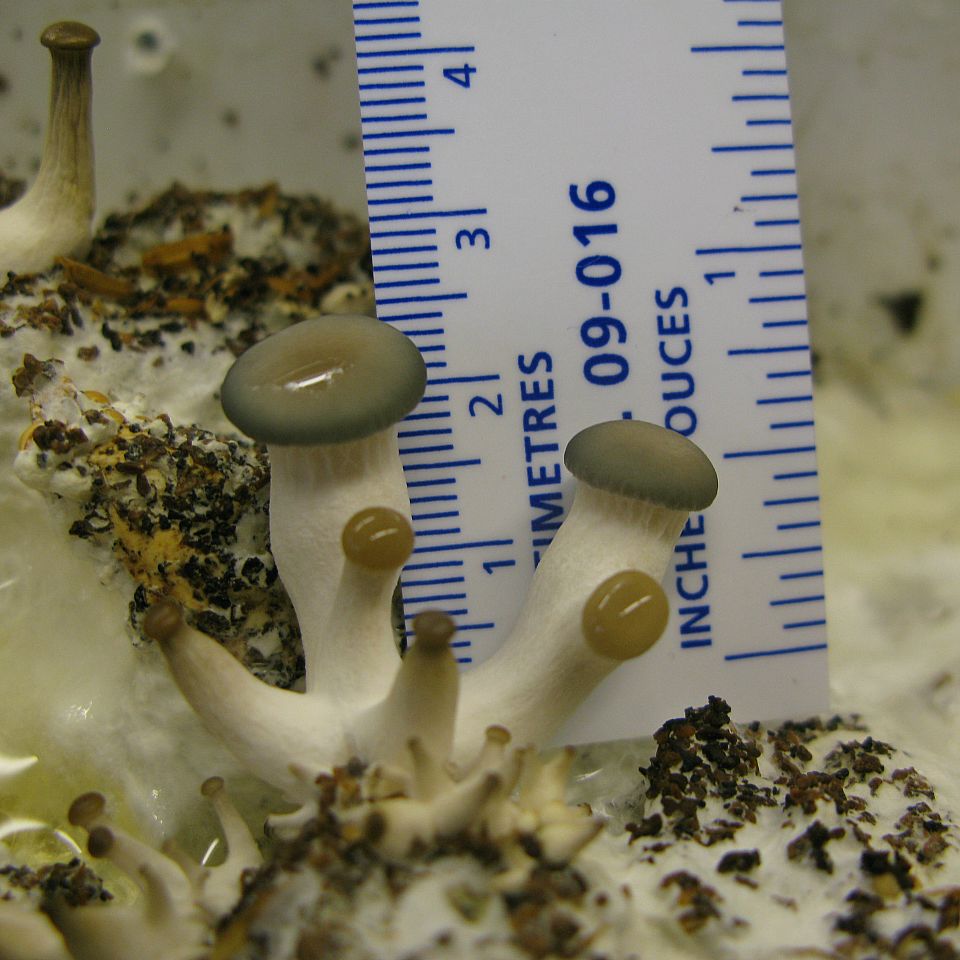
Day Thirty

Day Thirty-four
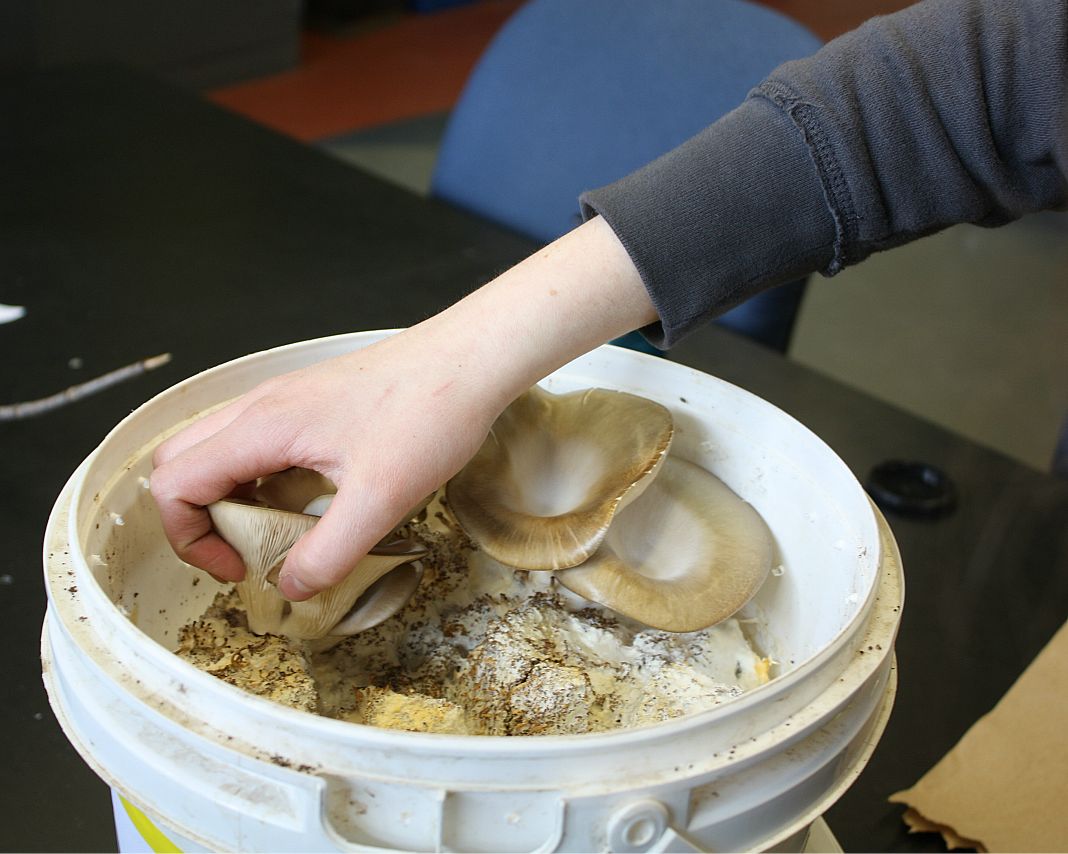
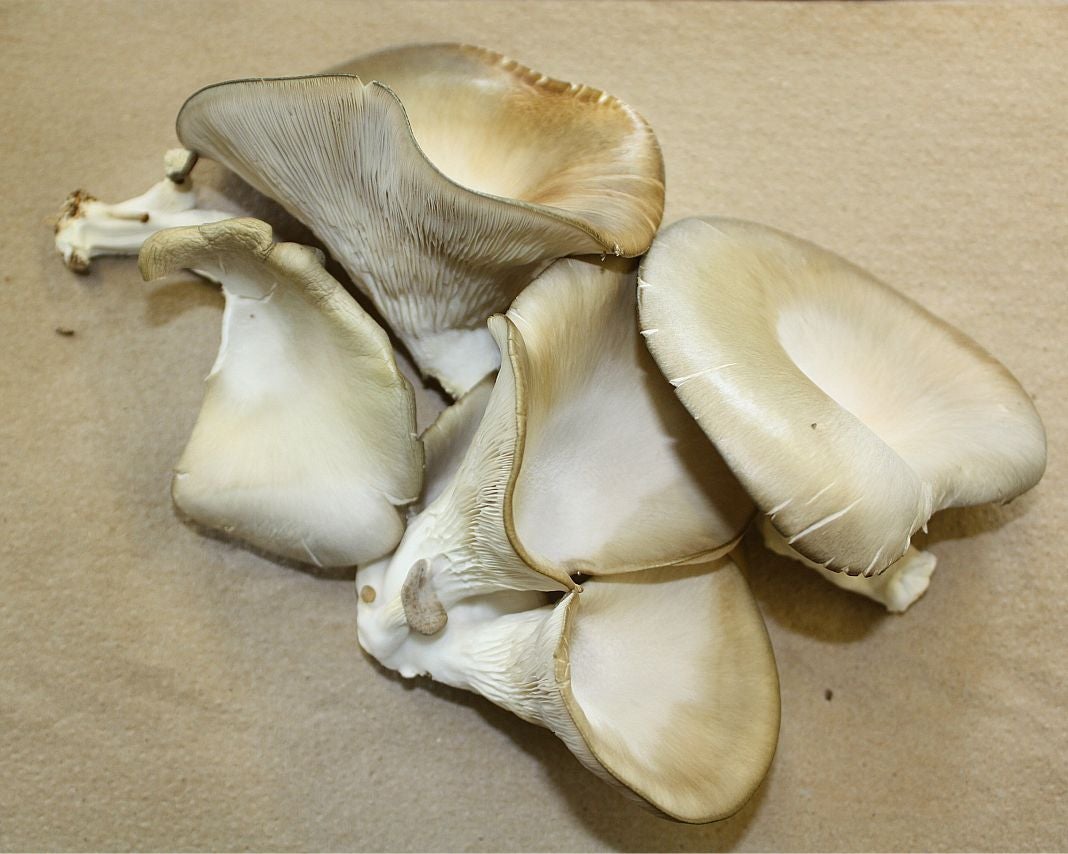
Step 7: Pick, Eat and Enjoy! Once the rim of the largest mushroom in the cluster loses its circular shape or a dark coloured strip appears around the edge, then it is time to harvest. We held the mushroom by the base and gave a light twist.
Don't stop misting yet! Continue misting twice a day and in a week there should be another flush of mushrooms... lets see if it happens!
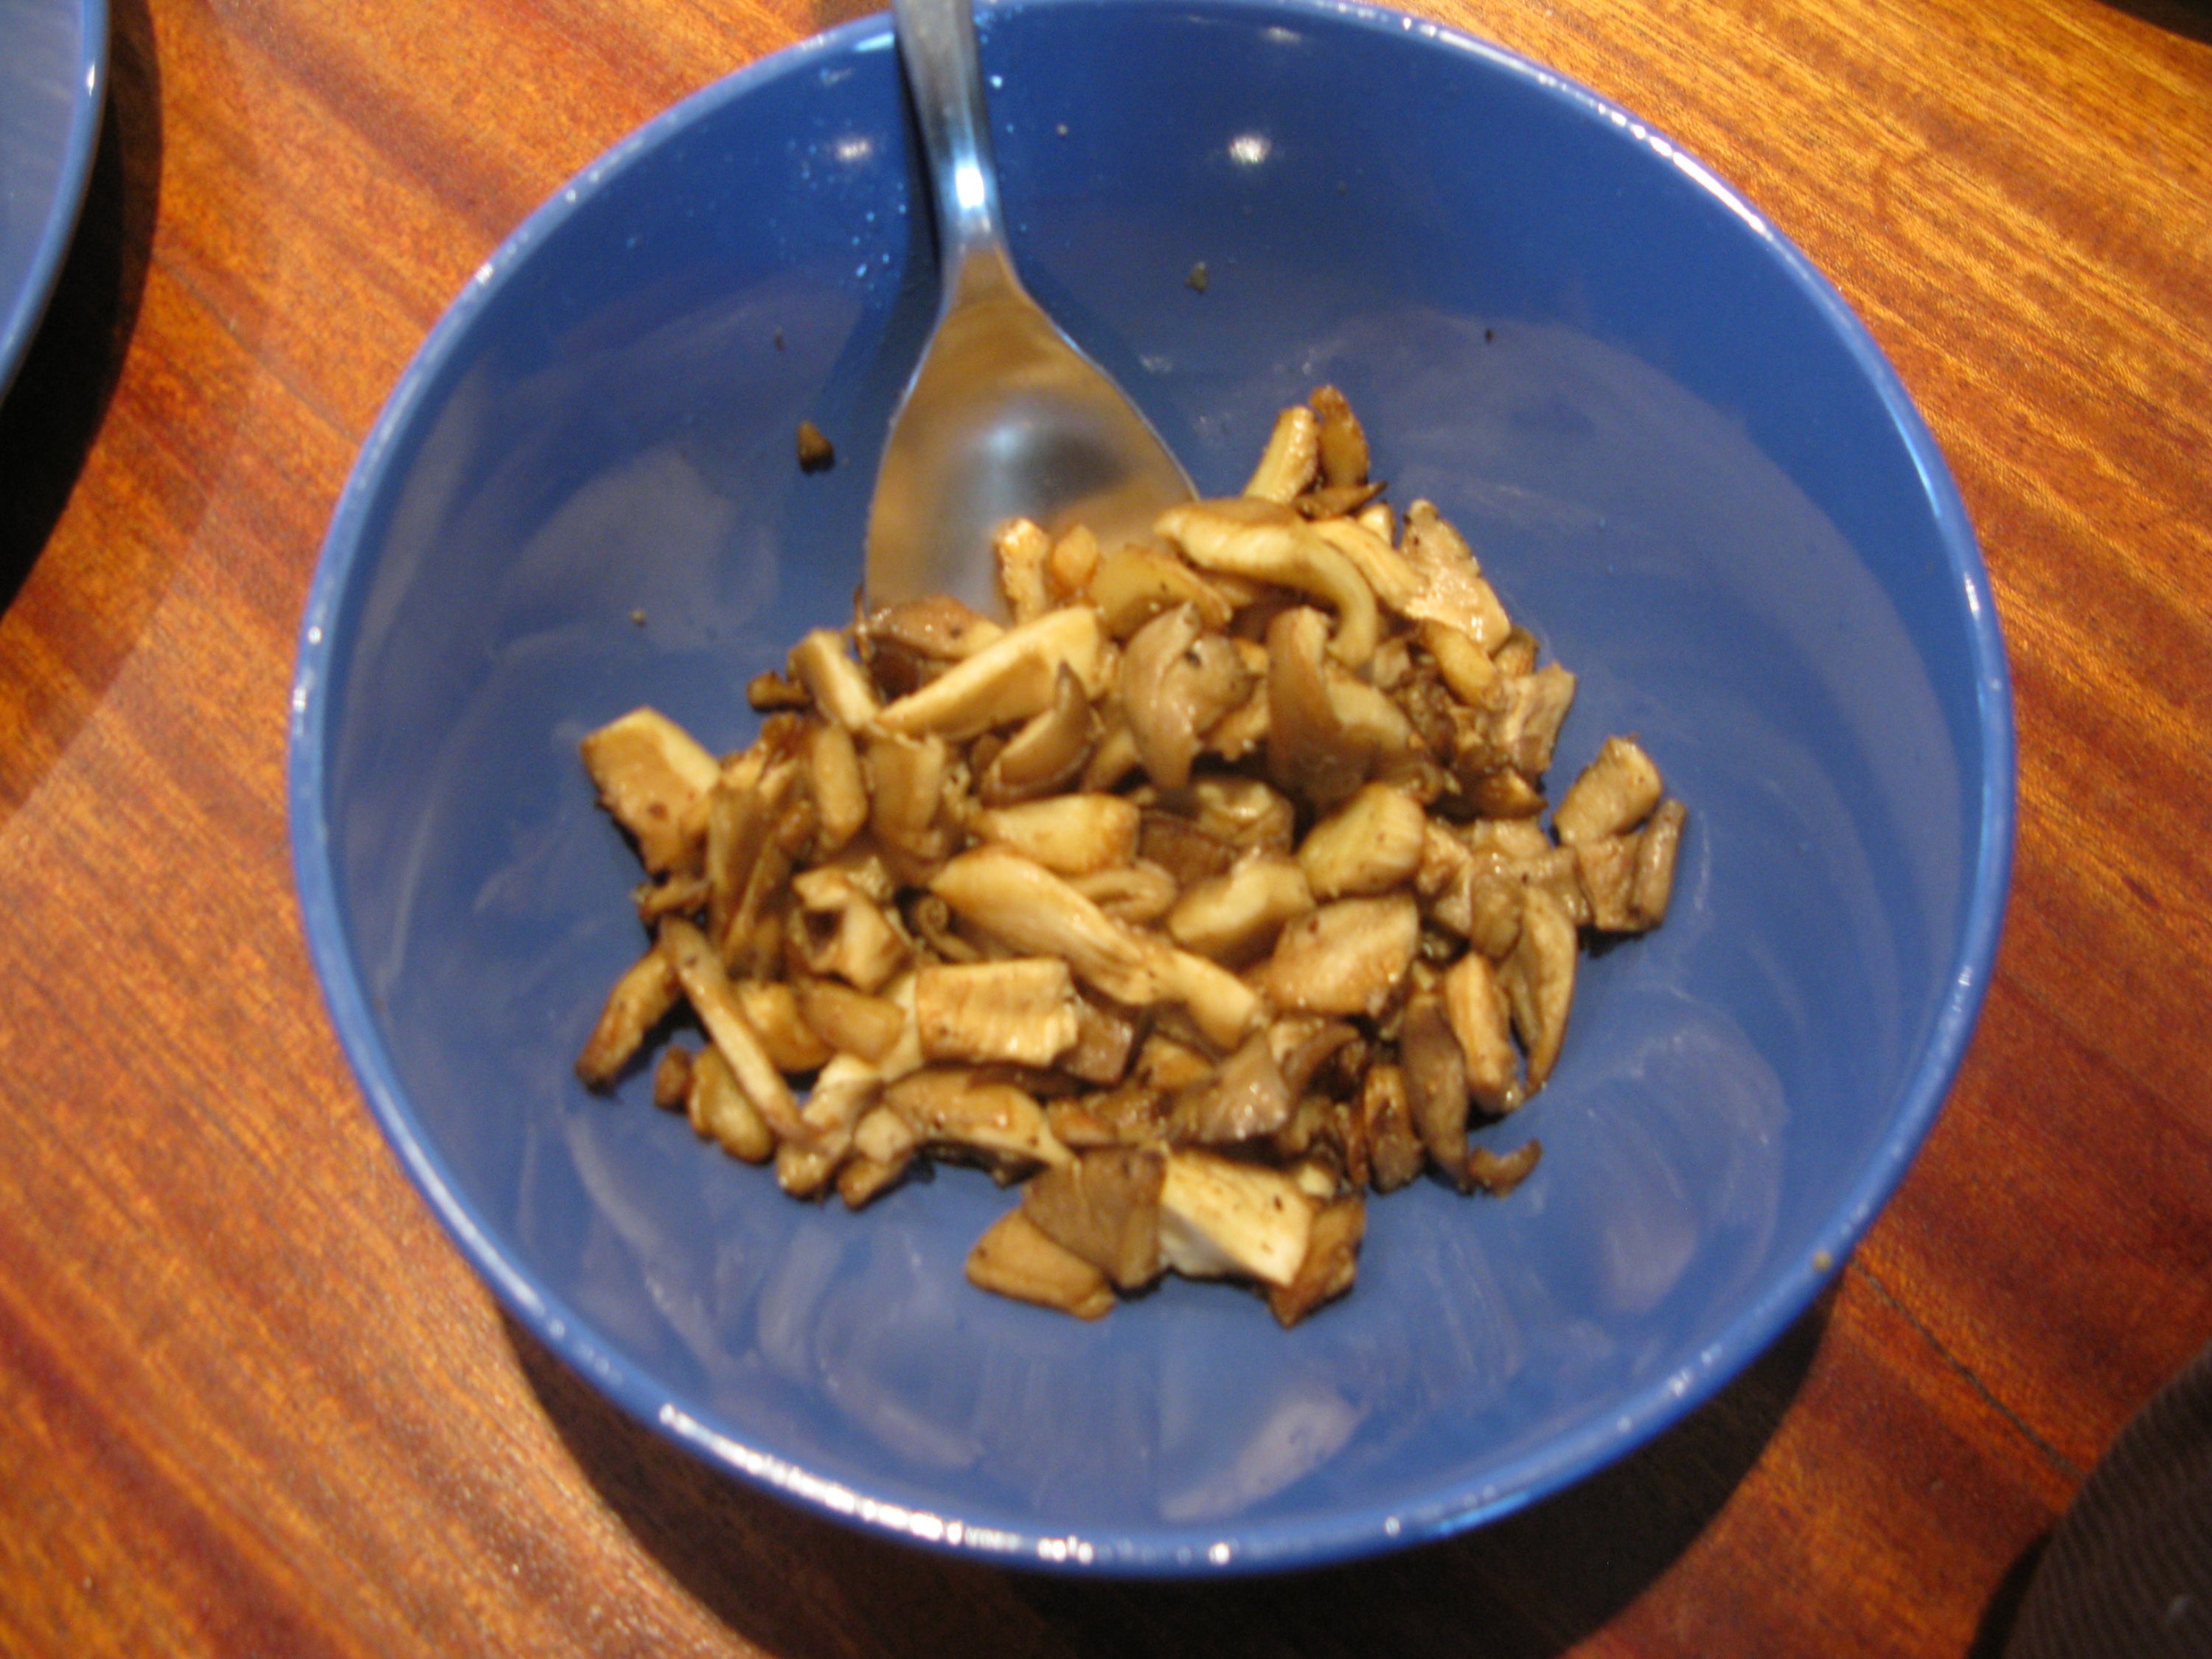
Yummy in the tummy! There are tons of recipes online for dishes with Oyster mushrooms- while you are researching, you should also look at their amazing health benefits!
Second Flush: Our mushroom bucket experienced a bit of hardship while we were waiting for the second flush- it got a tad too dry. Placing it under the tap we submerged the mycelium, which floats, in water for about 2 hours so that it could rehydrate (then poured the excess water out). After two weeks the new mushrooms were well on their way. Do not be surprised if the shape of your mushrooms in the second flush appear more ear shaped then your first one, the flushes will get progressively more disfigured.


