


Contact us | 519-888-4567 x41744
Grading forms can be used throughout the project stages. Grading forms are an assessment tool that clearly indicate achievement criteria across various components of student work. Both holistic and analytic grading forms can be used in PEAR. The Centre for Extended Learning (CEL) has additional information about assessing students see Rubrics: Useful Assessment Tools.
Types of Criteria
In PEAR there are four different criteria types that can be used. They are comment, numeric, select one from list, and group header. Your grading form can include multiple types in conjunction. You are not restricted to only using one type throughout the grading form.
Comment type allows users to provide written feedback. If desired you can set a limit for the maximum number of characters allowed in the response by picking an option from the Max. Response Characters drop-down list.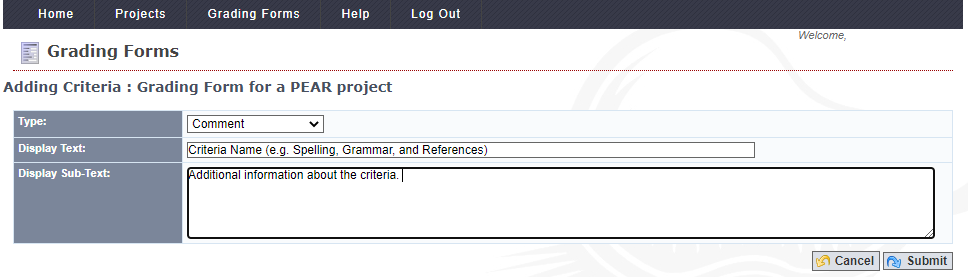
Numeric type allows users to provide feedback using a numeric scale by assigning a numeric value. You can customize the scale by setting the Min Grade and Max Grade and by selecting the Increment by which the scale increases. Ensuring that 0 is an option allows the user to give a grade of 0.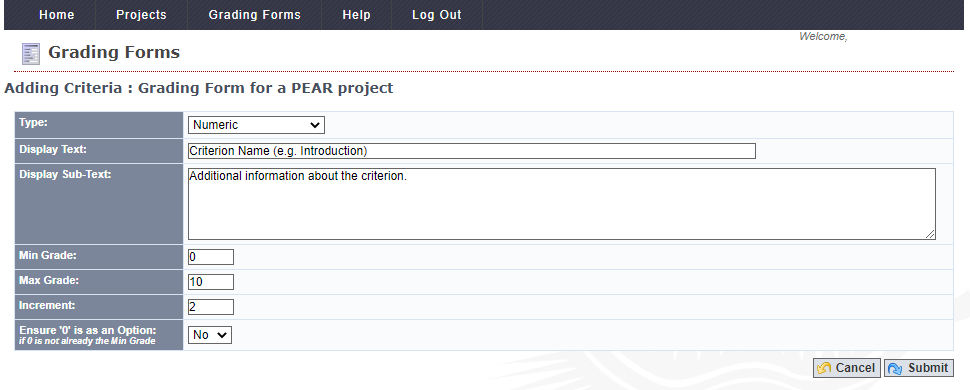
Note: Often numeric and comment are used together as it allows the person grading to provide a rationale for the grade they assigned. When creating a grading form you can add a numeric criterion and then add a comment criterion to accompany it.
Select One From List allows the user to provide feedback using an ordinal scale/provide feedback using a list of options that you create, You can customize the list by creating options such as; needs improvement, satisfactory, good, and excellent. To create the options list, enter your desired categories into the Options List field and separate them using a comma. 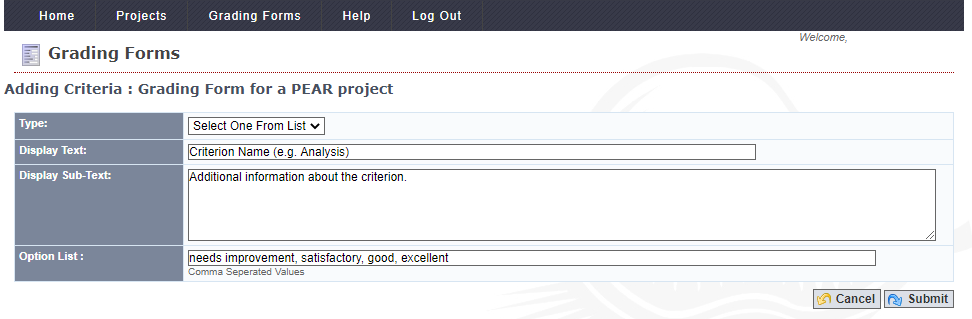
Group Header acts as a banner and can be used to create different sections in your grading form. To create a group header enter the name you would like displayed in Display Text. If you are using enumeration and would like the criteria under the group header to start at one select yes for Reset Counter.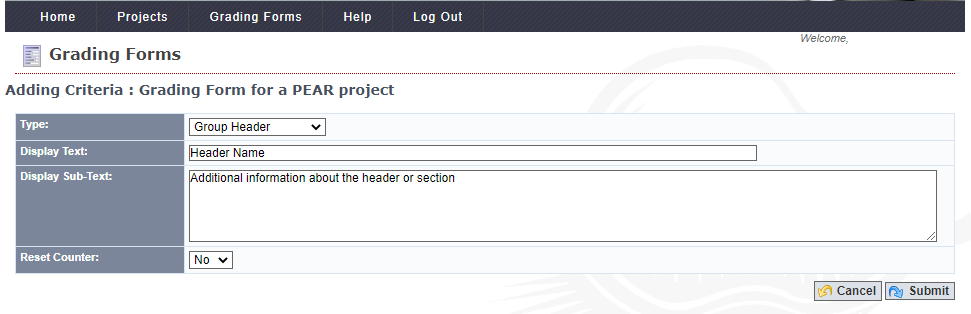
Creating a Grading Form
Note: It is recommended to plan out the contents and layout of your grading form before creating it in PEAR as re-ordering criteria in PEAR can be difficult. If you re-order one criterion you will need to adjust multiple (e.g. if you have 5 criteria and want to change criterion 4 to criterion 2, you will need to adjust criterion 2, and 3) as they do not automatically re-adjust.
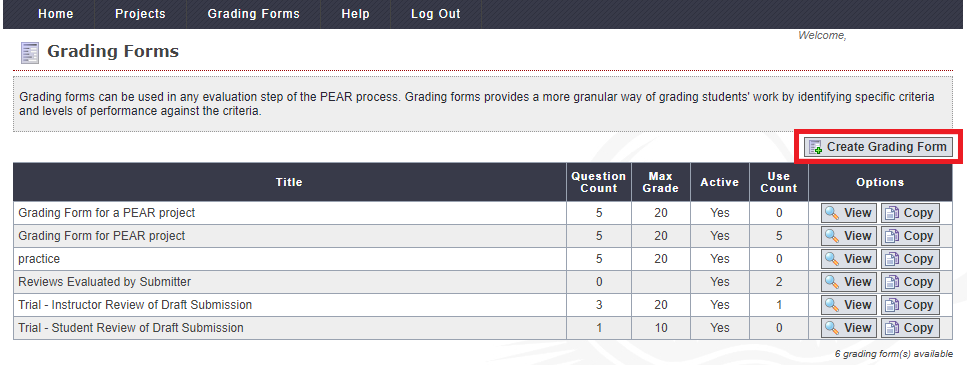
- Click on the Grading Forms tab on the main navigation bar.

- To create a new grading form click on the Create Grading Form button.
- Enter a Title (required field) and Instructions (if desired). Select yes or no for Alternate Row Color, Enumeration, and Active. These can all be modified later.
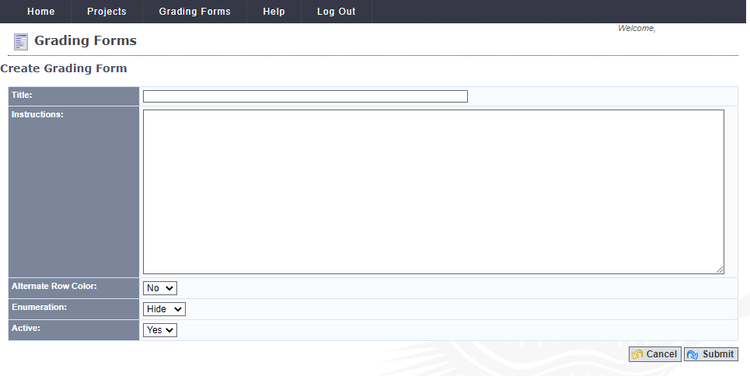
- Alternate Row Color will alternate the colouring of the criteria.
- Enumeration will number the criteria.
- Active will allow the grading form to be used and associated with a project stage.
- Click on the Submit button.
- Click on the Add Criteria button.
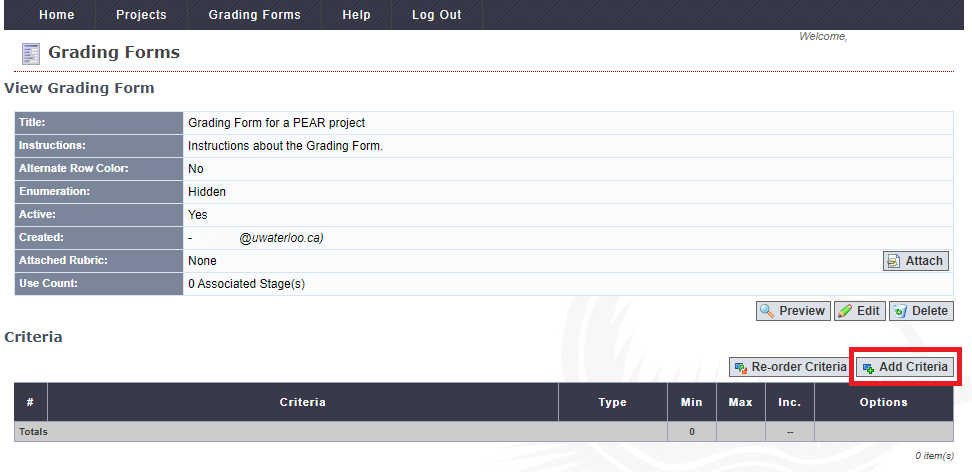
- Select your desired criteria Type (comment, numeric, select one from list, or group header).
- Enter desired Display Text.
- Enter Display Sub-Text if desired. This provides additional information regarding the criteria.
- Depending on the criteria type selected additional information may be required. See Types of Criteria for more detailed information.
- After inputting the required details, click on the Submit button to save the changes.
- Continue adding criteria until you are satisfied with your grading form.
- If you would like users to be able to download a rubric, click on the Attach button.
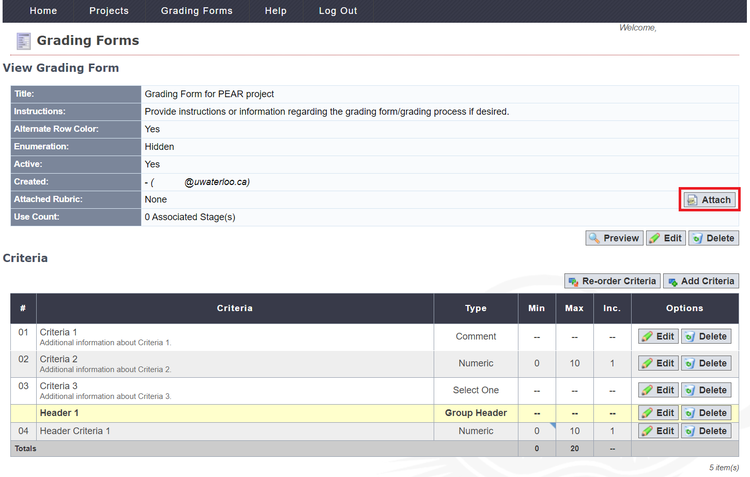
Click on the Choose File button and select your desired file from your device. Click on the Submit button to attach it. Attaching a rubric to a grading form can help students and instructors define a "quality" standard.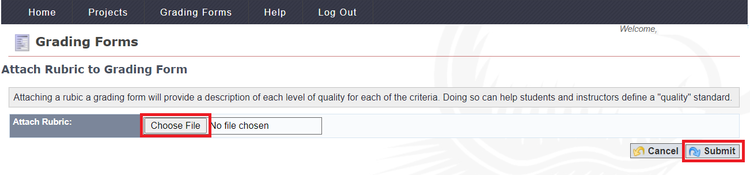
- Click on the Preview button to see what your grading form will look like to users.

Grading form preview.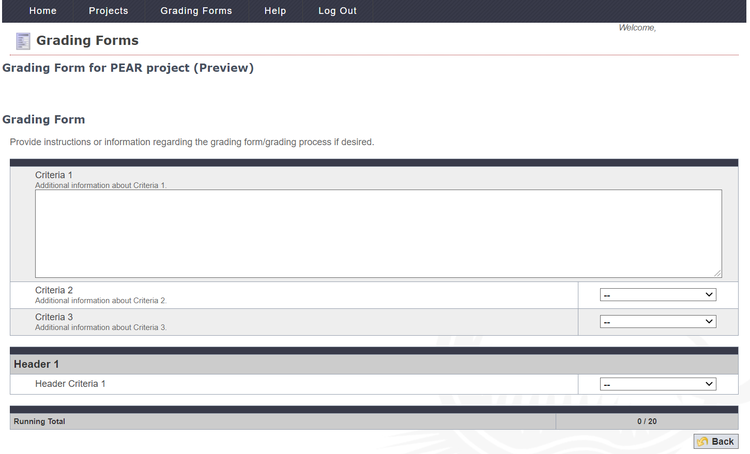
Editing a Grading Form
If a grading form is currently being used in a project, you cannot add new criteria or edit the details of existing criteria. If you edit a grading form that is in use you will be able to edit the title, instructions, the criteria order and, you can turn alternate row colour, enumeration and active on or off.
To check if a grading form is associated with a project look at the Use Count column of the grading forms tab.
Once in a grading form, you can make the following changes:
- Edit allows you to change the grading form title and instructions as well as turn alternate row color, enumeration, and active on/off.
To edit a grading form's information click on the Edit button under View Grading Form (the top edit button). After making your changes, click on the Submit button to save your changes.
- Delete allows you to delete the whole grading form.
To delete a grading form click on the Delete button and then click OK to confirm the deletion.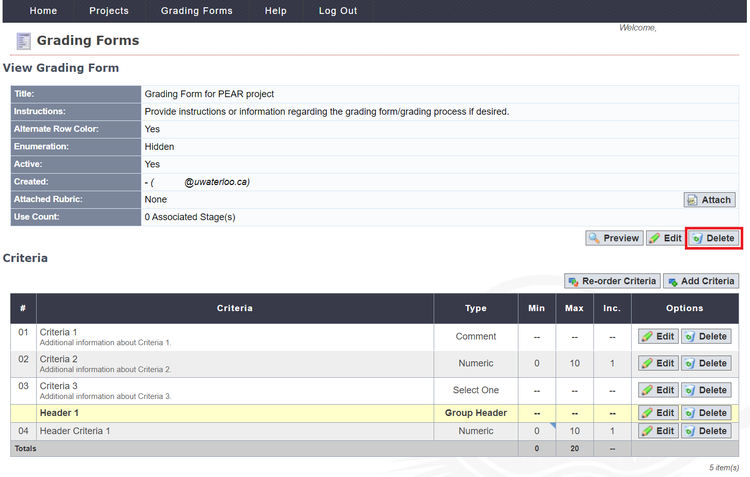
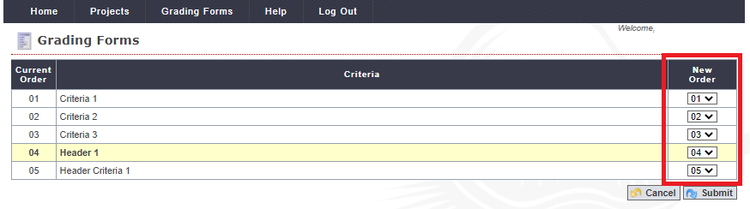
- Re-order Criteria allows you to change the order that the criteria appear in your grading form.
To re-order criteria, click on the Re-order Criteria button and re-order the criteria by selecting your desired order from the drop-down list. Once you are satisfied with the order, click on the Submit button to save the new order.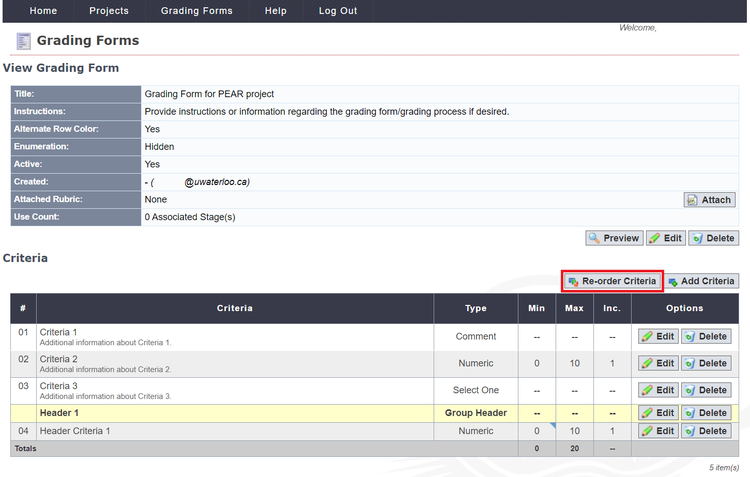
- Add Criteria allows you to add additional criteria to your grading form. See creating a grading form for detailed instructions on adding criteria.
- Edit allows you to make changes to an already existing criterion.
To edit a criterion, click on the Edit button under the options column for the criterion you would like to change. After making your changes, click on the Submit button to save the changes.
- Delete allows you to delete an already existing criterion.
To delete an individual criterion, click on the Delete button under the options column for the criterion you would like to change. After making your changes, click OK to confirm the deletion.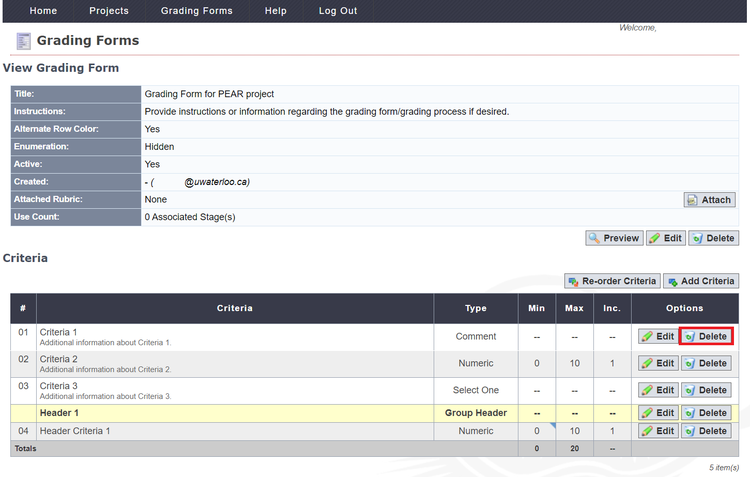
Using a Grading Form
-
Navigate to the desired project.
-
Click on the Details tab.
-
Click on the Edit button for the project stage that you want to use a grading form.
Grading forms can be used with the following project stages: submission reviewed by students, submission reviewed by instructor, reviews evaluated by submitters, reviews evaluated by instructor, and final submission reviewed by instructor. -
Click on the Use Grading Form drop-down list and select your desired grading form.
-
Click on the Submit button to save the changes.